
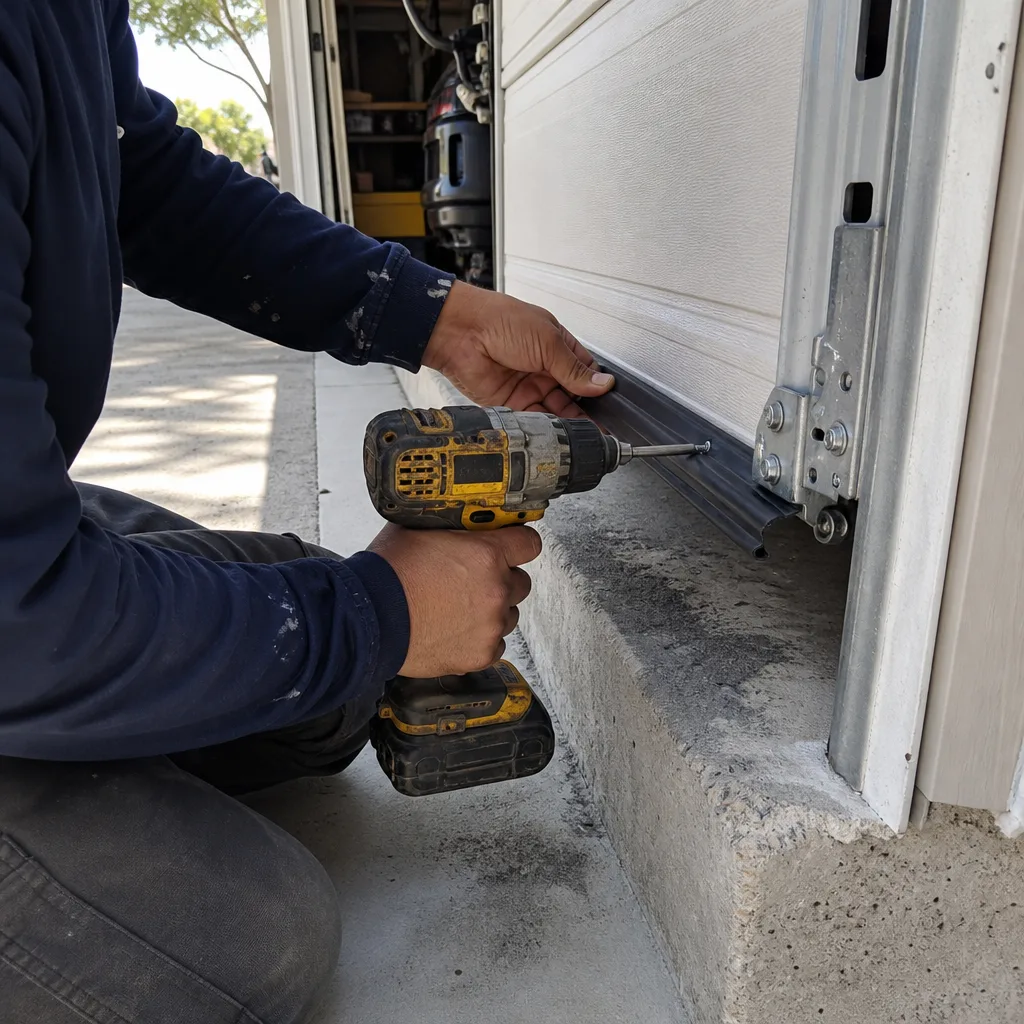
Last updated November 2, 2026
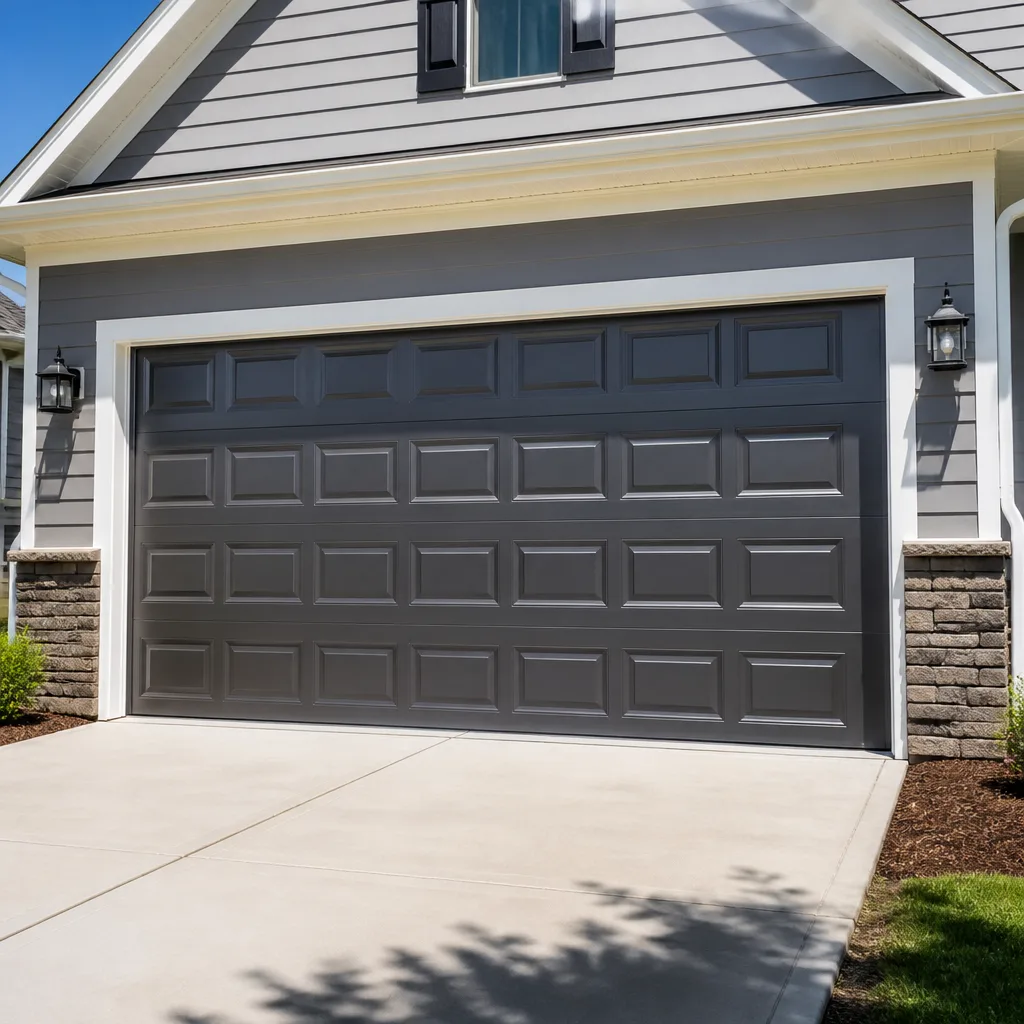 Raised-panel steel
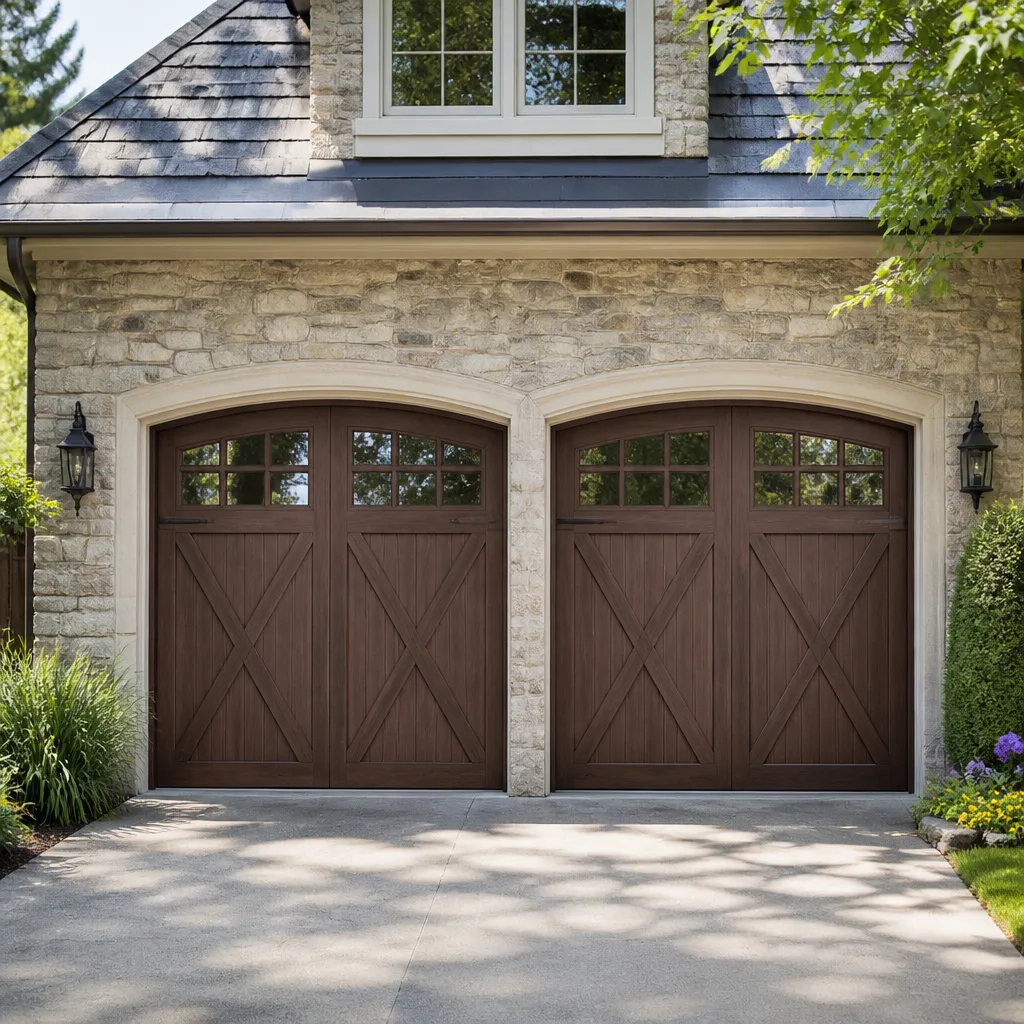 Carriage house
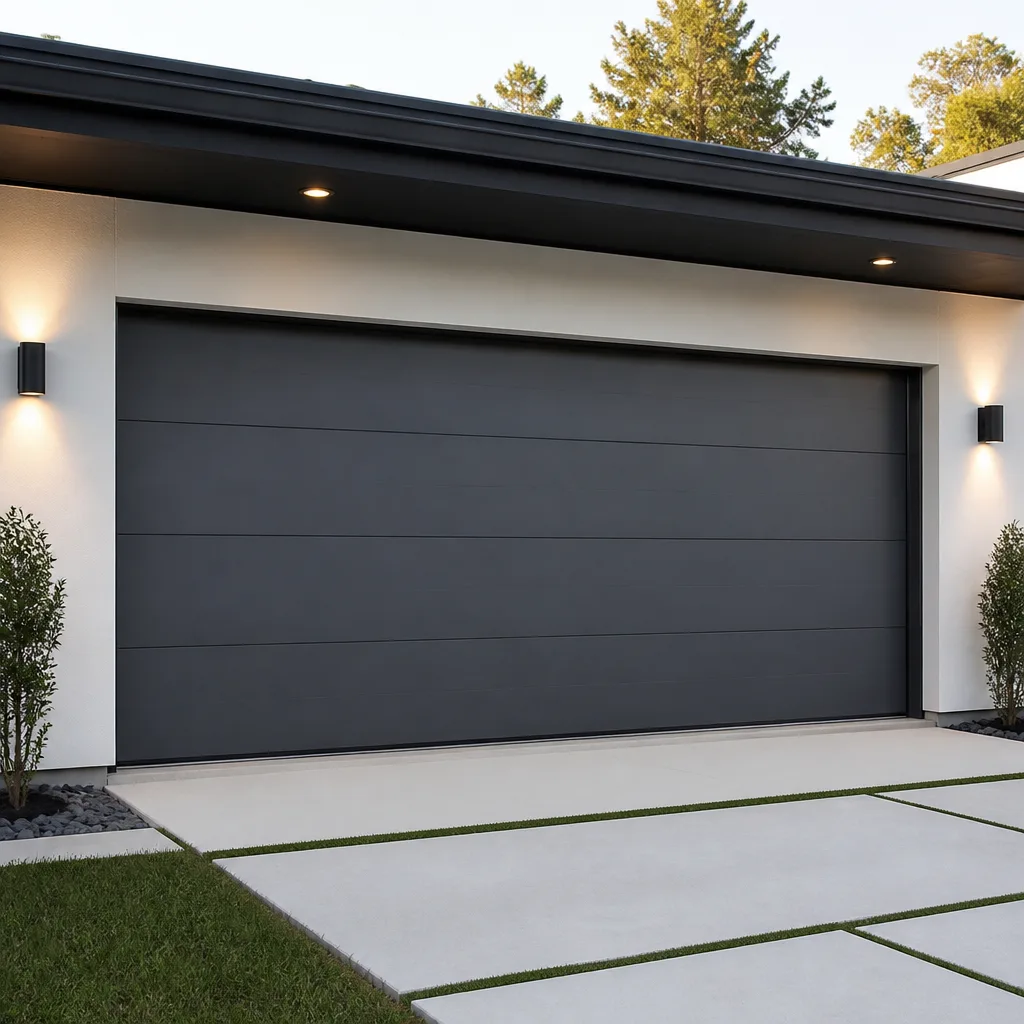 Modern flush
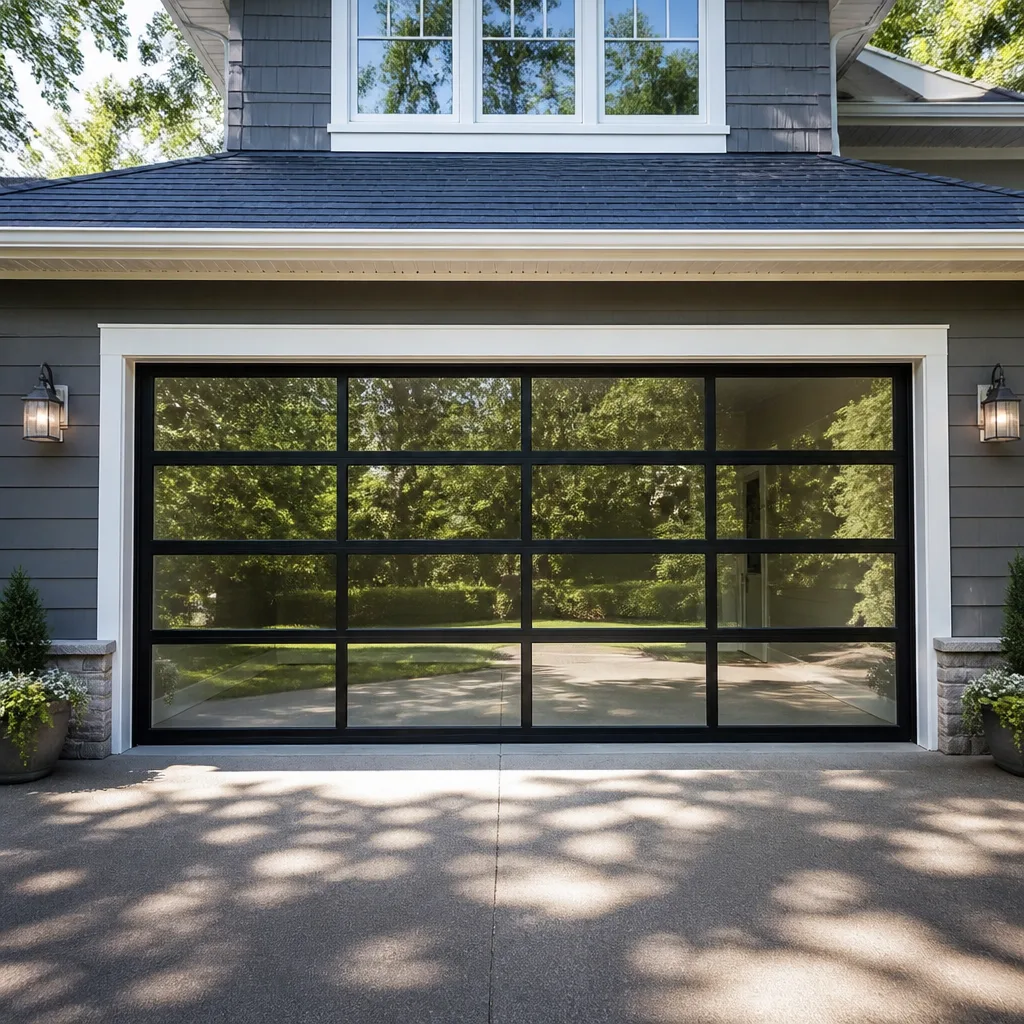 Full-view glass
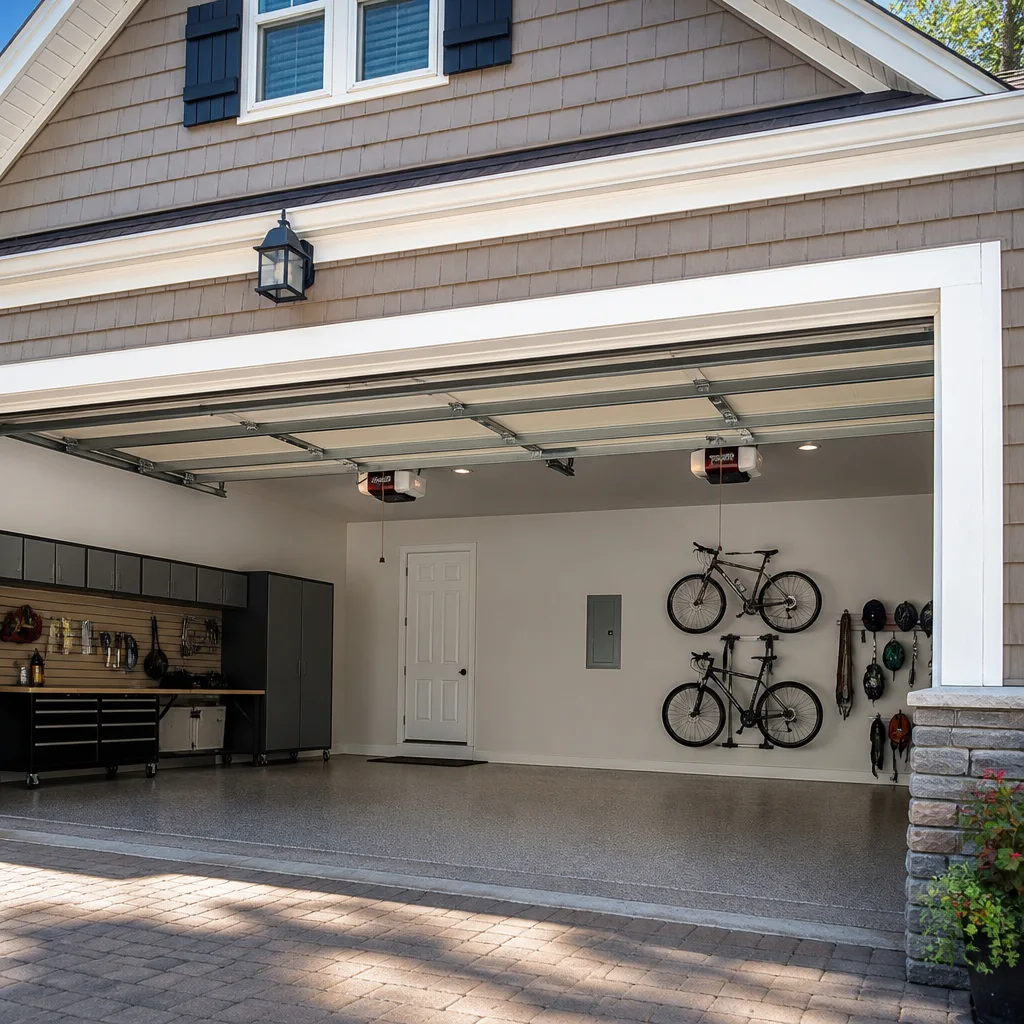 LiftMaster openers
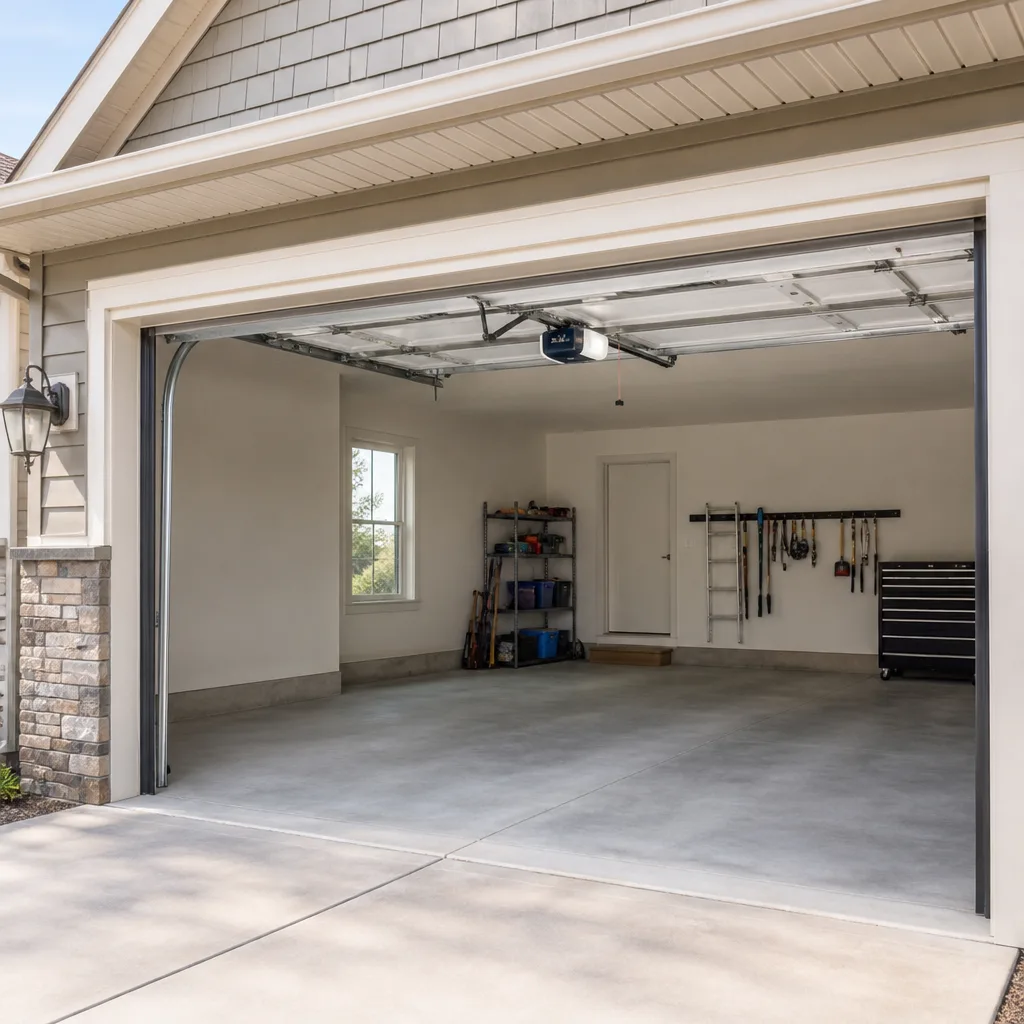 Chamberlain openers
Full 25-point door and opener safety check with every visit - springs, cables, rollers, tracks, and your LiftMaster or Chamberlain opener included
You get a price before we start. It does not change when the truck arrives.
Get your free estimateGarage Door Warning Signs: A Milpitas Homeowner’s Reference Guide
A grinding noise and a scraping noise coming from a garage door require completely different repairs, but nearly every homeowner describes both to a technician as “a weird sound.” That gap between what a door is doing and what the owner reports is where misdiagnosis happens, and misdiagnosis is how a $90 roller replacement becomes a $600 opener swap that doesn’t fix anything. This guide maps specific symptoms to specific causes so Milpitas homeowners can triage accurately, know when a repair is urgent versus routine, and walk into any service call with enough knowledge to spot a wrong diagnosis before it costs money. For How to Hire a Garage Door Contractor in Milpitas: A Step-by-Step Guide, see our companion resource.
Quick Answer
Garage door warning signs fall into five categories: sound, movement, balance, visual wear, and opener behavior. Each symptom maps to a specific component – grinding points to rollers or bearings, popping to torsion springs, rattling to loose hardware, scraping to misaligned tracks or worn hinges. The urgency question comes down to one rule: anything involving torsion springs or lifting cables is stop-use-now; anything involving rollers, hinges, or opener electronics is schedule-soon unless the door refuses to stay closed, at which point security overrides everything. Most Milpitas homes with attached garages should treat a door that won’t seal or won’t lock as a same-day issue regardless of the mechanical cause.
Styles & brands we work with
- Raised-panel steel
- Carriage house
- Modern flush
- Full-view glass
- LiftMaster openers
- Chamberlain openers
Table of Contents
- The Sound-to-Cause Diagnostic Map
- The Unassisted Door-Lift Test: Springs, Drums, and Balance
- Cable Warning Signs: What Stage 1 Fraying Looks Like vs. Stage 3
- Opener Behavior: Slow Response, Partial Reversal, Inconsistent Travel
- Hidden Panel Damage: What Weatherstripping Conceals
- Track Misalignment and Roller Wear in Milpitas Conditions
- What These Repairs Actually Cost in Milpitas
The Sound-to-Cause Diagnostic Map
Every garage door sound is a mechanical event. Something is making contact with something else, and the frequency, pitch, and rhythm of that contact tells you exactly what’s involved. Here’s what we listen for on service calls across Milpitas, from the Dixon Landing corridor to the hills off Calaveras.
Grinding (low, rough, continuous under load)
Grinding means metal-on-metal contact where there should be smooth rotation. Prime suspects, in order of likelihood:
- Rollers with failed bearings: Steel rollers without bearings grind against the track. This is a wear item. Most original-equipment rollers on Clopay, Amarr, and Wayne Dalton doors are steel without sealed bearings, and after 8-12 years of Milpitas dust cycles, the bearing surfaces wear out of round. Fix: roller replacement, typically all rollers on the door since the wear is uniform.
- Worn hinge barrels: The hinge pin area where the roller stem connects gets wallowed out. Symptom: grinding that changes pitch as the door passes through the curved track section.
- Opener drive gear: Grinding from the opener unit itself (not the door) almost always means the plastic worm gear inside a LiftMaster or Chamberlain drive assembly has started shedding teeth. This is a known failure point on chain and belt drive units after heavy use.
Scraping (metallic drag, often localized to one side)
Scraping is a clearance problem. Something is touching something it shouldn’t. Causes break down like this:
- Track misalignment: A track that’s drifted inward means the roller flanges now contact the track web instead of riding the channel. Common after a vehicle bump or a cable issue that pulled the door out of square.
- Worn rollers with flat spots: A roller that no longer rolls drags instead. Flat-spotted steel rollers scrape rhythmically – you’ll hear it as a repeating scrape-scrape-scrape at regular intervals as the door travels.
- Bottom weatherstrip dragging on the threshold: This is the false alarm we see often. If the door scrapes only at the last 2 inches of travel, it may just be weatherstrip meeting the concrete step. Worth checking before scheduling a technician.
Popping or Snapping (sharp, sudden, often while opening)
Popping that occurs while the door is moving, especially loud pops that sound like a cable binding, typically means torsion spring issues. When a spring’s coils rub against themselves, or when a spring begins to lose tension unevenly, the energy release makes a popping sound. In Milpitas garages, where temperature swings between 40°F winter mornings and 95°F summer afternoons accelerate spring metal fatigue, a popping spring is a warning. It hasn’t failed yet – but it’s communicating. If the popping is accompanied by visible gaps appearing between spring coils, the spring is unwinding and should be replaced before it lets go entirely.
Rattling (high-frequency chatter, usually at start/stop)
Rattling is loose hardware. Almost always. Hinge bolts backing out, roller stems with too much clearance in the hinge barrel, the opener rail’s mounting straps flexing. The fix is frequently a 20-minute tightening pass across every bolt on the door, but skipped long enough, loose hardware becomes component damage as the slack lets parts hammer each other.
Squealing (high-pitched, penetrating, continues when door stops)
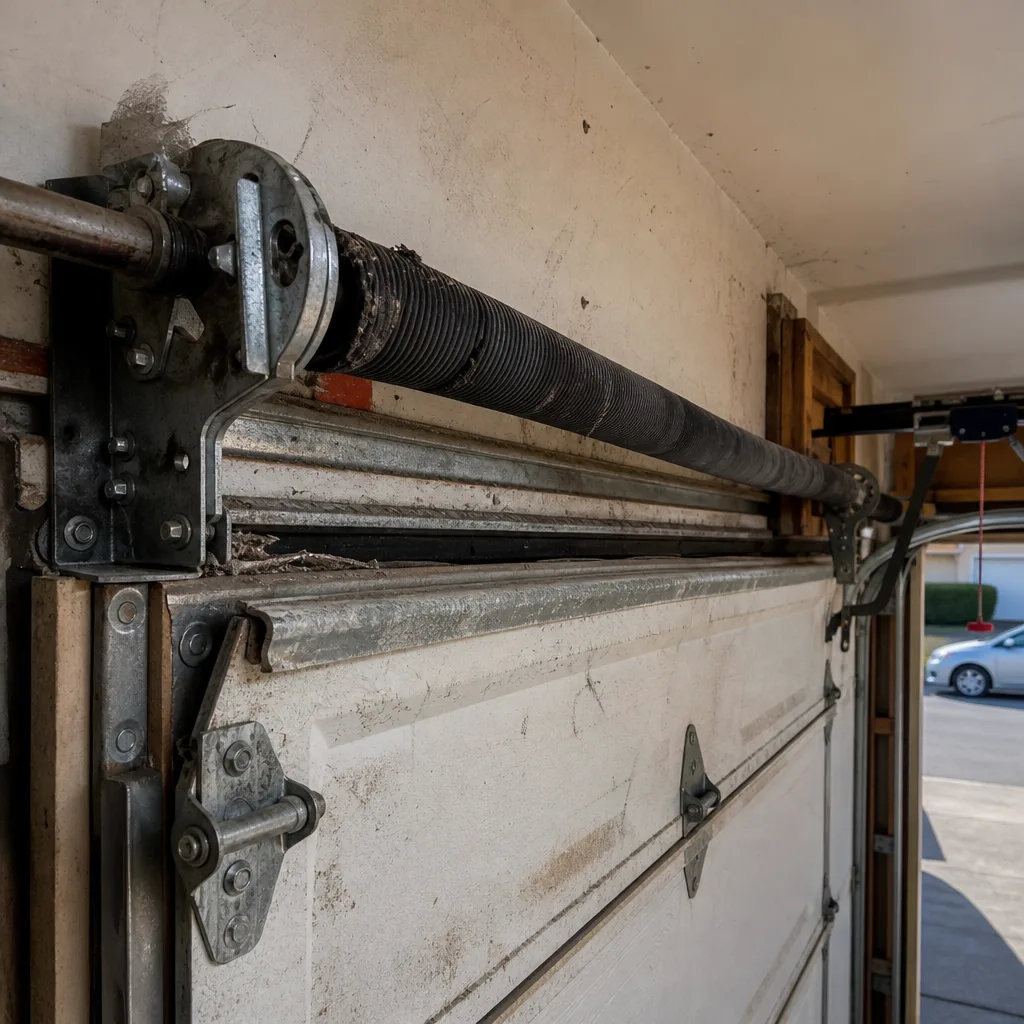
Squealing while the door moves and continuing briefly after it stops usually points to a bearing at the end of its life: end bearing plates at either end of the torsion tube, or less commonly, a tensioner pulley on the opener. These bearings are sealed units; when the grease fails and the inner race begins to gall, the noise is unmistakable. Replacement requires unloading the torsion assembly – this is not a DIY job on a loaded spring system.
The Unassisted Door-Lift Test: Springs, Drums, and Balance
A properly balanced garage door should hold position at roughly waist height when opened manually, without creeping up or dropping down. This test tells you more about the condition of your springs and cables than any visual inspection, and it takes 30 seconds.
Here’s the step-by-step:
- Disengage the opener. Pull the red emergency release cord while the door is closed. This disconnects the door from the opener carriage. On LiftMaster, Chamberlain, and Genie openers, this is a universal red handle hanging from the trolley.
- Manually lift the door to waist height. Grip the bottom handle or bottom panel. Lift smoothly, not jerkily.
- Release the door gently. Let go at approximately the halfway point of travel.
- Observe the door’s behavior.
Here’s how to read the results:
- Door stays put or drifts very slowly (within a few inches over 10+ seconds): Springs are healthy and balanced. Whatever issue you’re hearing is not a spring problem.
- Door drops quickly or slams to the ground: The torsion springs have lost tension, either through age, a cracked coil, or a failed spring on one side of a two-spring system. This is the single most common warning sign that a spring failure is imminent. Stop using the door and unplug the opener. A door in this condition can fall hard enough to damage the bottom panel or the tracks.
- Door rises on its own: Springs are over-tensioned, or you have a one-piece door with oversized springs (common retrofit error). Over-tensioned springs put excessive load on the opener and accelerate wear on every moving component.
- Door lifts easily for half the travel, then feels heavy, or vice versa: This almost always means a cable drum issue. The lift cables are winding unevenly on one or both drums, which changes the mechanical advantage as the door moves through its travel arc.
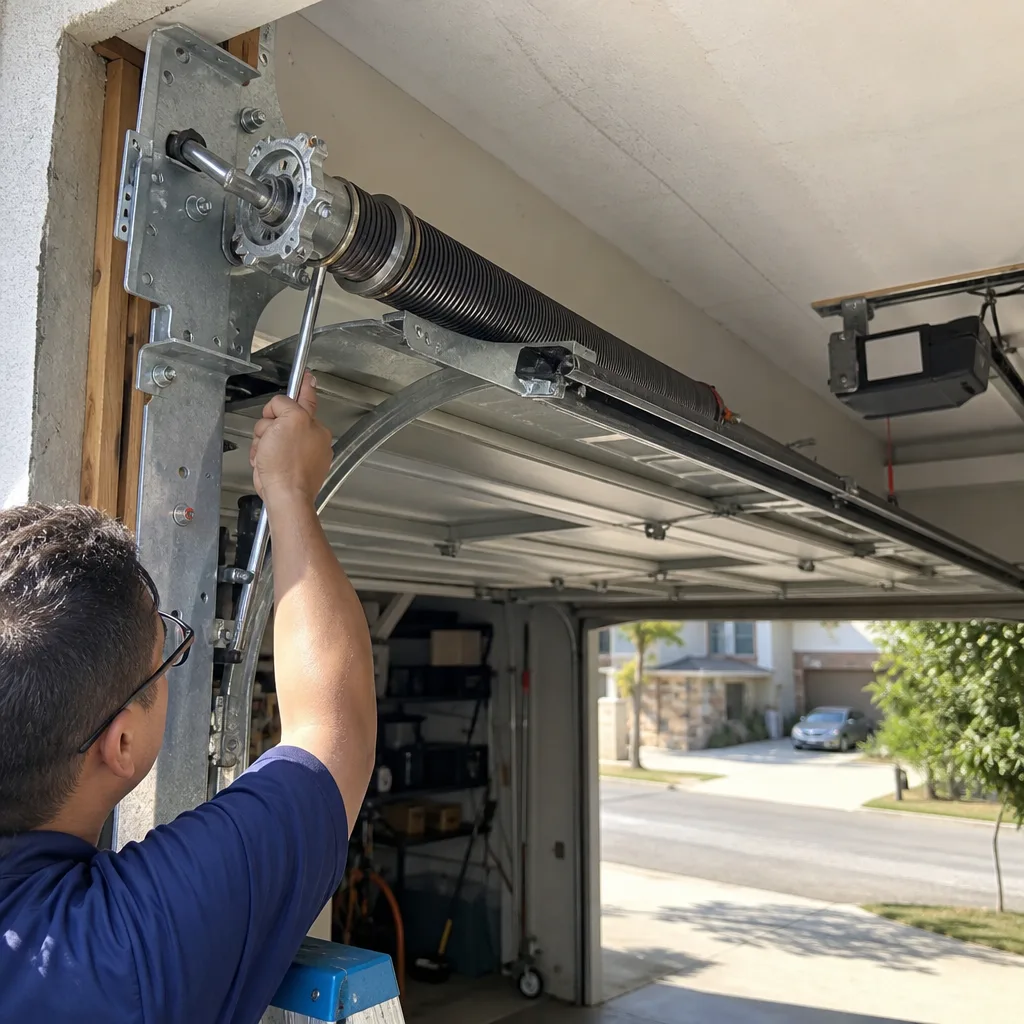
One important safety note: this test involves lifting a door that could be unbalanced. If the door feels “dead heavy” at any point in the lift, stop the test and lower it back down slowly. A door with a failed spring on one side can weigh 130-180 pounds, and it can come down faster than you expect. That weight is what makes torsion spring work genuinely dangerous – the spring is under enough tension to store the kinetic energy of a small car, and unbalanced loads transfer that energy unpredictably through cables, drums, and anchoring hardware. We never recommend a homeowner touch anything connected to a torsion assembly: springs, cables, drums, or the center bearing plate.
Cable Warning Signs: What Stage 1 Fraying Looks Like vs. Stage 3
Lift cables are the most under-inspected safety-critical component on a residential garage door. They’re 7×7 or 7×19 aircraft-grade steel cable assemblies under 130-250 pounds of constant tension, and they live in an environment where dust, humidity, and occasional salt air (for Milpitas homes near the bay side) accelerate corrosion. Cables fail in stages, and recognizing the stage tells you whether you’re scheduling a repair or calling a professional immediately.
Stage 1: Surface Fraying
What it looks like: individual strands of the outer layer have broken and are sticking out from the main cable body – look for raised “whiskers” of steel. There may be 3-8 broken strands concentrated near the cable drum or the bottom bracket attachment point.
What it means: the cable has lost a small percentage of its load capacity. The aluminum cable drum on the torsion tube has a grooved channel that’s manufactured to exact specs; when broken strands ride over each other in that groove, the cable starts cutting into the drum flange.
What to do: this is a schedule-soon condition, not a stop-use-now. A Stage 1 cable has weeks of safe life in most cases. Call a garage door repair company for a cable replacement. In Milpitas, this repair typically runs $110-$180 for a single cable, including the service call, and it’s done in under an hour by a qualified technician.
Stage 2: Necking or Flattening
What it looks like: a section of the cable has visibly narrowed (“necked down”) where multiple strands have broken inside the outer layer. Or the cable is flattened/ovalized from being crushed against the drum at some point in its travel.
What it means: at least 20-30% of the cable’s load-bearing strands are broken at that point. The remaining strands are carrying the entire door weight through a reduced cross-section, and the failure point is concentrated rather than distributed.
What to do: this is urgent. The cable should be replaced within days. Continued cycling will accelerate strand breakage at the necked section, and the breaking strands will damage the cable drum’s machined groove. A damaged drum groove means a drum replacement – a more expensive repair.
Stage 3: Visible Unwinding or Single-Strand Remaining
What it looks like: the cable has begun to “birdcage” (individual strands separating and bulging outward) or you can see the interior strand structure clearly. In extreme cases, only one or two strands remain intact.
What it means: catastrophic failure is imminent. When an unstranded cable breaks under full load, the door slams down on whatever side the cable was supporting. The torsion spring on that side unwinds with enough energy to bend the spring anchor bracket, and the door typically goes off-track, bending rollers and sometimes the track itself. The door becomes nearly impossible to lift manually.
What to do: stop using the door now. Don’t try to open it manually or with the opener. Block the door closed with a wedge if it’s in the down position, or have someone hold it steady if it’s partially open. Call a professional. This is the type of cable failure that turns a $150 cable replacement into a $500+ repair involving track straightening and realignment.
One other visual cable warning that’s often missed: rust staining at the bottom bracket. You’ll see a reddish-brown streak running down the bottom panel near the cable attachment point. That stain means moisture is collecting at the cable-to-bracket interface, and the cable is corroding from the inside out – even if the outer strands look fine.
Opener Behavior: Slow Response, Partial Reversal, Inconsistent Travel
Opener repair is its own specialty, and there’s a reason for that. A garage door opener is a logic board, a motor, a drive mechanism (chain, belt, or screw), a carriage assembly, and two safety sensors, all operating in an environment with temperature swings, vibration, dust, and occasional moisture. When an opener misbehaves, most homeowners assume it’s “the motor” – but motor failure is actually rare. The three most common opener warning signs map to three completely different subsystems:
Slow Response (delay between button press and motor engagement)
A delay of more than 1-2 seconds between pressing the wall button or remote and hearing the opener motor run can mean:
- Logic board capacitor aging: The start capacitor on the control board loses capacity after 6-10 years. Symptom: the delay gets progressively longer over weeks. This is most common on Genie and older Chamberlain units.
- Remote signal interference: In densely packed Milpitas housing tracts, 2.4 GHz congestion from Wi-Fi routers is a real issue. If the wall button responds instantly but the remote is delayed, the problem is signal, not motor.
- Limit switch corrosion: The up/down limit switches on older mechanical-style openers oxidize. The opener “thinks” about the command briefly before closing the circuit.
Partial Reversal (door starts closing, then reverses and reopens)
This is the most common opener complaint, and the cause is usually not the opener’s “brain.” Check these in order:
- Safety sensor misalignment or obstruction: The sensors at the bottom of the door track, one with a green light and one with an amber light, must have an unobstructed line of sight. If a passing car, a broom, or a curled floor mat breaks the beam during travel, the door reverses. If the LED indicator is blinking or out entirely, the sensors are misaligned or have a wiring problem. This accounts for 60-70% of “reversal” service calls.
- Force setting too low: Every opener has a force-setting dial or digital adjustment that tells it how hard to push. If the door has gotten heavier (worn rollers, dry bearings, sagging springs), the opener literally can’t pull it down without exceeding its force limit and reverses for safety. This is the opener correctly doing its job – the door needs mechanical attention, not opener replacement.
- Motor load sensor failing: When the motor’s RPM-sensing circuit starts to misread, the door can reverse mid-travel with no physical obstruction. This is a logic board issue, not a door issue, and it usually happens on units 8+ years old. On LiftMaster and Chamberlain models, this sometimes manifests alongside flickering LED bulbs in the opener head.
Inconsistent Travel (door stops at different points on different cycles)
If the door closes fully one cycle, stops 3 inches short the next, and overshoots by an inch the cycle after that, you’re likely dealing with:
- Travel limit module drift: On newer Wi-Fi-connected LiftMaster and Chamberlain openers, the travel module can lose its calibration after power surges or firmware updates. A recalibration often restores consistent travel. No parts needed.
- Gear wear on the drive assembly: The plastic worm gear in the main drive has unevenly worn teeth. Symptom: the door travels inconsistently AND the opener makes a slipping/grinding sound. This is the most common hard-failure mode on chain drive LiftMaster and Chamberlain models built before 2015, and it’s a straightforward part replacement for a technician.
- Carriage position sensor issue: The optical interrupter wheel that tracks door travel accumulates dust and grease. Symptom: the door may travel short, then the opener’s light flashes 10 times (a diagnostic code on most lifts). Cleaning the interrupter often resolves it temporarily, but replacement is the permanent fix.
- Moisture wicks under the weatherstrip retainer. The aluminum retainer channel that holds the weatherstrip is screwed to the bottom of the panel. When water pools on the garage floor (a daily occurrence in winter with car drippage), the channel traps moisture against the steel panel skin. Over years, this creates rust at the very bottom edge of the panel.
- The panel skin delaminates. Rust expands as it forms, so the exterior steel skin starts to separate from the foam core. The first visual indication is a subtle bubbling or a faint horizontal crease line about 1.5 inches up from the bottom edge of the panel – directly behind where the weatherstrip anchors.
- Structural failure begins. The bottom brackets that hold the lift cables are mounted about 3-4 inches up from the bottom corners of the panel. When the steel skin delaminates, those brackets lose their engineered load path. The bracket starts to flex on every open/close cycle.
- The panel buckles, and the door goes off-track. Eventually, the bottom corner folds on the bracket mount. The cable goes slack on that side, the door becomes unbalanced, and a roller leaves the track. This is the failure sequence behind a significant percentage of “sudden” off-track door events that we see on older Clopay and Amarr doors in Milpitas.
- The door binds at the same point on every cycle. A consistent “catch” at a particular spot in the travel means a track section is out of parallel with the opposite side. The rollers wedge briefly, then pop through – which you feel as a jerky movement.
- Gap appears between rollers and tracks at rest. With the door closed, look at the top of each vertical track where it meets the horizontal curve. A healthy track has the roller stem centered in the track channel, with equal clearance on both sides. If you see daylight on one side and contact on the other, the track is out of square.
- Scraping sound that’s worse in summer. Thermal expansion pushes the already-misaligned track further into the roller path when the garage gets hot. This is a classic Milpitas symptom: a door that’s quiet in January and noisy in July.
- Roller replacement (full set): $90-$140 for nylon rollers with sealed bearings. Steel roller replacement: $60-$90. Includes labor.
- Hinge replacement (per hinge): $30-$55 depending on hinge size. A full door typically has 11-14 hinges.
- Cable replacement (single): $110-$180 including service call and safety check of the spring system.
- Track realignment (single side): $80-$140. Full realignment on both sides: $150-$220.
- Torsion spring replacement (standard 2-spring system): $250-$380 including springs, labor, and balancing. Single spring: $180-$280.
- Opener repair (gear, sensor, or travel module): $140-$290 depending on the part and whether the opener is belt, chain, or screw drive.
- Bottom panel replacement (single panel): $300-$550 depending on the door brand and whether the panel is still available from the manufacturer. On older doors with discontinued panel designs, a full door replacement may be the only option, which runs $1,200-$2,800 installed for a standard 2-car door in Milpitas.
The takeaway: when an opener misbehaves, don’t assume replacement. A systematic diagnosis – sensors first, force settings second, drive gear third, logic board last – finds the real cause in the vast majority of cases. No replacement pitch if a repair will do.
Hidden Panel Damage: What Weatherstripping Conceals
Garage door panels are built like a sandwich: a steel skin on the outside, a steel skin on the inside, and a foam insulation core in between. The bottom panel is the most heavily engineered piece on the door – it carries the full weight of the door through the bottom brackets, and it’s the panel most likely to suffer hidden damage that owners never see.
The bottom weatherstrip – that rubber or vinyl blade that runs along the bottom edge and seals against the concrete – actually hides the failure zone. Here’s what happens in sequence:
Here’s the key warning sign to check: look at the bottom bracket attachment area from inside the garage. If you see rust staining running down from the bracket screws, or if the bracket wiggles when you push on it (with the door closed and the opener disengaged), or if the bottom panel “gives” slightly when you push on it from inside – those are the early indicators of hidden panel damage.
This is also why panel damage and cable damage often show up together. A compromised bottom panel will eventually destroy the cable tension balance, which accelerates cable wear, which leads to the off-track event. By the time the door is visibly off-track, the root cause has often been developing for a year or more.
Track Misalignment and Roller Wear in Milpitas Conditions
Milpitas sits in a microclimate that’s particularly hard on certain garage door components. Summer daytime highs regularly pass 85°F in the valley floor, and winter overnight lows can dip into the high 30s. That’s a 50-degree annual temperature swing on a steel track system, and the expansion/contraction cycle gradually loosens track mounting bolts and shifts the track’s perpendicular alignment relative to the door panels. Our Seasonal Garage Door Care for Milpitas: Year-Round Homeowner’s Guide covers how to stay ahead of this wear pattern.
In the hills above Piedmont Road and around the Calaveras Ridge area, we also see doors that have settled slightly because of soil movement. The garage slab shifts, the door opening is no longer perfectly square, and the tracks, which were installed square to the opening, are now fighting the geometry. Symptoms of track misalignment that indicate this condition:
Roller wear is the companion issue. Most Milpitas doors built in the last 20 years were installed with standard steel rollers. Steel-on-steel contact in a track while dust from the 880/680 corridor accumulates creates a grinding compound effect. The rollers develop flat spots, the track channel wears unevenly, and the combination quietly degrades both components.
Nylon rollers with sealed ball bearings solve both the noise and the wear acceleration for most doors. The upgrade typically costs between $90 and $140 for a full set on a standard 7-foot two-car door, and it’s one of the highest-value improvements you can make to an older system – quieter operation, less track wear, and longer component life across the entire door. This is a service Garage Door Service Milpitas performs regularly on Clopay, Amarr, and Wayne Dalton doors throughout the area. For help selecting components, see Choosing the Right Garage Door Brand: A Buyer’s Guide for Milpitas.
What These Repairs Actually Cost in Milpitas
Every homeowner wants a ballpark before they call. Here’s what garage door repairs typically run in the Milpitas market as of 2025. These are ranges, not quotes – your door, brand, and specific failure will determine the final number, and any reputable technician should give you a firm price before starting work.
Two important notes on pricing. First, the price is quoted and agreed before any work starts – a technician who won’t commit to a firm number before touching the door is a red flag. Second, the lowest quote often means the tech is using the cheapest available springs or rollers, which have shorter lifespans. Economy torsion springs are typically rated for 10,000 cycles (about 5-7 years of normal use in a Milpitas home), while upgraded springs are rated for 20,000-30,000 cycles. Longevity matters more than the $40 savings on the part.
Common Mistakes to Avoid
- Lubricating a grinding door with WD-40. WD-40 is a solvent and rust inhibitor, not a lubricant. It strips whatever grease remains and leaves the metal dry. Use a garage door-specific lubricant (white lithium or silicone spray) on rollers, hinges, and spring coils. Wrong lubricant is worse than no lubricant.
- Continuing to run a door with one broken spring. A two-spring door with one broken spring puts the entire lifting load on the remaining spring, the opener, and the cables. The remaining spring now carries double its designed load. Every additional cycle accelerates failure. Stop using the door.
- Adjusting the opener’s force setting to “fix” a heavy door. If the door has become structurally harder to lift, the issue is mechanical – worn rollers, sagging springs, or misalignment. Crank up the opener’s force to compensate and you’re masking the symptom while the real problem gets worse and the opener motor burns out early.
- Ignoring a blinking sensor light. A blinking LED on the safety sensor is a diagnostic code, not a random flicker. Blinking often indicates misalignment. Solid but dim means dirty lens. Off means wiring. Each has a specific fix, and all three affect the reversal behavior.
- Replacing the opener when the door is the problem. We regularly get calls from Milpitas homeowners who had another company replace a working opener because “it wasn’t closing right” – and the actual problem was a sagging torsion spring or a misaligned track. Opener replacement doesn’t fix door balance. Diagnose the door first, the opener second.
- Painting over rust on the bottom panel without addressing the cause. If the bottom panel is showing rust, painting it makes the problem invisible without fixing the water-trapping condition underneath. The panel continues to degrade behind the paint, and the bottom bracket eventually fails. Fix the drainage and seal first, then do cosmetic work.
- Waiting to replace a frayed cable because “it still works.” Cable failure is sudden and it happens at the worst possible moment – usually when the door is halfway open and the spring is at maximum tension. A $150 cable replacement is cheaper than a $500 off-track repair.
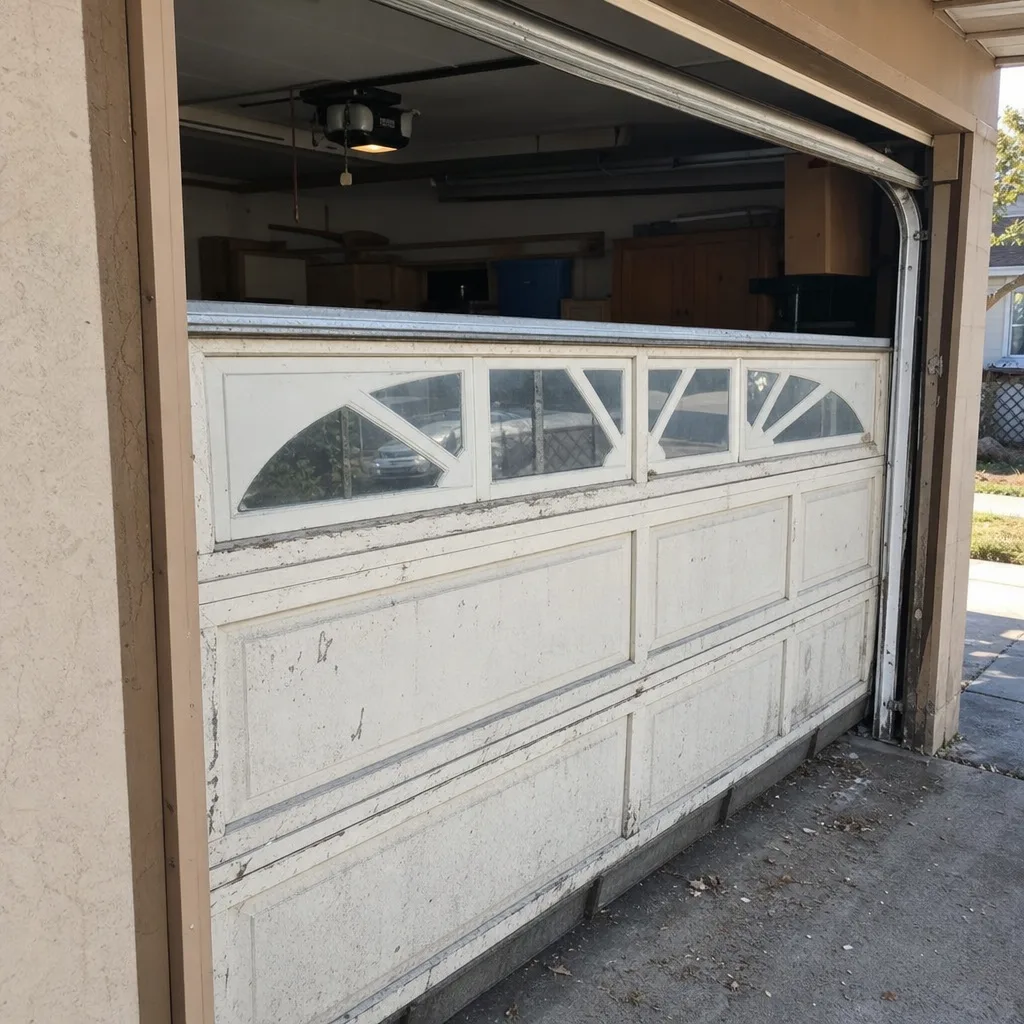
See the difference
 Before
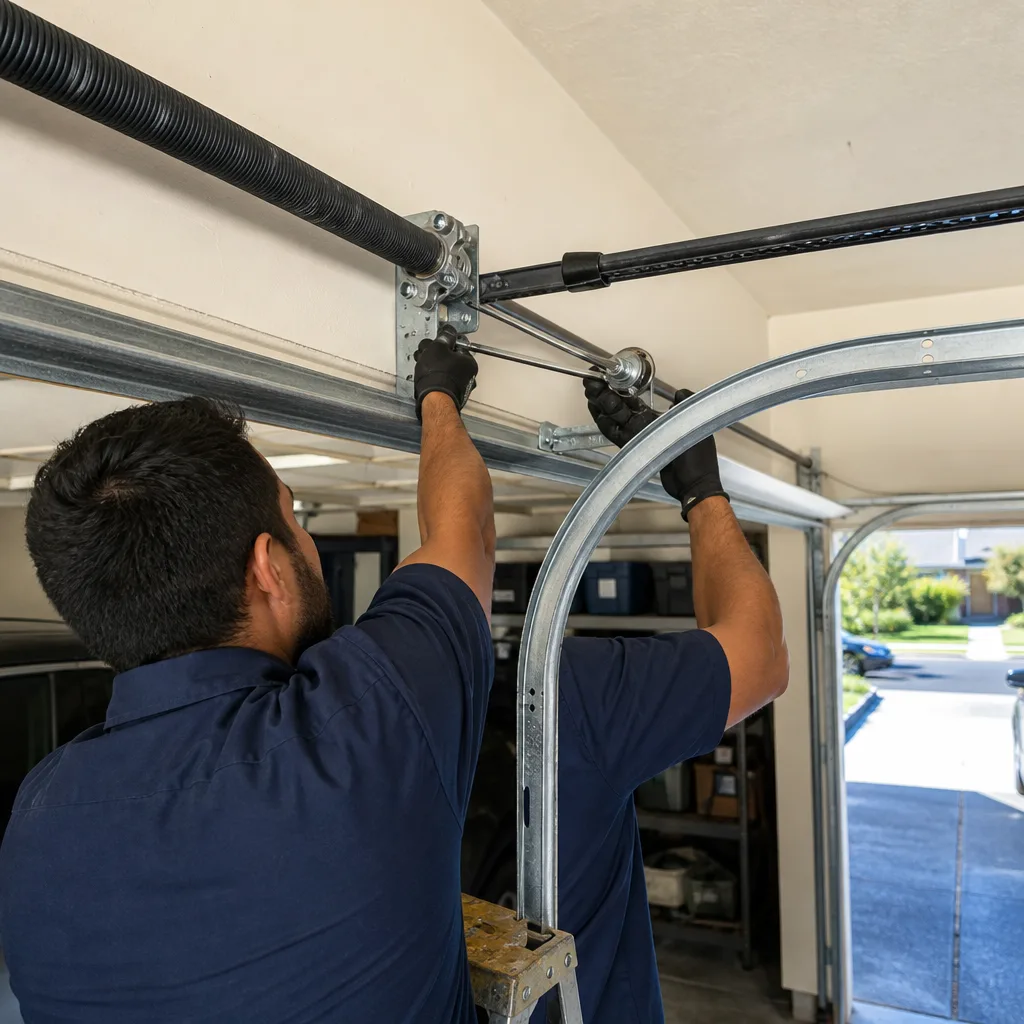 After
 Before
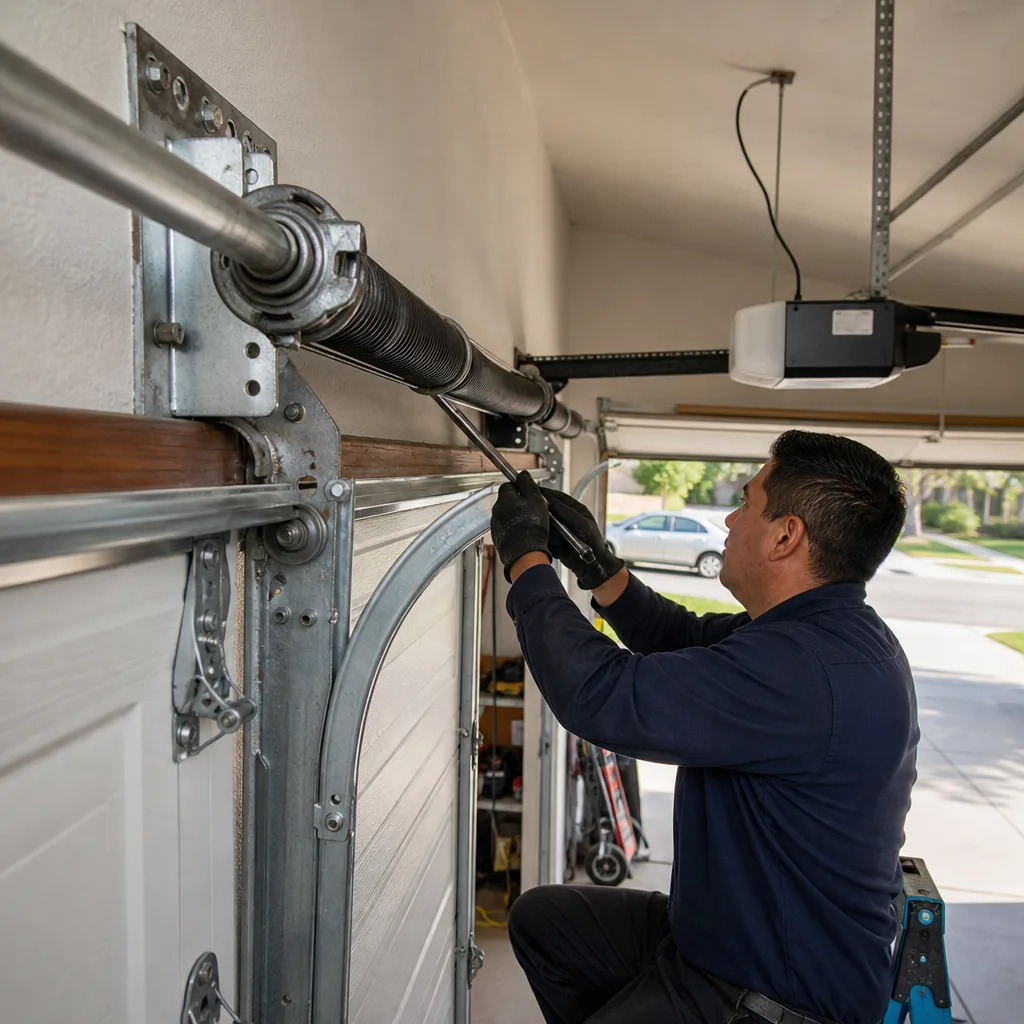 After
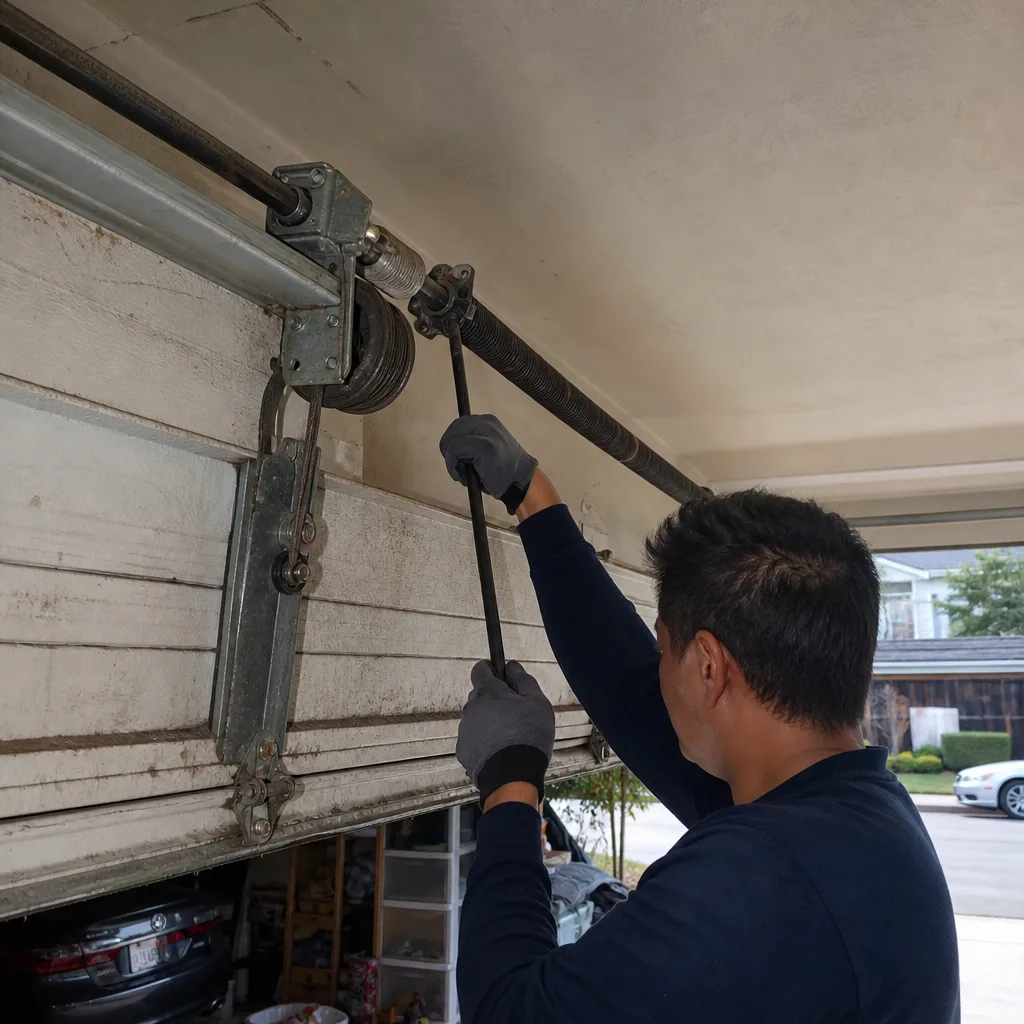 Before
 After
When to Call a Professional
Call a professional when the warning sign involves any component under spring tension: torsion springs, extension springs, lift cables, cable drums, and the bottom brackets that anchor them. These parts store and transfer enough kinetic energy to cause serious injury if they fail while being handled, and the failure mode is often sudden rather than gradual. The same applies to any issue that has already caused the door to come off its tracks – an off-track door under partial spring load is dangerous to reposition.
For everything else – grinding rollers, rattling hardware, misaligned sensors, opener drive gear wear – the threshold for calling versus continuing to monitor is simple: if the symptom is getting louder, happening more often, or changing in character, it’s getting worse. Garage door problems never heal on their own. Garage Door Service Milpitas offers free estimates in Milpitas – call (833) 589-9493. Our technicians are trained across eight major brands – LiftMaster, Chamberlain, Genie, Clopay, Amarr, Wayne Dalton, Craftsman, and Raynor – so the diagnosis starts with the system you already own, not a pitch for what we’d rather sell you. Explore more guides & resources on our blog.
Frequently Asked Questions
The most common warning sign we see in Milpitas is a grinding noise that gets progressively louder, almost always from worn steel rollers on doors that were installed 10+ years ago with original-equipment rollers. Milpitas’s combination of valley dust and summer heat accelerates roller wear faster than in coastal cities, and most homeowners don’t address it until the door starts jerking or binding. Call (833) 589-9493 for a free estimate if your door has started grinding – roller replacement is one of the most cost-effective repairs on a garage door.
You’ll notice one or more of these indicators: the door feels heavy when you lift it manually, it drops quickly when released at the halfway point, the springs have visible gaps between coils where the steel has stretched, or you hear a popping sound when the door moves. Any one of these means spring replacement is coming, and the fresher the diagnosis, the less likely you’ll be dealing with a door stuck closed at 7:00 AM. Operating the door with a failing spring also damages the opener gear train, turning a $250 spring job into a $650 combined repair.
Yes, and it falls on the side where the cable broke, not straight down. The door drops unevenly, the bottom panel hits the floor at an angle, and the shock typically bends a track or a roller bracket. This is why visible cable fraying is a stop-use-now at Stage 2 or 3. The doors have no secondary cable retention on residential systems – when a cable parts, the only thing holding that side of the door is friction and the remaining intact components.
Spring replacement typically runs $180-$380 in Milpitas depending on whether the door has one spring or two, the spring’s cycle rating, and the door size. A standard 7-foot door with two torsion springs rated for 20,000+ cycles runs toward the higher end. The price should always be quoted before work starts, and a reputable technician will include spring balancing and a door safety inspection in the quote. Call (833) 589-9493 for an exact quote.
Nine times out of ten, an unexplained reversal means the safety sensors at the bottom of the door track have lost their alignment or something is intermittently crossing the infrared beam. Check that both sensor lights are solid (not blinking), that nothing is stored in front of the sensors, and that the sensors are pointed directly at each other. If the sensors are fine and the door still reverses, the issue is likely the opener’s force settings or a failing motor load sensor – both of which a technician can diagnose in one visit.
Panel replacement is possible on many doors if the manufacturer still produces that panel design. Clopay and Amarr maintain panel inventories for most models sold in the last 10-15 years, but older or discontinued designs often can’t be matched. If the door is 20+ years old, the more cost-effective option is usually full replacement because the remaining panels have the same age and wear profile as the damaged one. A technician can quote both options. If panel replacement is viable, it typically runs $300-$550 including installation in Milpitas.
The Bottom Line
Garage door warning signs are mechanical messages. A grinding noise, a popping spring, a frayed cable, a blinking sensor – each one maps to a specific component with a specific failure timeline and urgency level. The trick is learning to read the symptom instead of guessing at it. Torsion springs and lift cables demand immediate attention; worn rollers and opener electronics can usually wait a few days. What they all share is that neglect converts every problem into a bigger one. Milpitas conditions – valley heat, dust, occasional soil settlement – accelerate the wear curves on every door component. If you’ve spotted one of the warning signs in this guide, get it looked at before the symptom becomes a breakdown. The team at Garage Door Service Milpitas works on all eight major brands – including LiftMaster, Chamberlain, Genie, and Raynor – and offers free estimates in Milpitas. Call (833) 589-9493 to schedule a diagnosis. For more on our core services, see our Garage Door Repair in Milpitas page, our Garage Door Opener Repair in Milpitas page, and our Garage Door Installation in Milpitas page. Our Garage Door Service Milpitas home page has the complete overview of our service area and capabilities.
Written by the team at Garage Door Service Milpitas, serving Milpitas since 2011.