
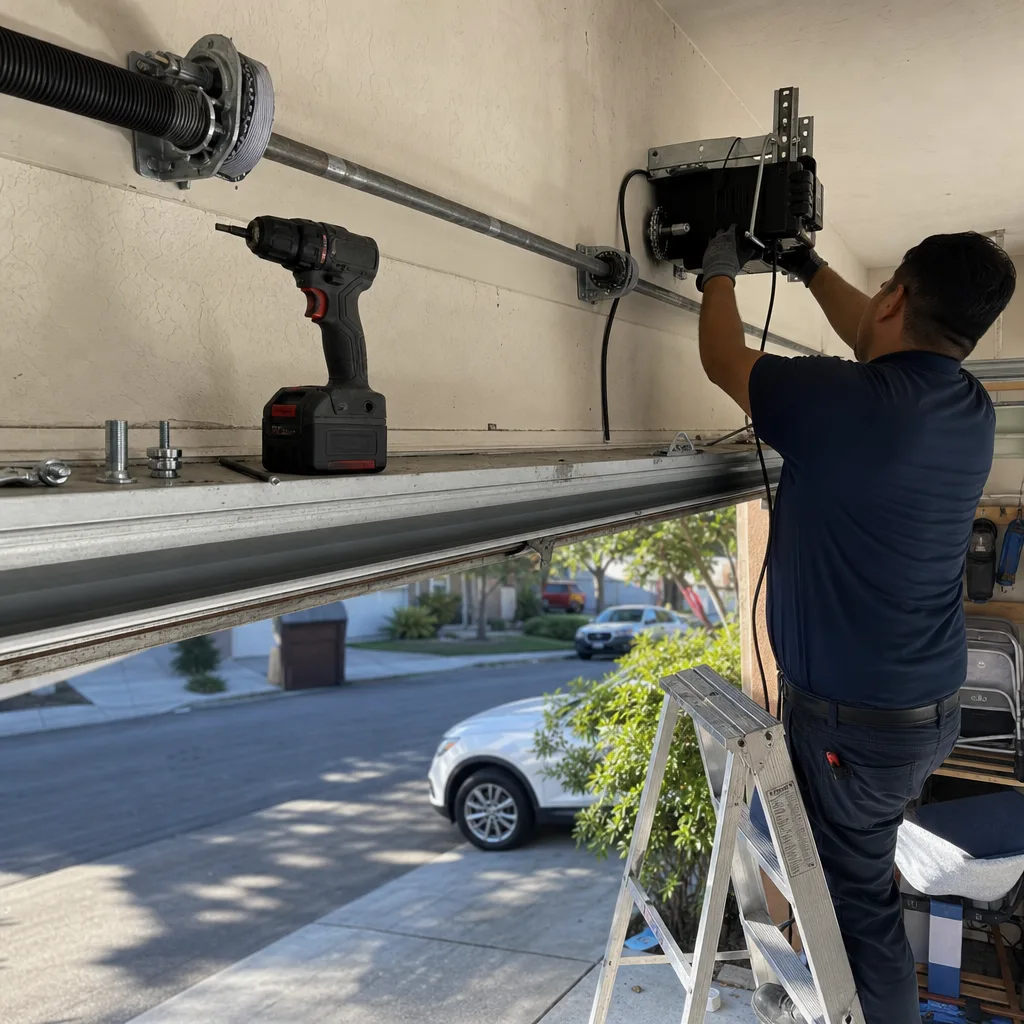
Last updated November 2, 2026
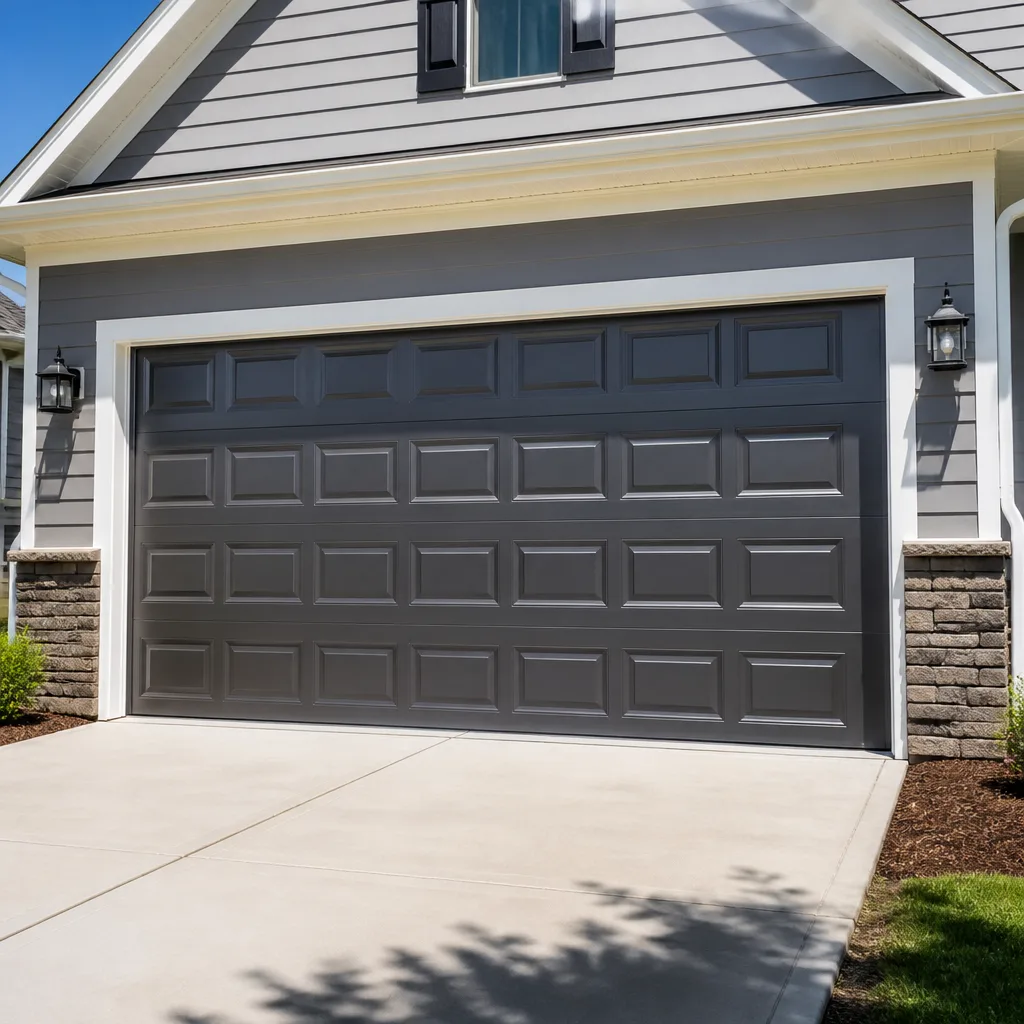 Raised-panel steel
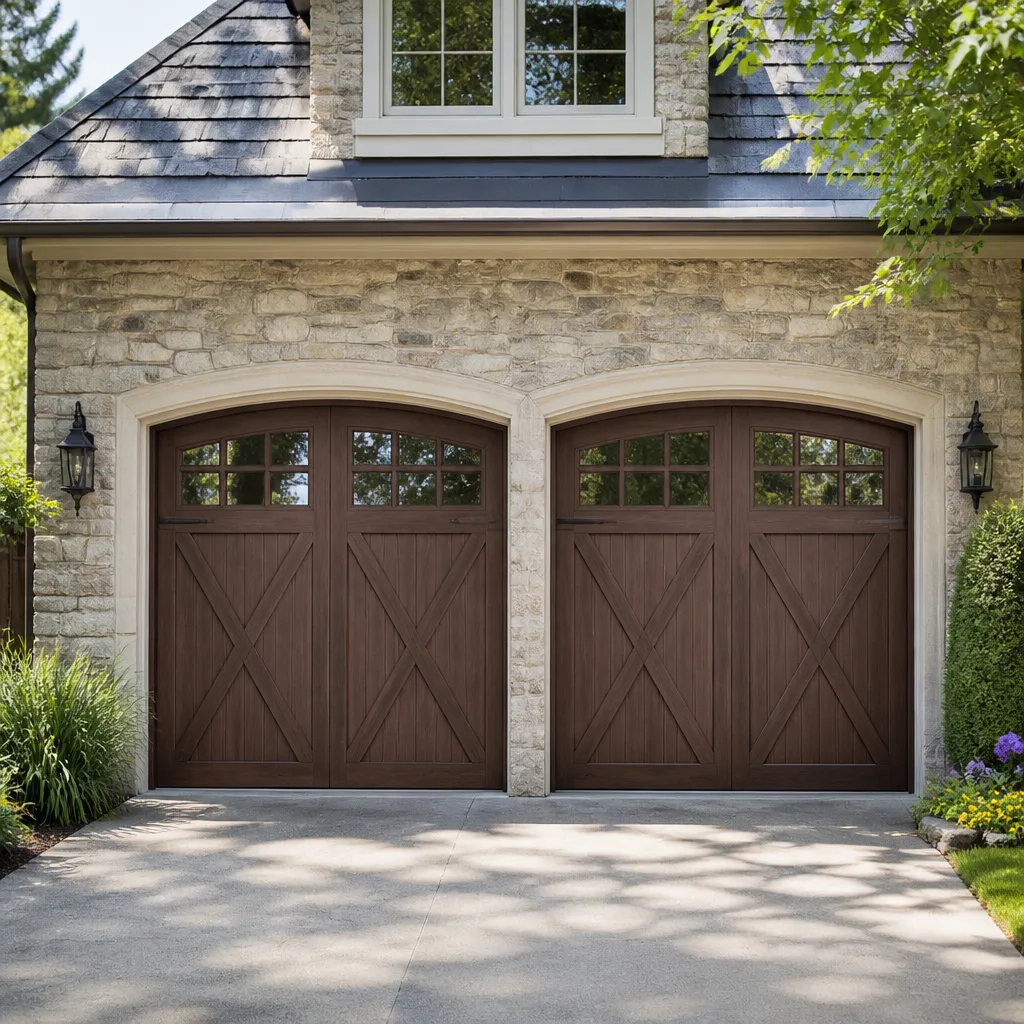 Carriage house
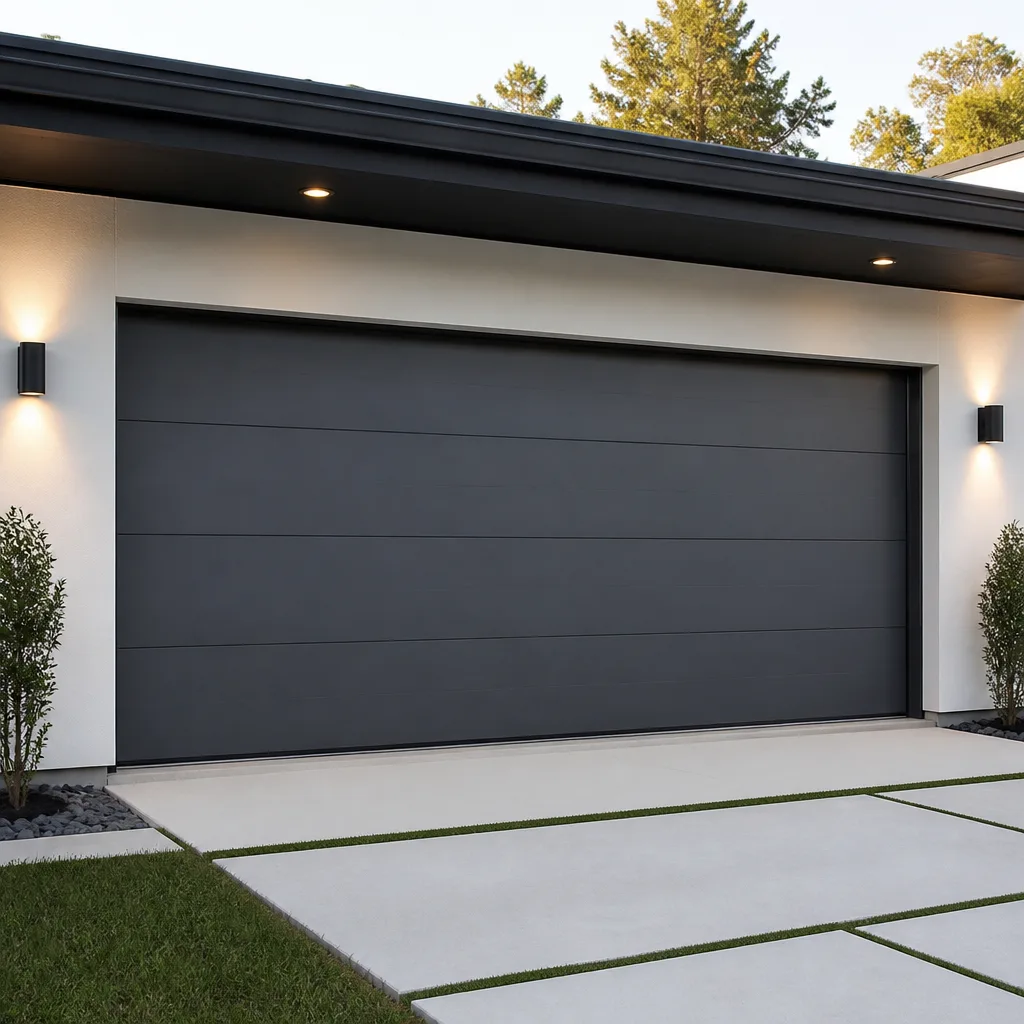 Modern flush
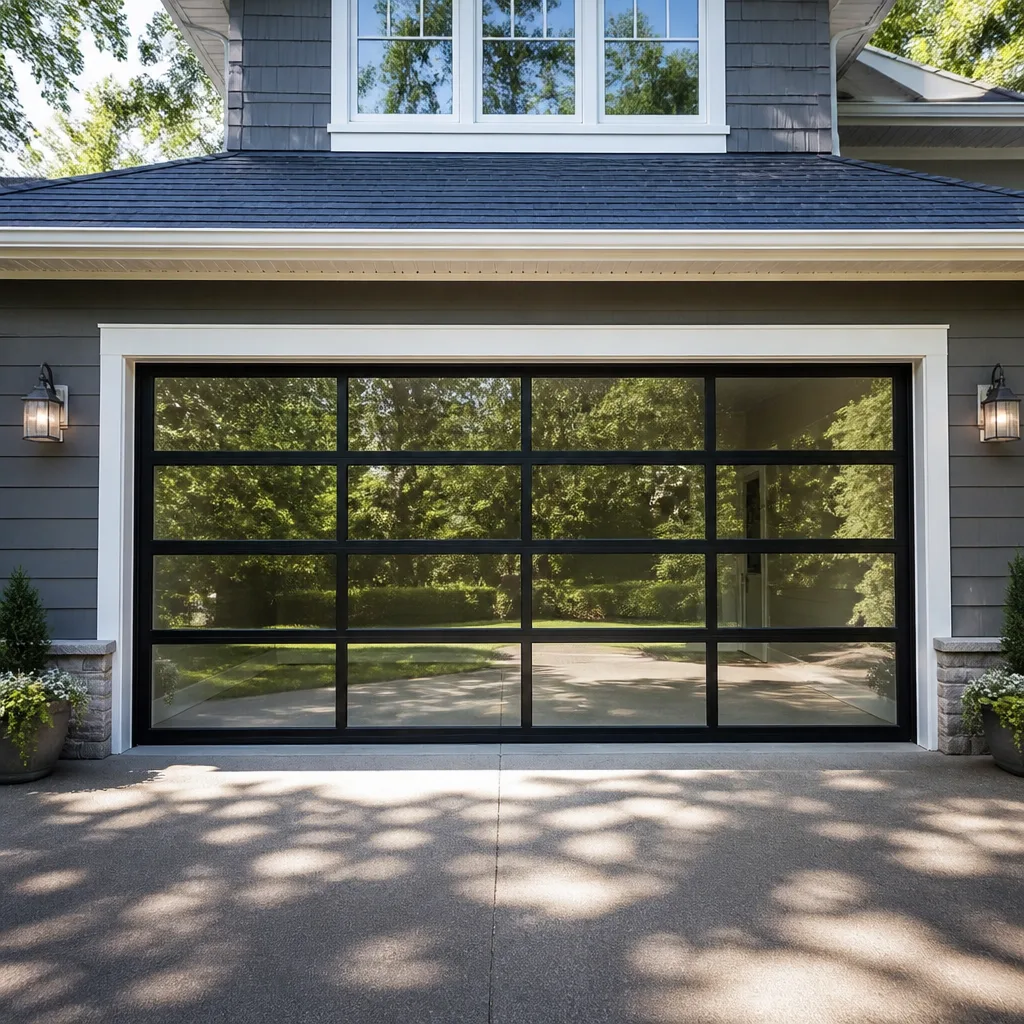 Full-view glass
 LiftMaster openers
 Chamberlain openers
Full 25-point door and opener safety check with every visit - springs, cables, rollers, tracks, and your LiftMaster or Chamberlain opener included
You get a price before we start. It does not change when the truck arrives.
Get your free estimateGarage Door Repair Troubleshooting: Common Problems and How to Fix Them
Type “garage door won’t close” into a search engine and you’ll get the same photoelectric sensor fix on nearly every site. That answer is correct for roughly one in five cases. The other four are different problems wearing the same symptom: a failing logic board, a stripped drive gear, a broken tension spring, or travel limits that drifted out of calibration. Most troubleshooting guides skip this reality. They hand you a single fix and leave you standing in the driveway when it doesn’t work. This guide is different. We’ve built it around the diagnostic logic our technicians use every day in Milpitas, CA, where the same garage door brand can behave completely differently depending on its opener generation and drive type. For a deeper look at common issues, see our Garage Door Warning Signs: A Milpitas Homeowner’s Reference Guide. You’ll learn how to isolate the real fault without replacing parts blindly, and when a problem genuinely needs a technician’s hands.
Quick Answer
Garage door troubleshooting starts with identifying your exact symptom, then narrowing the cause by opener drive type (belt, chain, screw, or direct), opener generation, and door balance condition. Most common failures trace to five component groups: springs, sensors, travel limits, drive mechanisms, and logic boards. A door that won’t close is usually a sensor or limit issue, while a door that won’t open points to a broken spring or failed drive gear.
Styles & brands we work with
- Raised-panel steel
- Carriage house
- Modern flush
- Full-view glass
- LiftMaster openers
- Chamberlain openers
Table of Contents
- Symptom-First Diagnosis: Why Your Door and Your Neighbor’s Door Aren’t the Same Problem
- The Safety Baseline: What to Check Before Anything Else
- Symptom: The Door Won’t Open (Or Opens a Few Inches and Stops)
- Symptom: The Door Won’t Close (Or Reverses Midway)
- Symptom: The Door Is Noisy, Jerky, or Shakes During Operation
- Symptom: The Opener Runs But the Door Doesn’t Move
- Decoding Error Codes: What LiftMaster, Chamberlain, Genie, and Craftsman Are Actually Telling You
- Sensor vs. Logic Board vs. Travel Limits: Three Problems That Look Identical
- Documenting the Failure: What to Note Before Calling a Technician
- Common Mistakes to Avoid
- When to Call a Professional
Symptom-First Diagnosis: Why Your Door and Your Neighbor’s Door Aren’t the Same Problem
The biggest mistake in garage door troubleshooting is treating every door as if it were the same machine. They aren’t. A Craftsman chain-drive opener from 2005 uses a completely different travel-limit system than a LiftMaster belt-drive unit installed in 2021. A Wayne Dalton door with a TorqueMaster spring system fails differently than a standard torsion spring setup, and the repair path is not interchangeable. When a generic guide tells you to “adjust the travel limits,” it assumes you have an opener with physical limit screws. Many modern units set limits digitally through a wall console. If you go looking for a screw that doesn’t exist, you’ll waste an hour and possibly introduce a new problem.
Our Garage Door Repair in Milpitas work starts with two questions: what brand and model opener is on the ceiling, and what door hardware is on the track. The answer routes the diagnosis down an entirely different branch. A Genie screw-drive opener that reverses before fully closing, for instance, behaves that way for different reasons than a Chamberlain belt-drive showing the same symptom. Understanding your equipment first is what turns a parts-swapping guess into an actual diagnosis.
How to Identify Your Equipment
- Find the opener’s model sticker. It’s usually on the motor housing or the side rail. Write down the brand, model number, and any serial number you can read.
- Identify the drive type. Belt drives have a rubber belt on the rail. Chain drives have a metal chain. Screw drives have no rail at all, just a threaded steel rod. Direct-drive (jackshaft) openers mount on the wall beside the door, not the ceiling.
- Check the door manufacturer. Look for the brand plate on the inside of the door’s bottom section, or on the hinges.
- Note the approximate install year. If you don’t know, the opener model number usually narrows it down. Pre-2012 LiftMaster and Chamberlain units use physical travel limit screws. Post-2017 units almost exclusively use digital, console-based limit programming.
Once you know the drive type and opener generation, the symptom means something concrete. Without that context, you’re working blind.
The Safety Baseline: What to Check Before Anything Else
Before diagnosing any symptom, confirm that the basics are not the cause. In Milpitas, where garage doors often operate multiple times per day for commuters heading to and from the 880 or 237 corridors, simple wear and environmental factors account for a meaningful share of service calls. These checks take five minutes and prevent misdiagnosis.
- Power integrity: Confirm the opener is receiving power. Check the outlet’s GFCI reset button (a tripped GFCI is one of the most common “dead opener” causes). Confirm the breaker hasn’t tripped.
- Manual operation: Pull the red emergency release cord and try lifting the door by hand. A door that’s heavy, binding, or jamming indicates a hardware problem (springs, rollers, track), not an opener problem.
- Track obstructions: Look for debris, bent track sections, or hardware that has backed out. A loose track bolt contacting a roller will stop a door dead.
- Door balance: With the door disconnected, lift it halfway and release. It should hold position or drift slightly. A door that slams down has a failing spring, which makes any opener work dramatically harder.
- Sensor alignment: Check that both photoelectric sensors on either side of the door opening face each other directly. One bump from a garbage can, a bike, or a child’s toy is enough to misalign them and trigger the safety reverse.
If all five pass and the symptom persists, you now have a real diagnostic case on your hands, not a loose wire. That’s when the symptom branches below become relevant.
Symptom: The Door Won’t Open (Or Opens a Few Inches and Stops)
A garage door that won’t open, or that lifts a few inches and stalls, is usually a spring or drive-gear issue. The way the failure happens tells you which one. If the door opens smoothly by hand after pulling the emergency release, the springs are fine and the fault is in the opener’s drive mechanism. If the door is extremely heavy or impossible to lift by hand, a spring has failed and the opener is correctly refusing to work against a load it was never designed to hold.
Here’s the component-level breakdown we use to isolate this symptom:
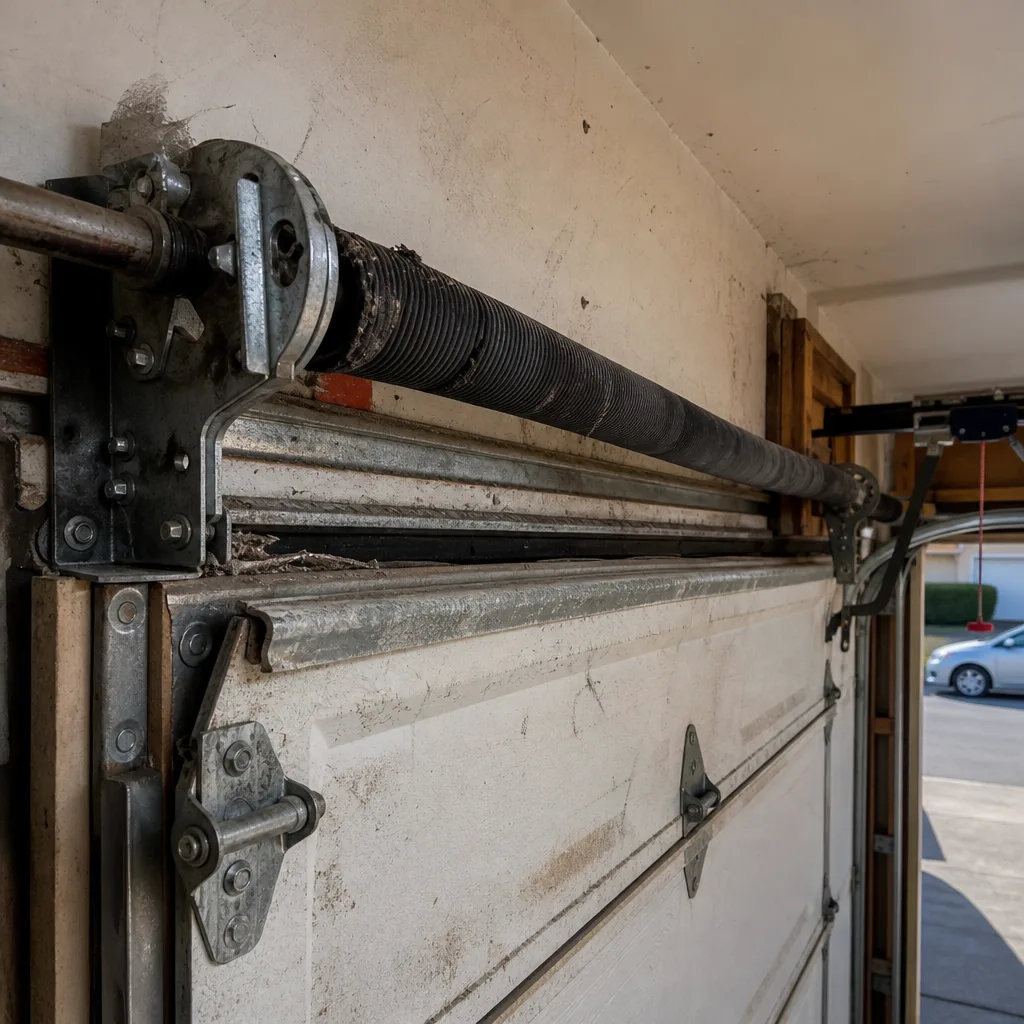
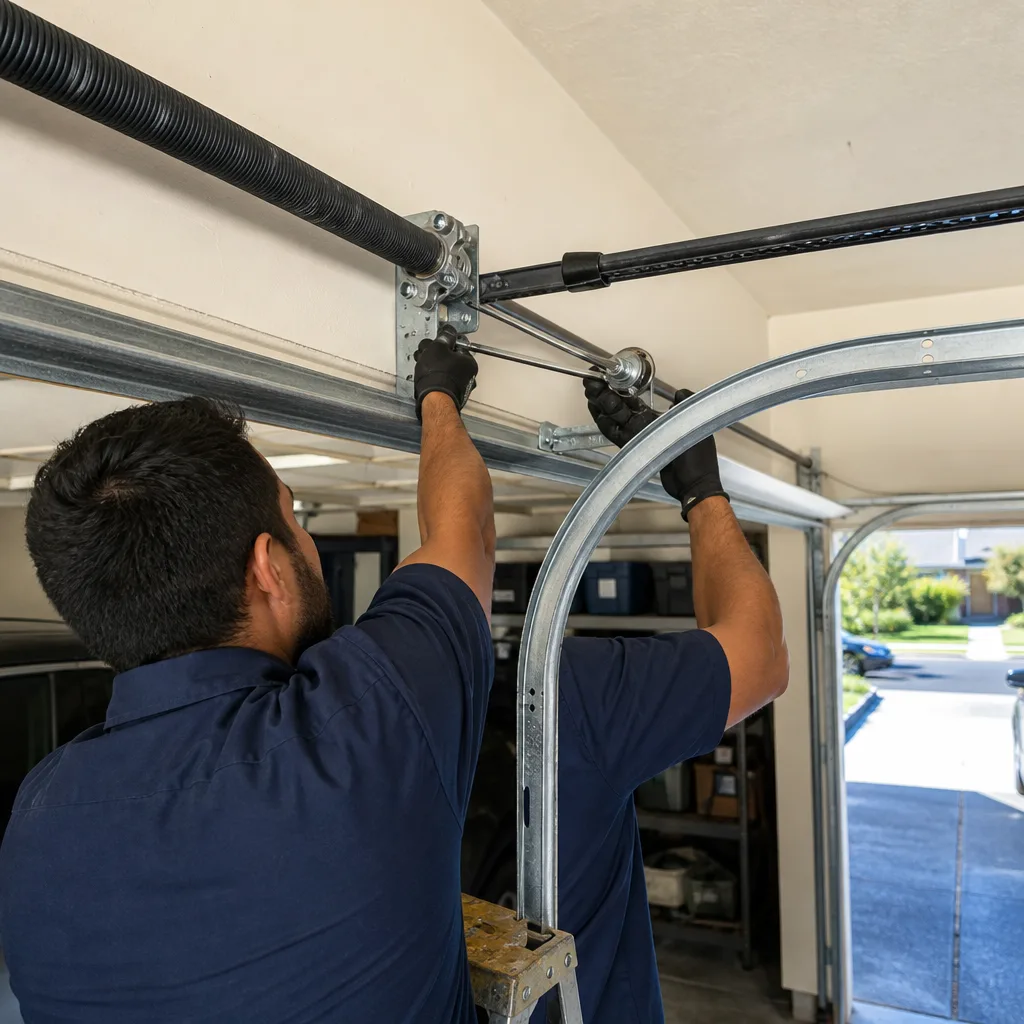
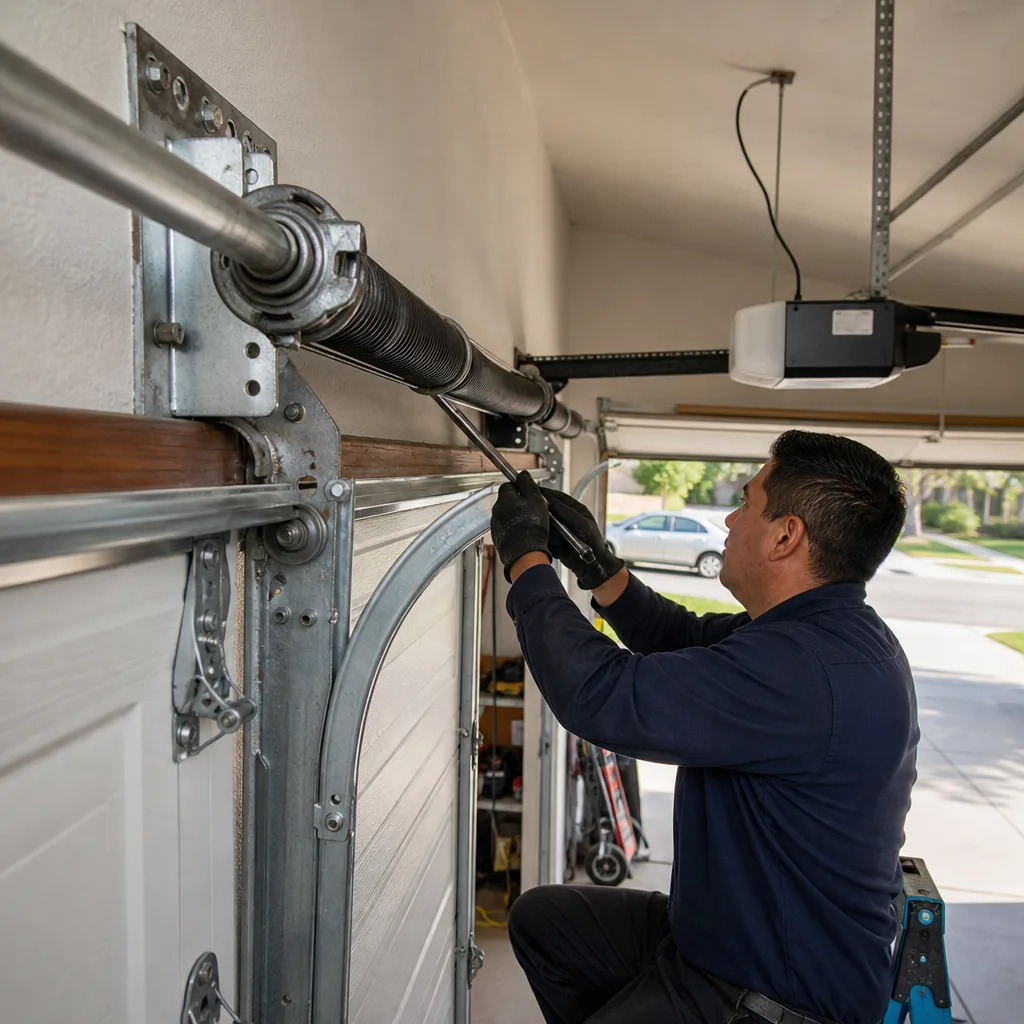
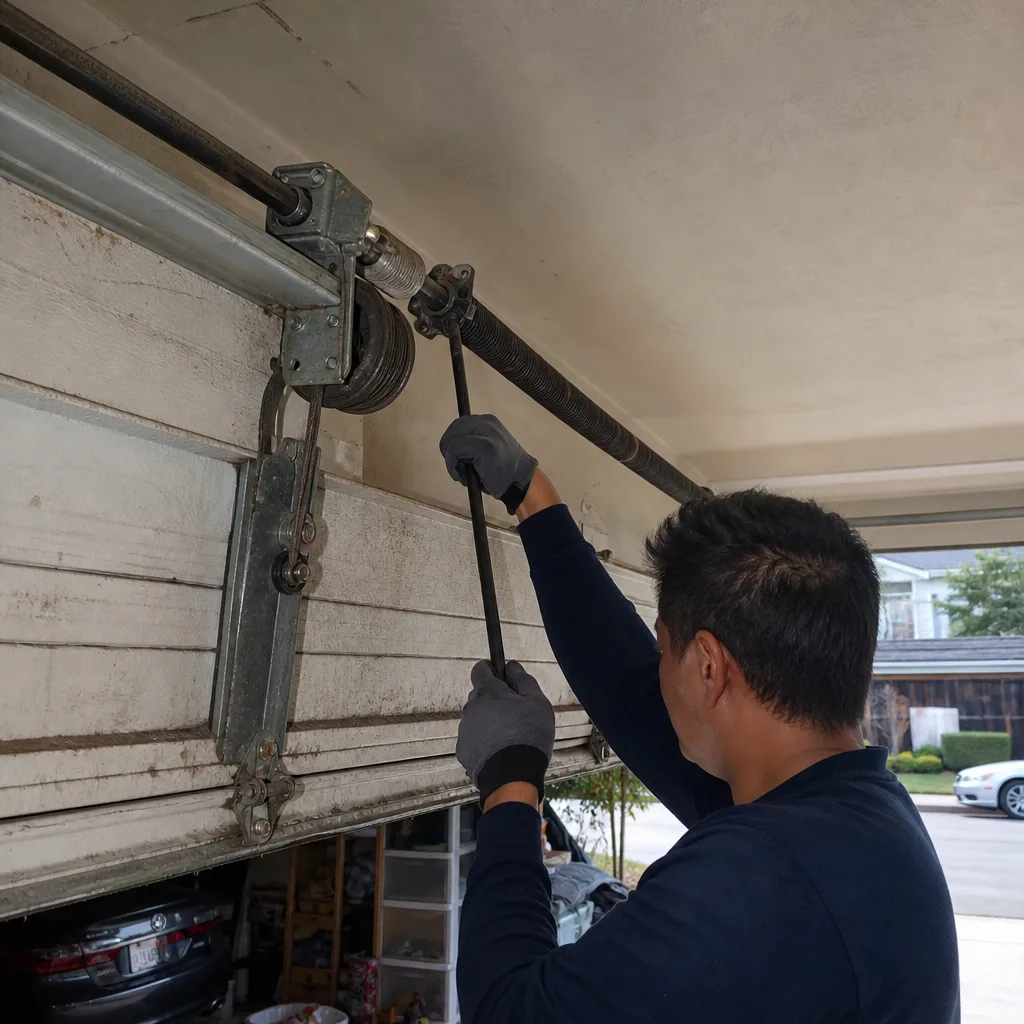
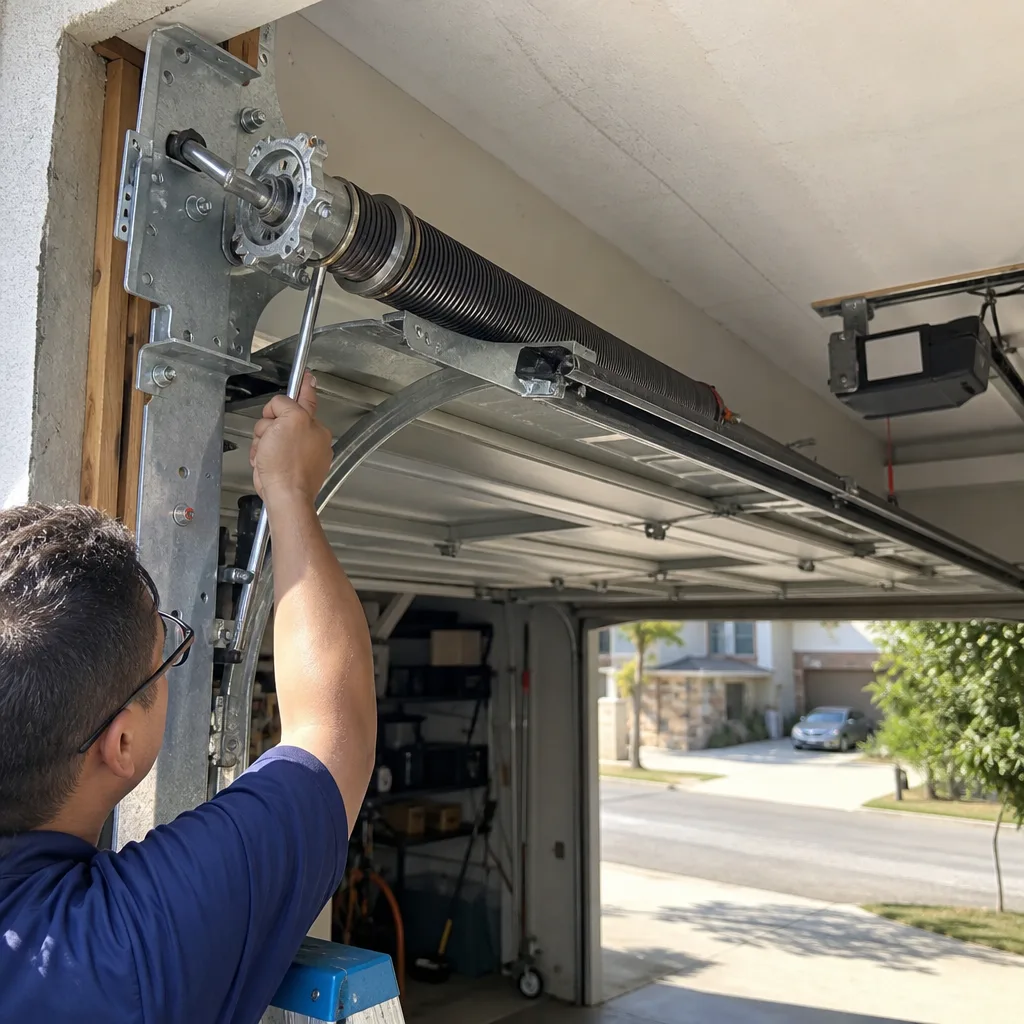
Broken Torsion or Extension Spring
When a spring breaks, it releases with a loud bang, like a rifle shot in the garage. The door will not lift, or it lifts a few inches on one side while the other side stays down (because one spring remains intact). This is the most common cause of a door that won’t open in Milpitas homes, particularly on doors that cycle four or more times per day. Torsion springs have a finite cycle life, usually between 10,000 and 20,000 cycles depending on the spring grade. A door installed a decade ago has likely exhausted its rated cycles.
What to do: Replace both springs, not just the broken one. They wear at the same rate, and the unbroken spring is significantly degraded. Spring replacement involves winding and unwinding under high tension and is not a DIY repair. We carry springs for the major residential brands, including Wayne Dalton and Raynor doors common in Milpitas households.
Safety caveat: Garage door springs store enormous energy and can cause serious injury or death if they release while being worked on. Never attempt to remove, adjust, or install springs without proper winding bars and training. This applies to torsion and extension springs alike.
Stripped Drive Gear (Chain and Screw Drives)
Chain-drive Craftsman and older Chamberlain openers use a white nylon drive gear inside the motor housing. That gear is deliberately sacrificial; it strips before the motor burns out. After 8-12 years of service, the gear wears down and the chain jerks or the motor spins without moving the door. Screw-drive Genie openers have a similar failure where the carriage teeth wear out and the screw spins while the carriage slips.
What to do: Replace the gear or carriage. It’s a $20-$40 part and about an hour of labor for someone who knows how to disassemble the opener housing. For a homeowner who doesn’t, this is a technician-level repair because the motor housing is disassembled to access the gear. Our Garage Door Opener Repair in Milpitas service handles this specific failure regularly; it’s one of the most common opener repairs we see on units between 2008 and 2016.
Motor Failure
If the opener hums for a second, clicks, and stops without moving anything, the motor capacitor or the motor itself may have failed. This is a terminal diagnosis for most residential openers. Replacing the motor on a $200 chain-drive opener makes little financial sense when a new unit with a fresh warranty costs about the same as the repair labor. For higher-end belt-drive LiftMaster units, motor replacement occasionally makes sense, but it’s the exception.
Symptom: The Door Won’t Close (Or Reverses Midway)
This is the symptom with the highest misdiagnosis rate in the industry, because four distinct failures all present as “the door starts closing, stops, and reverses.” Each has a different fix, and applying the wrong one either does nothing or makes the problem worse.
- Photoelectric sensor misalignment or obstruction. The two sensors near the floor must see each other’s beam. If something blocks the beam, the door refuses to close or reverses. Test: look at the sensor lights. If one is blinking or both are off, alignment or wiring is the issue. This is the easy case.
- Travel limit drift. On openers with physical limit screws, vibration over years can back the screws out, making the opener think the floor is higher than it actually is. The door will close, hit the floor, and immediately reverse because the opener believes another few inches of travel remain. Test: if the door touches the ground and bounces back up, it’s a limit issue, not a sensor issue.
- Faulty logic board. If the sensors are aligned, the limits are correct, and the door still reverses, the logic board may be misreading input. This is more common on 10+ year old openers. Lightning strikes and power surges are frequent culprits, and in Milpitas, summer electrical storms account for a regular trickle of board failures. A board replacement on a mid-range opener usually makes economic sense only if the unit is under 7 years old.
- Broken or binding counterbalance. If the door binds midway through closing, the opener’s safety mechanism interprets the resistance as an obstruction and reverses. The root cause is mechanical: a broken spring, a bent track, or a roller that’s seized. Test: disconnect the door and close it by hand. If you feel resistance or the door is heavier than it should be, the problem is hardware, not electronics.
The right diagnostic path is sequential: test sensors first (free, takes one minute), then limits (free, takes two minutes on older units), then mechanical resistance (free, requires the emergency release), and only then suspect the board. Most homeowners jump straight to board replacement because a forum said so, spend $80-$150 on a part, and the door still reverses.
Symptom: The Door Is Noisy, Jerky, or Shakes During Operation
A garage door should not rattle, grind, or shake. If yours does, the noise pattern points to the failing part. This matters because ignoring early noise leads to failures that cost significantly more to repair later.
- Squealing or grinding from the rail: Drive mechanism issues. Chain drives need lubrication and tension adjustment. Belt drives need belt tension checked. Screw drives need the screw lubricated with a specific lithium grease; using the wrong lubricant on a screw-drive Genie accelerates wear.
- Rattling from the door panels: Loose hinges, worn rollers, or loose track bolts. Nylon rollers last 8-12 years; steel rollers last 5-8 and are noisier throughout their life. Roller replacement is a low-cost, high-impact repair.
- Popping or banging from the spring area: Torsion springs bind against themselves as they age. Light lubrication helps, but if the noise persists, the spring is nearing end of life and should be evaluated for replacement.
- Shaking or shuddering during lifting: Door imbalance. The spring tension is no longer matched to the door weight, forcing the opener to work harder and overloading the drive components.
One detail most guides omit: belt-drive openers on LiftMaster and Chamberlain units manufactured after 2015 have a belt tensioner that can fail and produce a flapping sound during operation. It’s not the door, it’s the tensioner. Replacement is straightforward and doesn’t require replacing the opener.
Symptom: The Opener Runs But the Door Doesn’t Move
When you hear the opener running but the door stays put, the opener’s motor is working but its output isn’t reaching the door. The branch depends on where the disconnect happened.
The Emergency Release Is Disengaged
The red cord hanging from the rail disconnects the carriage from the drive mechanism. If someone pulled it (a child playing, a power outage, a curious guest), the carriage is no longer connected and the opener will run without moving the door. Fix: pull the release cord toward the door and cycle the opener once. The carriage will re-engage on its own.
The Drive Coupling Is Worn
Older Chamberlain and Craftsman openers use a plastic or metal coupling between the motor shaft and the drive gear. It cracks under stress and the motor spins freely while the rail stays still. This is a $10 part, but diagnosis requires opening the housing.
The Travel Module Has Failed
Some LiftMaster models manufactured between 2011 and 2016 use a travel module mounted on the rail that tracks the carriage position. When it fails, the opener cannot determine where the door is and refuses to move it. The fix is module replacement, not door repair. A technician who works on LiftMaster systems regularly will recognize this failure in seconds; a homeowner rarely will.
Decoding Error Codes: What LiftMaster, Chamberlain, Genie, and Craftsman Are Actually Telling You
Modern openers flash diagnostic codes through the wall console or a light on the motor unit. These codes are specific and useful, but only if you know what they indicate at the component level. Here’s what the codes mean on the systems we service most often in Milpitas.
| Brand / Family | Code Pattern | What It Actually Indicates |
|---|---|---|
| LiftMaster / Chamberlain (post-2012) | Up arrow flashing 7 times | Photoelectric sensor wire is shorted or disconnected. Check the wire run for staples that pierced the insulation. |
| LiftMaster / Chamberlain (post-2012) | Up arrow flashing 5 times | Motor thermal shutdown. The opener was cycled enough times in a short window to overheat. Wait 15 minutes and test again. |
| LiftMaster / Chamberlain (post-2012) | Up arrow flashing 4 times, down arrow once | Safety reversal system failed during a test cycle. Usually a force setting or sensor issue, not a motor problem. |
| Genie (IntelliCode, 2010-2022) | Red LED blinking 2 times | Vacation lock is engaged. The wall console lock button disables wireless remotes but allows wired wall button operation. |
| Genie (IntelliCode, 2010-2022) | Red LED blinking 3 times | Remote not programmed or frequency mismatch. Reprogramming required, not a hardware fault. |
| Craftsman / Chamberlain (pre-2012) | LED flashing 1 time on motor unit | Sensor wire reversed or sensor shorted. On older units, the sensor wires are polarity-sensitive. |
One critical note: error codes indicate a system-level fault, not necessarily a failed component. A code pointing to the sensor circuit could mean a failed sensor, a severed wire, a loose connector at the opener terminal, or moisture in the sensor housing. The code narrows the search; it doesn’t finish it. That distinction is exactly what separates a correct diagnosis from a parts-swapping exercise.
Sensor vs. Logic Board vs. Travel Limits: Three Problems That Look Identical
A door that reverses before closing or refuses to close at all can be caused by a sensor misalignment, a logic board failure, or incorrect travel limits. All three look the same from the outside. Here’s how to tell them apart.
Sensor Alignment Test
- Check the LED on each sensor. On most LiftMaster and Chamberlain units, a solid amber LED on the sending sensor and a solid green LED on the receiving sensor indicate alignment. A blinking LED on either side indicates misalignment or obstruction.
- Block the beam with your hand. The green LED should extinguish or blink. If it doesn’t change, the sensors are already in a fault state.
- Realign the sensors so they face each other and are at the same height. Confirm the mounting brackets are stable; a floppy bracket will pass alignment one day and fail it the next.
Travel Limit Test
On pre-2012 Chamberlain and Craftsman units, the limit screws are on the back or side of the motor housing. If the opener is physically closing the door to the floor and then reversing, the down limit is set too far. Turn the down-limit screw a quarter turn toward “less travel” and test. Repeat until the door stops at the floor without reversing. Setting limits too aggressively low makes the door stop above the floor and the opener will push against the close stop. The correct setting is the point where the seal touches the floor and the opener stops without reversing.
Logic Board Test
If sensors pass and limits are correctly set but the door still reverses, the board is the remaining suspect. Test by disconnecting the sensor wires at the opener and attempting to close the door while holding the wall button down (not pressing it, holding it). If the door closes while the button is held, the board is receiving a phantom obstruction signal and the board or sensor wiring is at fault. If the door still reverses even with the sensors disconnected and the button held, the problem is mechanical resistance, not the board.
Running these tests in this order takes about ten minutes and eliminates the guesswork. We’ll also add: in our experience serving Milpitas homeowners, roughly half of the “board failure” calls we receive turn out to be sensor or limit issues. The other half are legitimate board failures, but they’re not as common as internet forums suggest.
Documenting the Failure: What to Note Before Calling a Technician
A well-documented failure cuts diagnosis time in half. When you call a technician, the details you provide determine whether the right parts arrive on the first visit or whether a follow-up trip is required. Here’s what to record before you pick up the phone.
- Opener brand, model, and approximate year. The model number is on the motor housing. This alone tells us which limit system the opener uses, which error codes are relevant, and which parts are likely candidates.
- Exact symptom in sequence. “The door opens fine but when it closes, it gets about three inches from the floor and reverses” is far more useful than “the door is broken.” Include when the symptom started and whether it’s intermittent.
- Error code observed. Count the flashes. A code narrows the diagnosis instantly.
- Sound. Does the opener grind, hum, click, or operate silently? Each sound points to a different failure.
- Manual operation result. What happens when you pull the emergency release and lift or lower the door by hand? Heavy, binding, or smooth.
- Recent events. Was there a power surge, a lightning storm, a car bumping the door frame, a remodel, or a new garage door opener remote added recently?
This information set allows a technician to arrive with the correct parts and complete the repair in one visit. If you’re calling Garage Door Installation in Milpitas for a replacement quote instead, the same documentation helps us recommend the right equipment the first time, particularly when an opener has reached end of life and replacement makes more sense than repair.
Common Mistakes to Avoid
- Adjusting force settings to “fix” a reverse. Force settings exist to protect people and objects from being crushed. Turning them up so the door powers through resistance doesn’t fix the underlying mechanical issue and overrides a critical safety mechanism. If the door reverses because of a broken spring or binding track, forcing it through makes the failure worse.
- Replacing the sensors before testing the wiring. The sensors are rarely the failure point. Wires get stapled, pinched, chewed by rodents, or disconnected at the opener terminal. Test continuity before buying a new pair of sensors.
- Using WD-40 on anything. WD-40 is a solvent, not a lubricant. It strips proper grease from door mechanisms and accelerates wear. Use white lithium grease for tracks and hinges, and specific garage door lubricant for springs.
- Replacing one spring instead of both. Springs are rated for a specific cycle count. When one fails, the other is extremely close behind. Replacing only the broken spring means paying for labor twice within six months.
- Ignoring a noisy door for months. Noise is a diagnostic signal. A grinding chain drive, a popping spring, or rattling rollers will become a failure. Fixing a $15 roller is cheaper than replacing a $200 opener that a seized roller destroyed.
- Buying a replacement opener before diagnosing the door hardware. If the door is unbalanced or the springs are dead, a new opener will fail prematurely. The door and the opener are two halves of one system.
- Guessing at travel limits without marking the original position. If you adjust limits and make the problem worse, you’ll want to return them to the starting point. Mark the screw position with a pencil before turning anything.
When to Call a Professional
Some garage door issues are safe and sensible to address on your own: realigning sensors, lubricating rollers, clearing an obstruction, or testing basic connections. For anything beyond that, our Garage Door Repair services are available to handle the job safely. Others are not. Any repair involving torsion springs should be off the table for a homeowner regardless of confidence level. The same applies to logic board replacement, drive gear replacement inside the motor housing, and any repair requiring the opener to be disassembled. If the door is off its track, that’s another professional-only job, because the tension in the system can cause further track damage if the door is forced.
If you’ve run the diagnostic steps in this guide and the problem persists, a technician’s second opinion is cheaper than replacing parts on guesswork. Garage Door Service Milpitas offers free estimates in Milpitas – call (833) 589-9493. We service all eight major residential garage door and opener brands, including LiftMaster, Chamberlain, Genie, Clopay, Amarr, Wayne Dalton, Craftsman, and Raynor, so your existing equipment is always the starting point. No replacement pitch if a repair will do.
See the difference
 Before
 After
 Before
 After
 Before
 After
Frequently Asked Questions
Garage door repair cost in Milpitas varies by the component and the brand. Roller replacement typically runs $90-$140, sensor replacement $100-$160, drive gear replacement $150-$220, and spring replacement $250-$400 depending on spring size and door weight. These are rough ranges; the exact number depends on the specific equipment. Call (833) 589-9493 for a free estimate based on your actual door and opener.
Same-day garage door repair is available in Milpitas for most component failures, including broken springs, sensor issues, and drive gear replacement. Parts for major brands like LiftMaster, Chamberlain, Genie, and Clopay are commonly stocked on our trucks, which means the repair can often be completed in a single visit. Call (833) 589-9493 to confirm availability and schedule a diagnostic visit.
Any price we quote is the price you pay before work begins. We provide an all-in estimate after inspecting the door and opener, covering parts and labor. There are no additions after the fact. If additional damage is discovered during the repair, we flag it and give you a new number before proceeding. Call (833) 589-9493 for transparent pricing on your specific repair.
We stock the most common repair parts for all eight supported brands on our service vehicles, including springs, sensors, drive gears, rollers, and opener remotes. For less common parts, we can source them from our supply chain and complete the repair on a follow-up visit. Call (833) 589-9493 to discuss your specific failure and confirm part availability.
A garage door that opens by itself usually has a failing logic board or a stuck wall button. On older Chamberlain and Craftsman units, a shorted wire between the wall console and the opener can send a phantom open signal. On newer LiftMaster units, a bad capacitor in the motor can cause intermittent self-activation. This is a technician-level diagnosis because the fix depends on isolating the exact source rather than assuming the board is at fault.
Repair is generally the right call if the opener is under 10 years old and the failure involves a single component like a gear, sensor, or capacitor. Replacement makes more sense when the opener is over 12 years old, the board has failed, or the motor is failing, because major repairs on aging openers rarely extend lifespan long enough to justify the cost. A technician can tell you definitively which path applies to your unit after a quick inspection. Call (833) 589-9493 for an assessment.
The Bottom Line
Garage door troubleshooting is less about memorizing fixes and more about understanding the system in front of you. The same symptom branches to different causes based on the door brand, opener drive type, and component age. Once you know your equipment, the failure pattern tells you where to look. The fixes that matter are the ones that address the root failure without masking it and without compromising the safety mechanisms built into every opener. When you’ve isolated the problem but the repair involves springs, a board, or anything inside the opener housing, that’s where the tools and training matter. If you’re in Milpitas and want a second set of eyes, we’re the shop that works on your brand – eight brands, one call. For more guides & resources, visit our blog.
Written by the team at Garage Door Service Milpitas, serving Milpitas since 2011.