
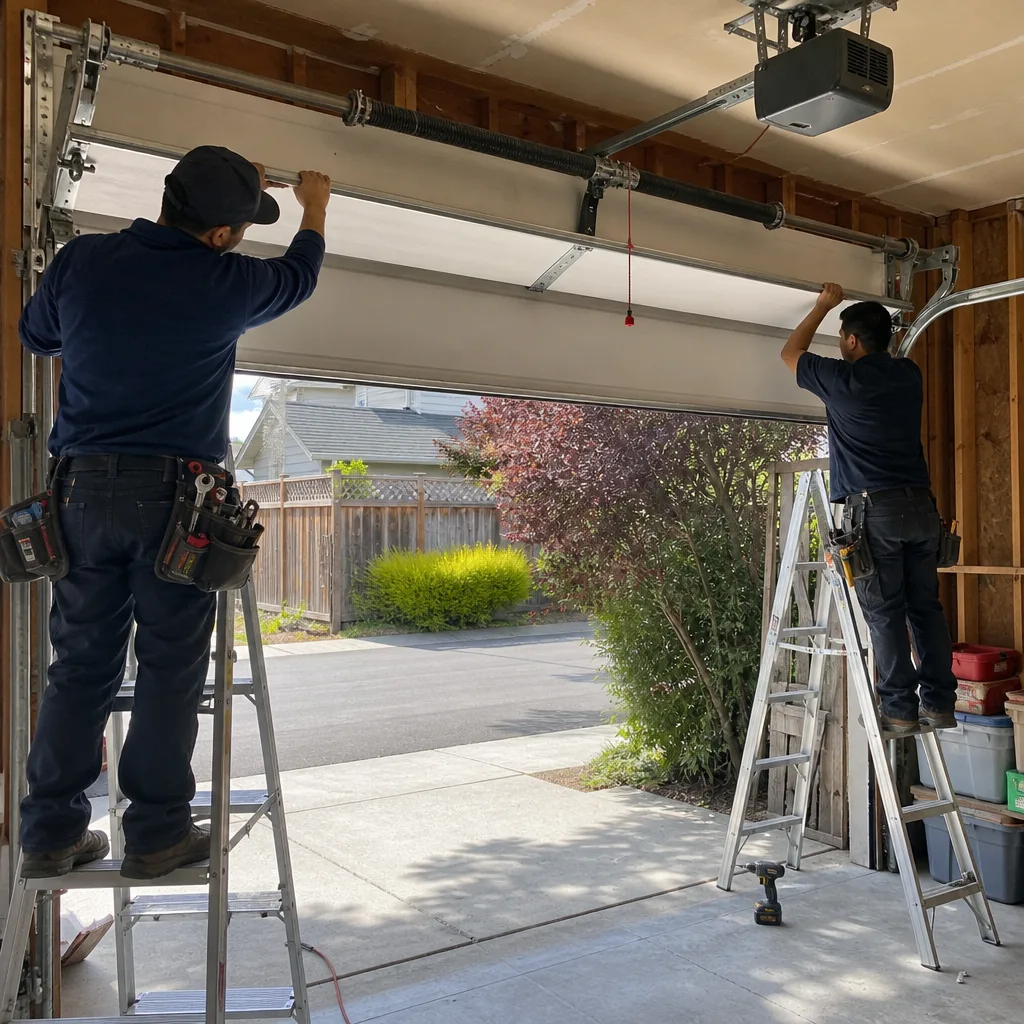
Last updated November 2, 2026
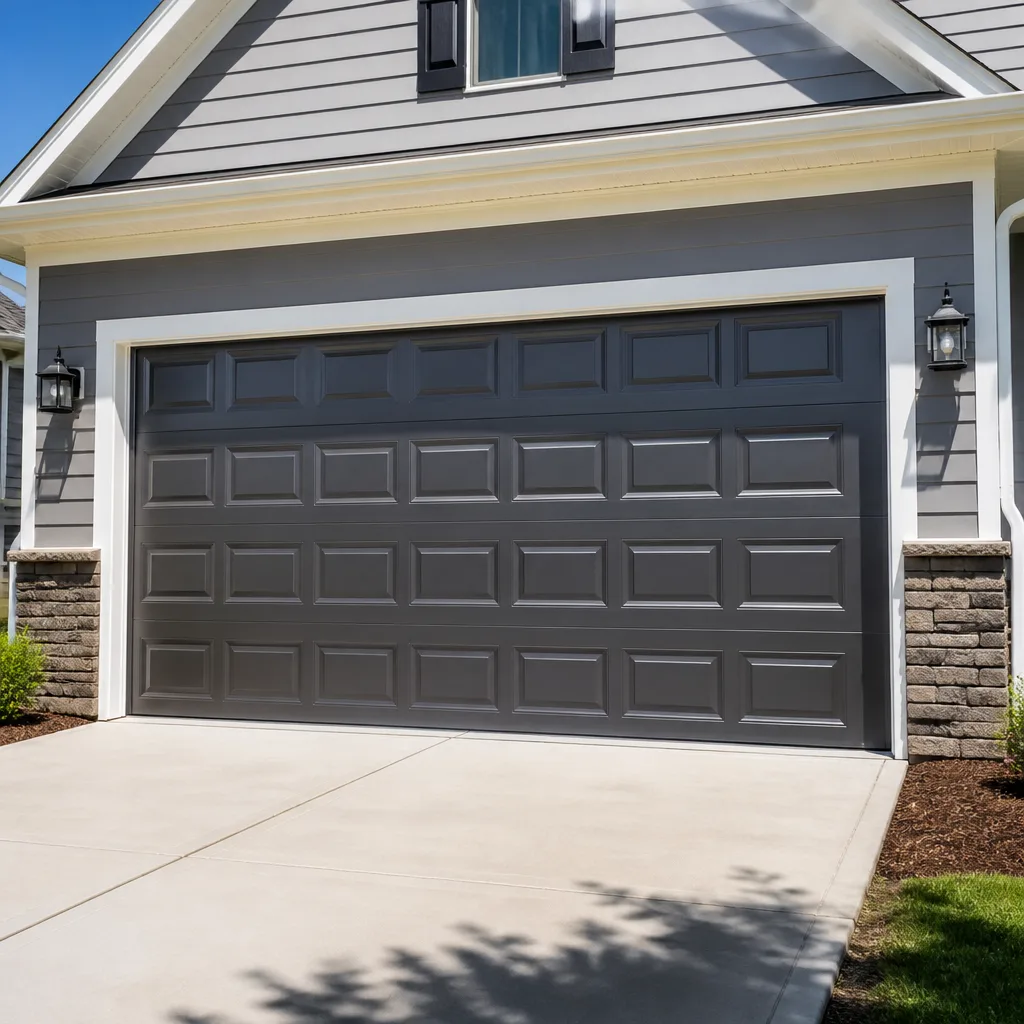 Raised-panel steel
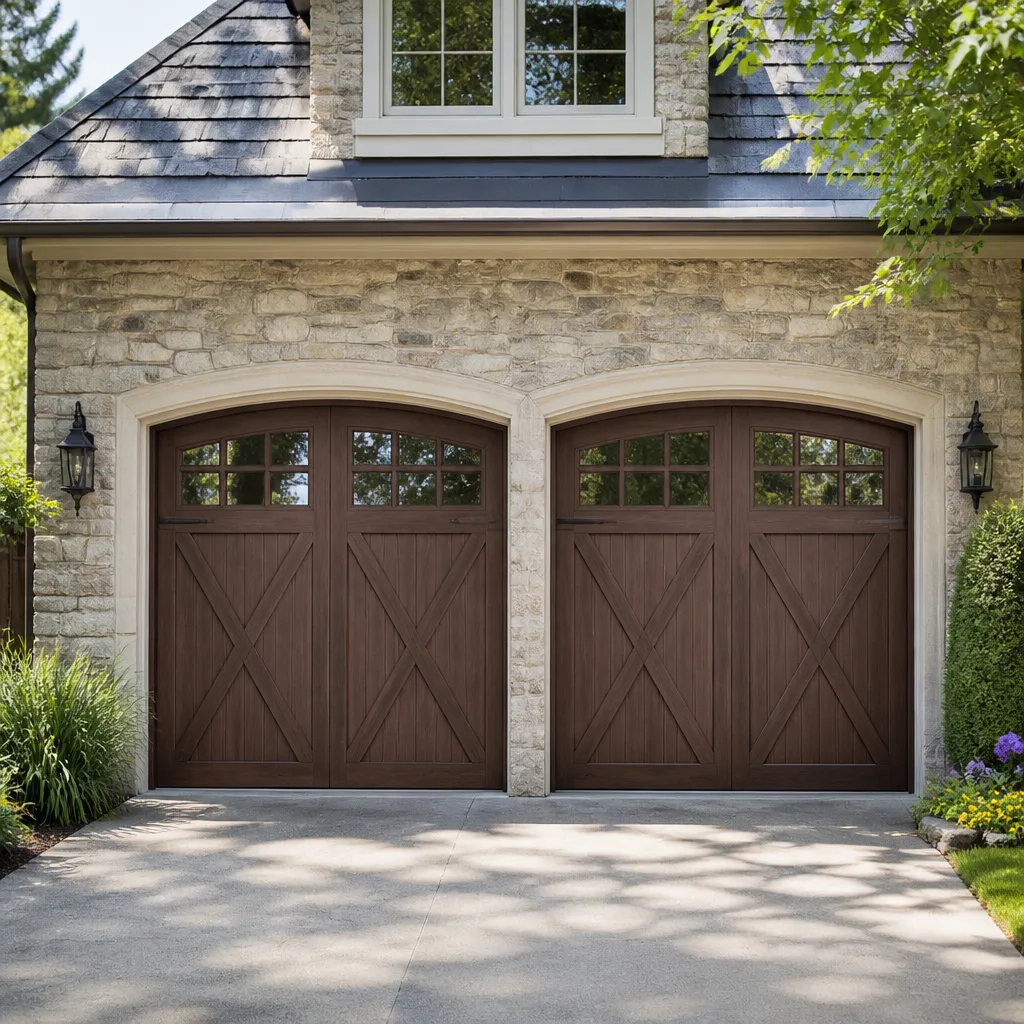 Carriage house
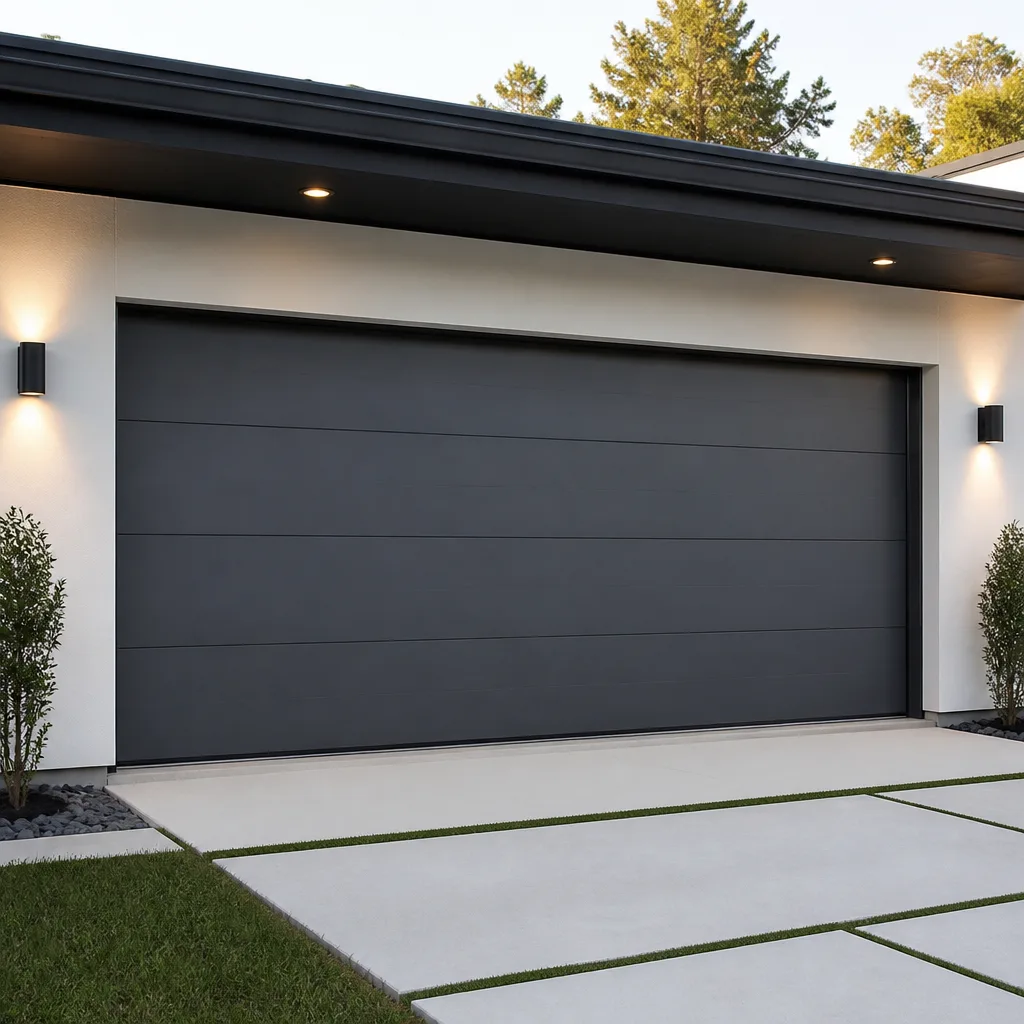 Modern flush
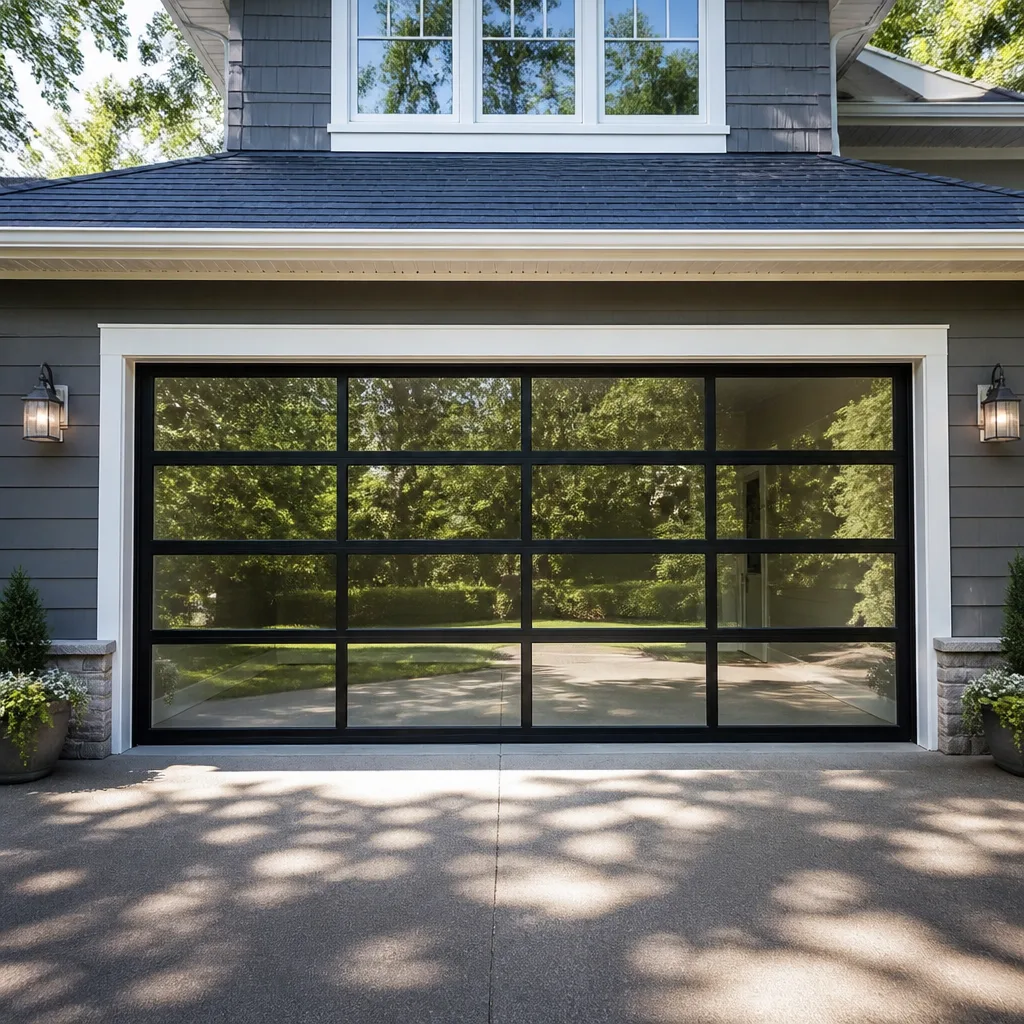 Full-view glass
 LiftMaster openers
 Chamberlain openers
Full 25-point door and opener safety check with every visit - springs, cables, rollers, tracks, and your LiftMaster or Chamberlain opener included
You get a price before we start. It does not change when the truck arrives.
Get your free estimateGarage Door Repair Maintenance Checklist for Milpitas Homeowners
Most garage door maintenance checklists start with lubrication. That is backwards. In Milpitas, the component most likely to fail without warning is the torsion spring, and no amount of spray lubricant will save it when the metal has fatigued past its cycle rating. We have rolled up to homes near the 880 corridor where the door was lubricated monthly, the hinges looked brand new, and the spring still snapped on a Tuesday morning. This guide reorganizes maintenance by what actually breaks, how often it breaks, and what Milpitas conditions do to accelerate the timeline. You will learn how to check the spring without touching it, how to spot cable drum wear before the cable lets go, and why opener force limits drift in ways the self-test will not catch.
Quick Answer
A garage door maintenance checklist for Milpitas homeowners should prioritize the torsion spring, cable drums, and opener force limits over lubrication and cosmetic inspection. Spend five minutes per month on the three components that account for the majority of repair calls we see, and schedule a professional spring and cable inspection once a year. Lubrication still matters, but it belongs third or fourth on the list, not first.
Styles & brands we work with
- Raised-panel steel
- Carriage house
- Modern flush
- Full-view glass
- LiftMaster openers
- Chamberlain openers
Table of Contents
- 1. The Torsion Spring Check: The Only Monthly Test That Predicts Failure
- 2. Cable Drum Wear: What to Look For Before the Cable Snaps
- 3. Opener Force Limits: Reading the Self-Test and What It Misses
- 4. Lubrication That Survives Milpitas Dust: Products and Points That Matter
- 5. Rollers and Hinges: The 30-Second Check That Prevents Bigger Wear
- 6. Track Alignment and Fasteners: What Loose Bolts Do to a Door Over Time
- 7. Weather Seals: The Milpitas Summer Factor Most Checklists Ignore
- 8. A Seasonal Maintenance Calendar for Milpitas
1. The Torsion Spring Check: The Only Monthly Test That Predicts Failure
Torsion springs are rated in cycles. A standard spring from a builder-grade door is good for roughly 10,000 open-and-close cycles, which translates to about seven to ten years of normal use in a Milpitas household. When a spring fails, the door becomes dead weight, and the opener cannot lift it. The failure itself is loud, often described by homeowners as a bang from the garage. But the conditions that lead to failure are visible months before the break, if you know what to measure.
The check is called a door travel test. You do not touch the spring. You do not go near the spring. You stand away from the door, and you use the wall button or remote to open the door halfway. Then you stop it. A properly balanced door with healthy springs will stay put at the halfway point. It will not creep up. It will not sag down. If the door drifts more than three inches in either direction within thirty seconds, the spring tension is no longer matched to the door weight, and you are looking at a spring that is working harder than it should.
Here is the step-by-step:
- Close the garage door completely.
- Disconnect the opener from the door using the red emergency release cord. Pull down on the cord and away from the door.
- Lift the door by hand to the halfway point, roughly waist height.
- Let go. Do not push or guide it.
- Watch the door for thirty seconds. Note whether it stays, rises, or falls.
- Reconnect the opener by pulling the release cord toward the door until the carriage clicks back into place.
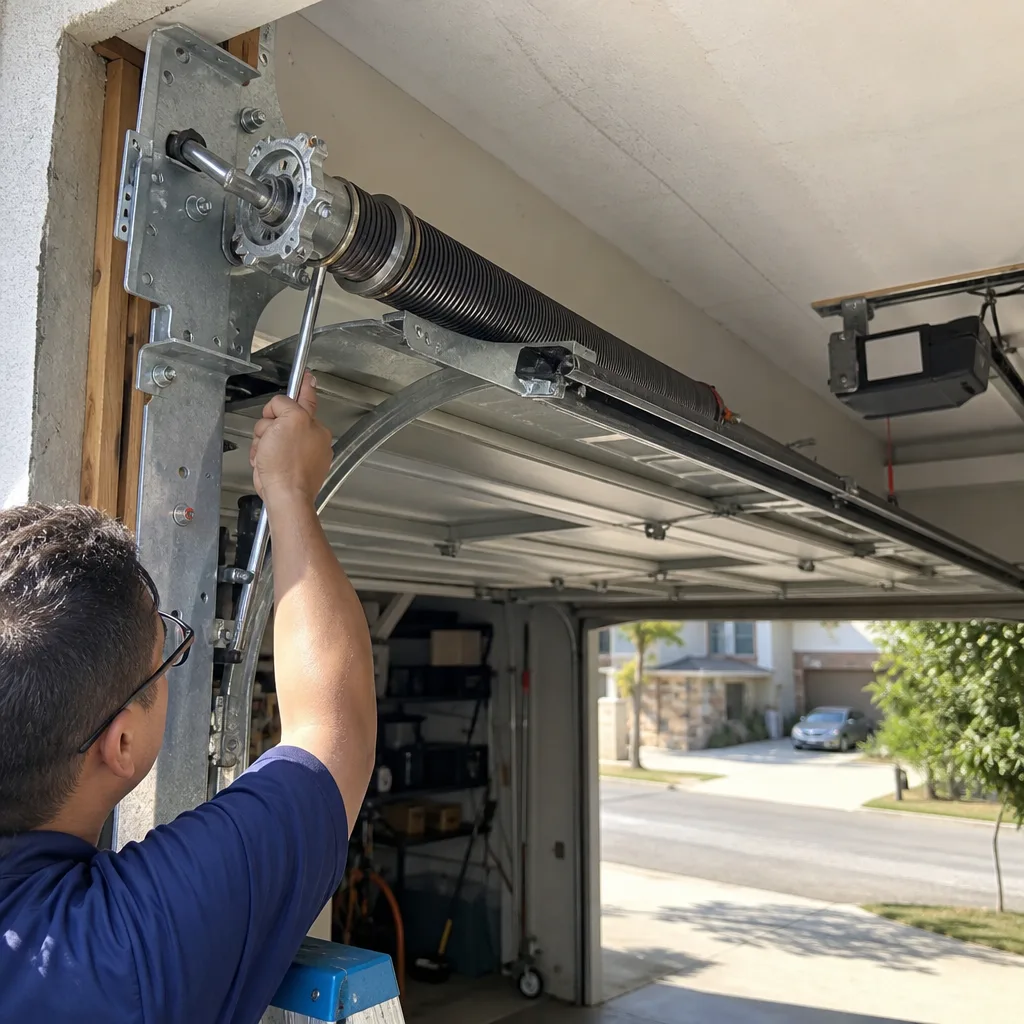
If the door rises more than three inches, the spring is over-tensioned. If it drops more than three inches, the spring is under-tensioned, which often means fatigue and approaching failure. Either way, a spring adjustment on a torsion system requires working with stored mechanical energy that can cause serious injury. We recommend calling a technician who specializes in Garage Door Repair in Milpitas rather than adjusting the winding cone yourself. The test is safe. The repair is not.
In Milpitas, springs near the BART corridor and industrial zones accumulate a fine gray dust that works its way into the spring coils. That particulate acts as an abrasive between the coils as the spring winds and unwinds thousands of times per year. It accelerates surface wear. We have replaced springs at nine years that looked worse than springs at twelve years in less dusty parts of the Bay Area. The travel test is free and takes less than a minute. It should be on your calendar every single month.
2. Cable Drum Wear: What to Look For Before the Cable Snaps
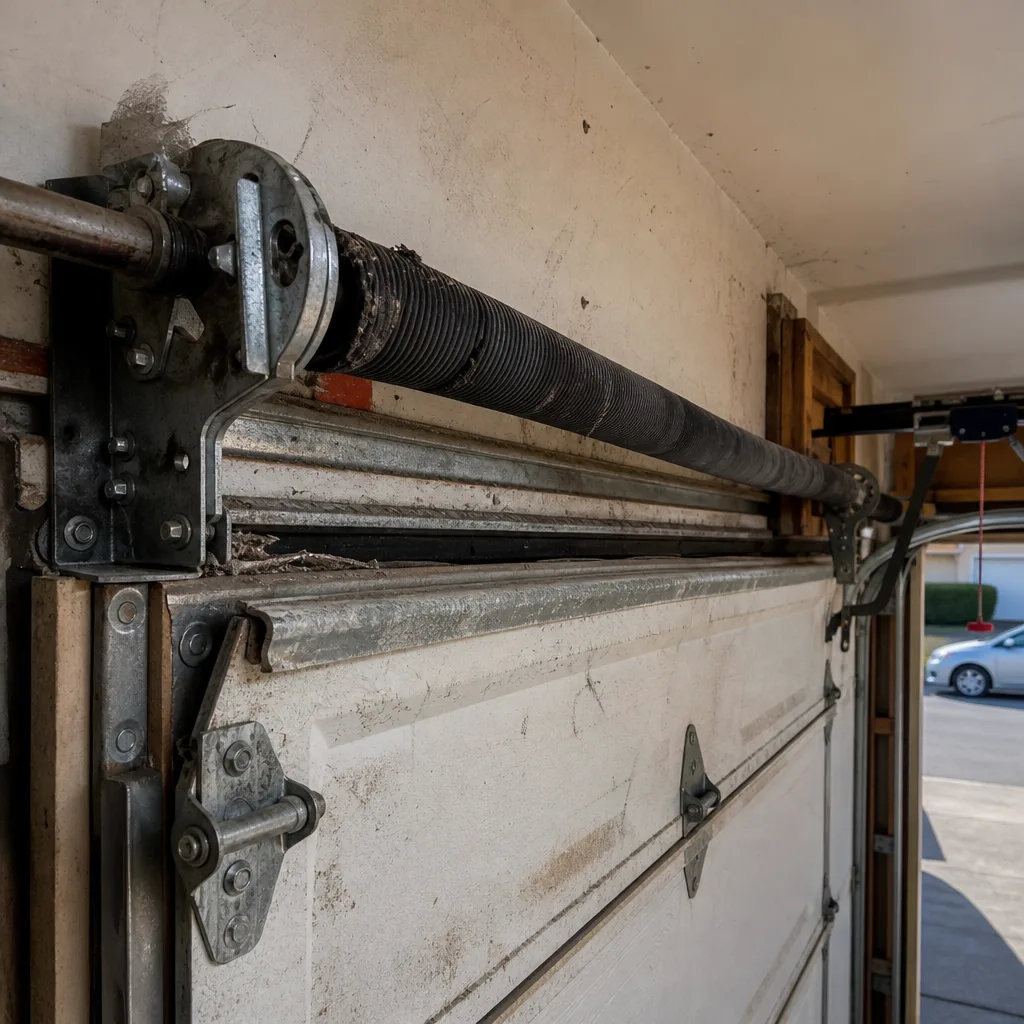
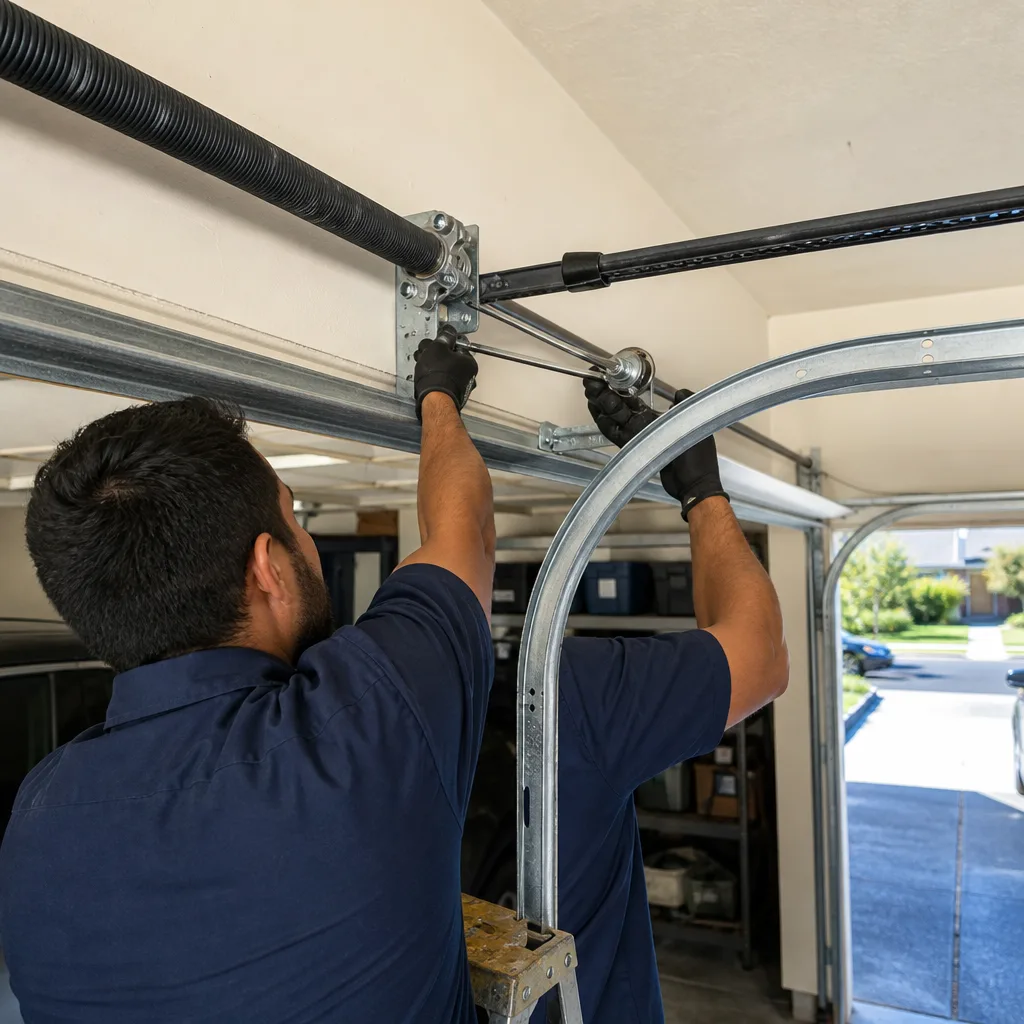
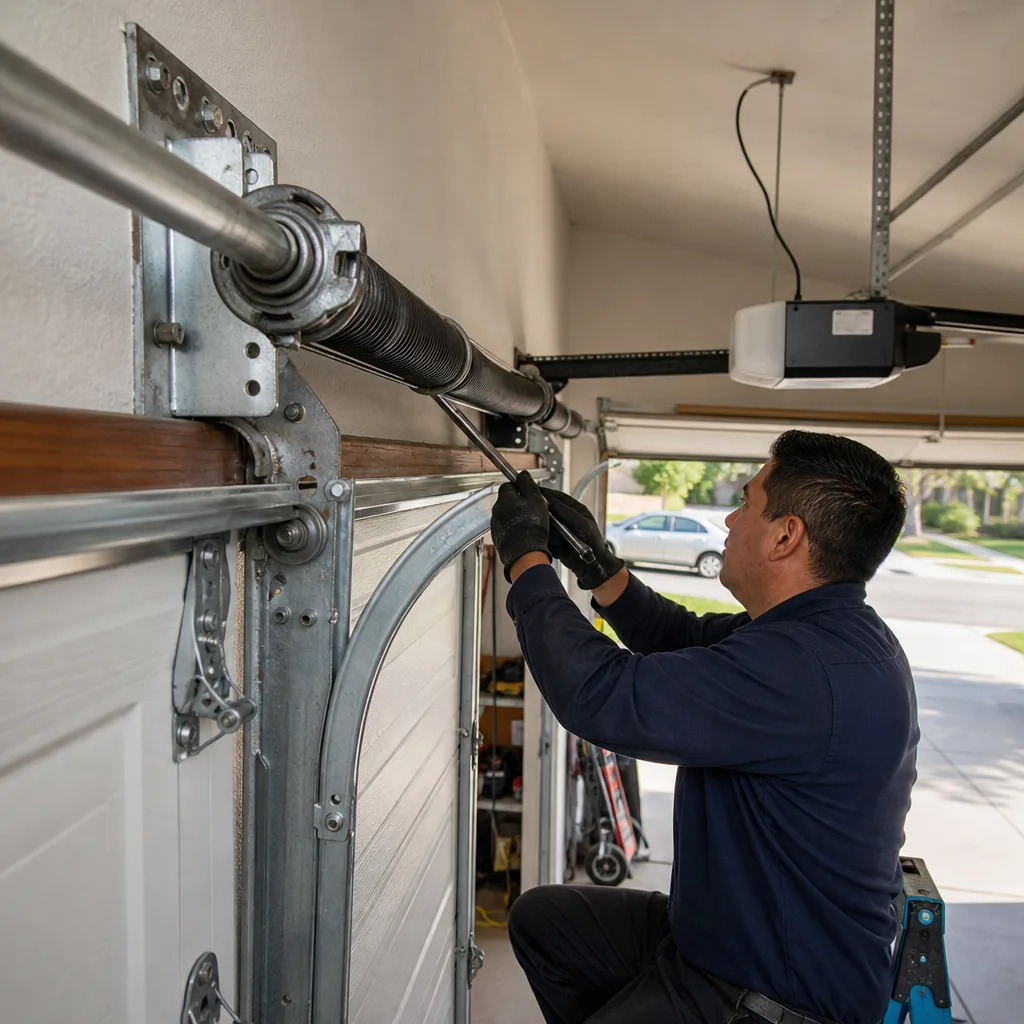
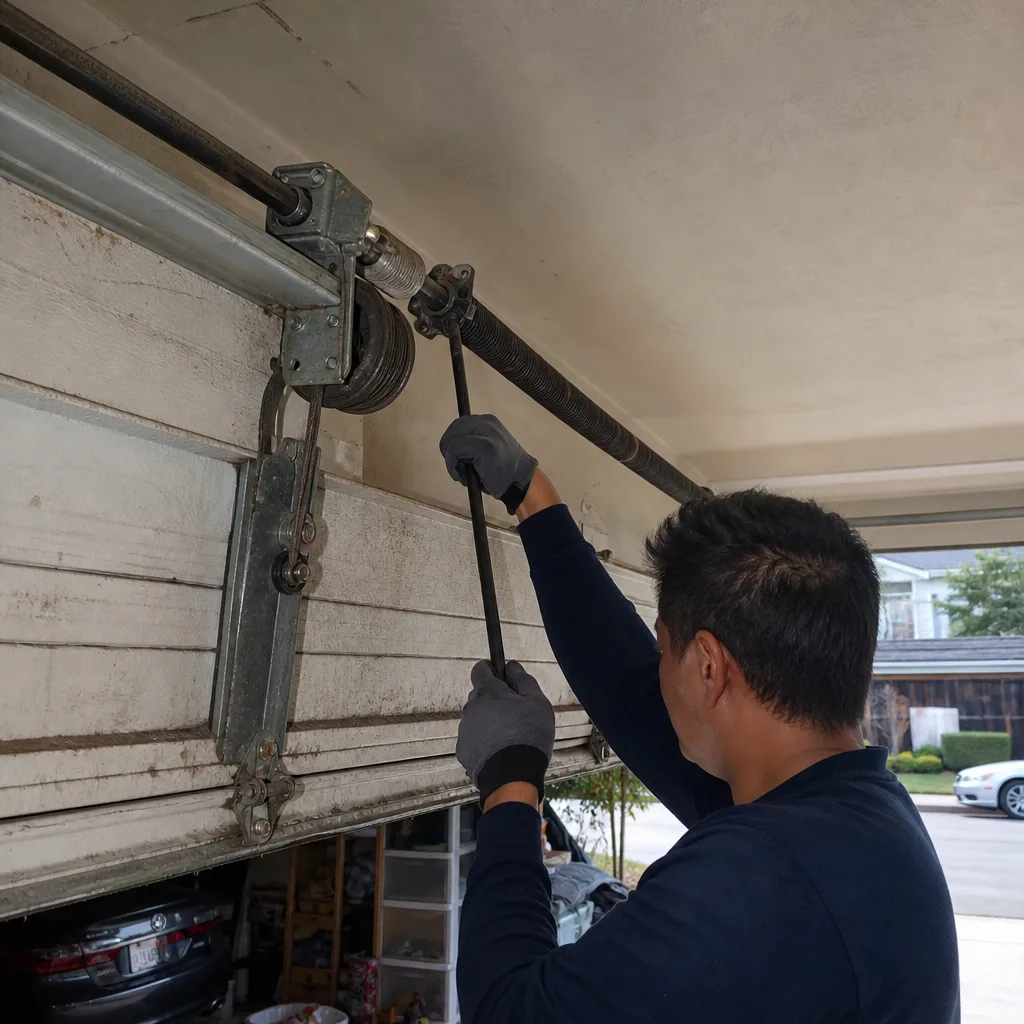
Garage door cables do not usually snap on their own. They snap because the cable drum, the grooved spool at each end of the torsion shaft, has developed a rough edge, a worn groove, or a misalignment that lets the cable ride unevenly. Once the cable starts spooling unevenly, it rubs against itself or against the drum edge on every cycle. That friction frays the cable strand by strand until it parts under load.
The visual check takes ten seconds with a flashlight. Stand inside the garage, door closed, and look up at the two drums mounted above the door near each end of the spring shaft. Each drum should have a clean, defined groove and the cable should sit neatly inside that groove for its entire length. Here is what to look for:
- Cable crossover: the cable has jumped out of its groove and wraps over itself. This is an immediate red flag.
- Shiny spots on the drum lip: bright, polished metal means the cable is rubbing against the drum edge instead of sitting in the groove.
- Rust or pitting inside the groove: even minor corrosion creates a rough surface that abrades the cable with every cycle.
- Frayed cable strands: look closely at the cable where it spools off the drum with the door halfway open. Individual broken strands look like small bristles. Once you see three or more broken strands in a six-inch section, the cable is past its service life.
- Uneven wear on one side only: if the left drum looks polished and the right drum looks dull, something is pulling the door unevenly. That could be track misalignment or a spring issue.
Cables and drums are not a DIY repair item. When a cable parts under tension, it releases stored energy. The drum is under the same torsion load as the spring. If the thought of this makes you uncomfortable, that is the correct reaction. We tell Milpitas homeowners to photograph what they see and call a technician. In our experience, doors in Milpitas’s older housing stock, particularly homes built in the 1960s and 1970s near downtown, tend to have original drums that are simply past their useful life. The metal fatigues, the groove profile deforms, and replacement is the only real fix.
A monthly glance at the drums takes less time than checking your tire pressure, and the consequence of ignoring it is a door that drops suddenly or a cable that whips through the garage when it breaks. If you see any of the indicators above, treat it as a same-week repair priority.
3. Opener Force Limits: Reading the Self-Test and What It Misses
Every modern opener from Genie, LiftMaster, Chamberlain, and Craftsman has a force setting that tells the motor how hard it is allowed to push or pull before it stops. The setting exists for safety: if the door hits something on the way down, the opener should sense the resistance and reverse. The problem is that the setting drifts over time as the door’s mechanical components wear, and the opener’s self-test only measures force at the motor, not at the door edge.
Here is what the self-test tells you. When you run a force calibration on a Chamberlain or LiftMaster opener, the motor measures the amount of current it draws while moving the door through a full open-and-close cycle. It then sets the force limit to a percentage above that measured draw. If the door glides easily, the limit is low. If the door fights the opener, the limit is high. The self-test is useful for confirming that the opener is set to respond to a genuine obstruction, like a child’s bike or a box in the door path.
Here is what the self-test misses. The force limit is calibrated at the motor, but the resistance the door experiences is at the edges: the rollers in the track, the hinges, the sections where they bend. A door can have a roller binding partway up the track and still pass a force calibration because the motor is strong enough to muscle through the bind. The opener records a slightly higher current draw, sets a slightly higher force limit, and now the door runs with a built-in tolerance for a problem. This is how a garage door can pass its safety self-test and still be working harder than it should on every cycle, as covered in our Garage Door Repair Troubleshooting: Common Problems and How to Fix Them guide.
Milpitas homeowners should do a real-world force check once a season. You need a roll of paper towels or a rolled-up newspaper. Place it on the floor directly under the door’s path, close the door, and watch what happens when the door makes contact. The door should reverse within one to two seconds of touching the object. If it crushes the roll, stops without reversing, or hesitates noticeably, the force limit is set too high. Call a technician who handles garage door opener repair in Milpitas and describe what you observed. Do not attempt to adjust the force limit yourself unless you are familiar with your specific opener model: the adjustment controls are often located inside the opener chassis, and an incorrectly set force limit turns the door into a safety hazard.
The other thing the self-test will not tell you is whether the opener’s power is matched to the door. Many Milpitas homes have wooden doors from the 1980s or heavy double-wide doors that were retrofitted with openers sized for a lighter door. The opener works, but it is maxing out on every cycle, and the motor’s lifespan shortens. That is an inspection item, not a self-test item.
4. Lubrication That Survives Milpitas Dust: Products and Points That Matter
Here is the uncomfortable truth about lubrication advice on most garage door maintenance guides: they recommend silicone spray, and silicone spray works, until it does not. Milpitas sits in a semi-arid pocket of the South Bay, and the particulate load near the 880 corridor, Dixon Landing Road, and the industrial parks east of the freeway is significant. Fine dust settles into any wet or tacky lubricant film and turns it into grinding paste. We have seen doors lubricated monthly with silicone spray that developed roller wear worse than doors lubricated quarterly with the right product.
For Milpitas conditions, use a white lithium grease on metal-on-metal pivot points: hinges, roller stems, and the torsion spring. White lithium goes on thick, sets into a stable film, and does not attract the same amount of airborne particulate that a wet silicone film does. It is available at any Milpitas hardware store and lasts three to four months between applications. For the spring specifically, apply white lithium grease along the top of the spring coils and watch it wick down into the gaps. You are lubricating the coils so they can slide against each other as the spring winds and unwinds. A dry spring coils poorly and develops hot spots where the metal rubs.
For the opener rail, use a dedicated garage door opener grease, not the same lithium grease you used on the hinges. The rail on a screw-drive Genie or Chamberlain opener needs a thin, even film, and too much lubricant makes the carriage skate and chatter. A light coat along the entire length, every three months, is sufficient.
What to lubricate, in priority order:
- Torsion spring coils, full length, once every three months.
- Hinge pivot points, all four hinge plates on each section, once every three months.
- Roller stems, only if you have steel rollers with bearings. Nylon rollers with sealed bearings do not need lubrication and adding grease is counterproductive.
- Opener rail, once every three months.
- Latch and lock mechanism, once a year.
What to avoid: WD-40 on springs or hinges. WD-40 is a solvent and a water displacer, not a long-term lubricant. It will strip the existing grease and leave the metal dry within a week. We see this mistake constantly, and it is a one-way ticket to noisy, accelerated spring wear. If the door is already making a grinding or squealing noise, lubrication will quiet it temporarily but the underlying wear is already there. For Garage Door Warning Signs: A Milpitas Homeowner’s Reference Guide, see our dedicated resource.
5. Rollers and Hinges: The 30-Second Check That Prevents Bigger Wear
Garage door rollers are designed to be consumable. Steel rollers with ball bearings wear out in five to seven years. Nylon rollers last longer, typically seven to ten years, but only if the bearings stay sealed and clean. Once a roller seizes, it stops rolling and starts sliding, and a sliding roller cuts a flat spot into itself and wears a groove into the track. That groove then catches the next roller, and the problem compounds.
The check is visual and takes thirty seconds. Open the door fully and stand inside, looking up at the roller where it sits in the track. Spin the roller with your finger. It should spin freely with no grinding sensation. If the roller wobbles, if the wheel has a flat section, or if the stem has visible play inside the hinge, the roller is due for replacement. You do not need a single-brand solution for this. We routinely replace rollers on Clopay, Amarr, and Wayne Dalton doors with standard aftermarket rollers sized to the original. A door built with two-inch rollers takes two-inch rollers. The brand on the door does not change the physics.
Hinges fail more slowly. The hinge plates are riveted, and over thousands of cycles the rivets loosen and the plates develop play. A hinge with play lets the door sections shift, and that shifting applies uneven load to the track and the panel edges. You can check hinges by gripping the door section and rocking it gently: any movement beyond a quarter inch indicates a hinge that needs replacement. Broken hinge plates, especially on the bottom section where the lift cables attach, are a safety issue and a repair priority.
Milpitas-specific note: doors on homes near Coyote Creek and the bay-adjacent zones see more atmospheric moisture than the rest of the city, and that moisture accelerates corrosion on steel rollers. If your steel rollers show rust streaks on the track, replace them with nylon rollers with sealed bearings from Amarr or Clopay’s replacement lines. The nylon roller itself is quieter, and the sealed bearing survives the moisture cycle better than exposed steel.
6. Track Alignment and Fasteners: What Loose Bolts Do to a Door Over Time
Garage door tracks are mounted to the wall and ceiling with lag bolts, and those bolts work loose over time from the vibration of thousands of open-and-close cycles. A track that has shifted even a quarter inch changes the angle at which the rollers enter the horizontal curve, and that changed angle puts side load on the roller bearings and the track itself. The result is accelerated roller wear, a door that makes a popping sound as it goes through the curve, and eventually a roller that jumps the track.
The check is best done with the door closed. Look at the vertical track sections on both sides of the door. The gap between the track and the door edge should be consistent from bottom to top. Run your finger along the track, not inside it, just the outside face, and feel for bends, dents, or sections where the track flares outward. A flared section means the track has been hit, usually by a car bumper or a ladder, and the door is now squeezing through a damaged spot on every cycle.
For fasteners, you need a socket wrench and ten minutes. Every lag bolt on the vertical track and the horizontal track should be snug. Do not crank them down with force: the track system is designed to flex slightly, and over-tightening bolts on the curved sections can distort the track. The goal is snug, not torqued. If a lag bolt spins in its hole without tightening, the wood behind the drywall or stucco has stripped out, and the fix requires a larger lag or a relocated bolt. That is a repair to book before the track pulls away from the wall entirely.
Adjusting track alignment is not a safe DIY project. The track is under load when the door is open, and loosening the wrong bolt in the wrong sequence can drop the door. If you can see that the track is visibly out of parallel, or if the door makes a scraping sound only at a specific point in its travel, call a garage door repair technician in Milpitas. The diagnosis is quick, and the fix is usually a track adjustment rather than a replacement.
7. Weather Seals: The Milpitas Summer Factor Most Checklists Ignore
Weather seals do not seem like a maintenance item, which is precisely why they fail quietly and then fail everything around them. The bottom seal on a garage door is a rubber or vinyl extrusion that sits in a channel on the bottom panel. In Milpitas’s hot summer months, that seal bakes. The daytime temperatures in August and September, combined with the radiant heat from the driveway concrete, harden the rubber and cause it to shrink and crack. Once the seal cracks, it stops doing its job.
Here is what a failed bottom seal does. It lets dust in. Milpitas homes near the freeway already deal with continuous particulate, and a broken seal channels that dust directly onto the garage floor. It lets heat in, which makes the garage hotter and pushes the opener motor to work in a hotter ambient environment, shortening its life. It lets water in during winter rains, and standing water at the door base accelerates corrosion on the bottom panel and the track brackets. The bottom panel is the most common rust-through point on steel doors, and it almost always starts at the seal line.
Check the bottom seal twice a year, once in spring and once in fall. Look for cracks, flattening, gaps at the corners, or sections where the seal has pulled out of its channel. A daylight test works well: close the door on a sunny afternoon, go inside, and look for light coming through under the door. Any visible light means the seal has failed at that point.
Replacing a bottom seal is a repair you can do in an hour, but the trick is ordering the right seal profile for your door. Different door brands use different seal geometries, and a universal seal that does not fit the channel will pop out within weeks. Genie, Clopay, Amarr, and Wayne Dalton each have specific seal profiles. We can source the correct seal for any of the eight brands we service, which saves Milpitas homeowners the dead-end of buying a generic seal that fails immediately. If you are not sure what profile you have, take a photo of the end of the bottom panel and bring it to a garage door repair specialist.
8. A Seasonal Maintenance Calendar for Milpitas
Here is the entire system organized by month. The goal is not to do everything every month. The goal is to do the right things at the right intervals, so the total time commitment stays under ten minutes per month.
Monthly (5 minutes)
- Door travel test at the halfway point: watch for more than three inches of drift.
- Visual scan of cable drums: look for cable crossover, shiny spots, or frayed strands.
- Visual scan of rollers: look for flat spots, wobble, or rust streaks on the track.
Quarterly (10 minutes)
- White lithium grease on hinges and torsion spring.
- Light grease on opener rail.
- Obstruction test with a paper towel roll under the closing door.
- Fastener check on vertical and horizontal tracks.
Twice Per Year (15 minutes, spring and fall)
- Bottom seal inspection: crack check and daylight test.
- Track alignment check: look for consistent gap and flared sections.
- Hinge play check: rock each door section and feel for movement.
- Opener force recalibration, either through the opener’s self-test or by calling a technician.
Once Per Year (scheduled service)
- Full inspection of spring condition, including coil gap measurement and cycle count estimate.
- Cable drum wear measurement and cable replacement if frayed.
- Opener force and travel limit adjustment.
- Bearing check on all rollers and hinge replacement as needed.
We have streamlined this calendar based on what Milpitas homeowners actually experience. The monthly checks catch the three failure modes that cause surprise breakdowns. The quarterly checks handle the wear items that degrade on a three-month cycle. The annual service is the safety net for everything that needs a trained eye. For more guides & resources, visit our blog.
Common Mistakes to Avoid
- Lubricating before checking the spring. Lubrication makes a tired spring quieter, and a quiet spring that is about to fail is more dangerous than a noisy one. Check the spring first, then lubricate.
- Using WD-40 on springs or hinges. It strips the existing lubricant and accelerates wear. Use white lithium grease for metal-on-metal points around Milpitas’s dusty conditions.
- Ignoring opener force drift because the self-test passed. A passed self-test means the opener recognizes an obstruction at the motor, not that the door is running efficiently at the edges. Do the paper towel test quarterly.
- Skipping the cable drum check because the door opens fine. Cable drums wear visibly before the cable snaps, but the door still opens during that wear period. The failure comes later, without warning, because the visual indicator was there all along.
- Replacing one roller instead of the set. A seized roller has already put uneven load on the track and the other rollers. Replace all rollers in the door, not just the one that failed first.
- Assuming the brand matters for parts. A Clopay door does not need a Clopay roller, and an Amarr seal does not need an Amarr replacement. The fit and the profile matter more than the logo. We work on eight major brands because the parts interchange more than most homeowners realize.
- Putting off a drifting door test result. A door that drifts three inches today will drift six inches in two months and drop entirely somewhere around month four. The spring is the single most safety-critical component on the entire system. Treat a failed travel test as a same-week repair item.
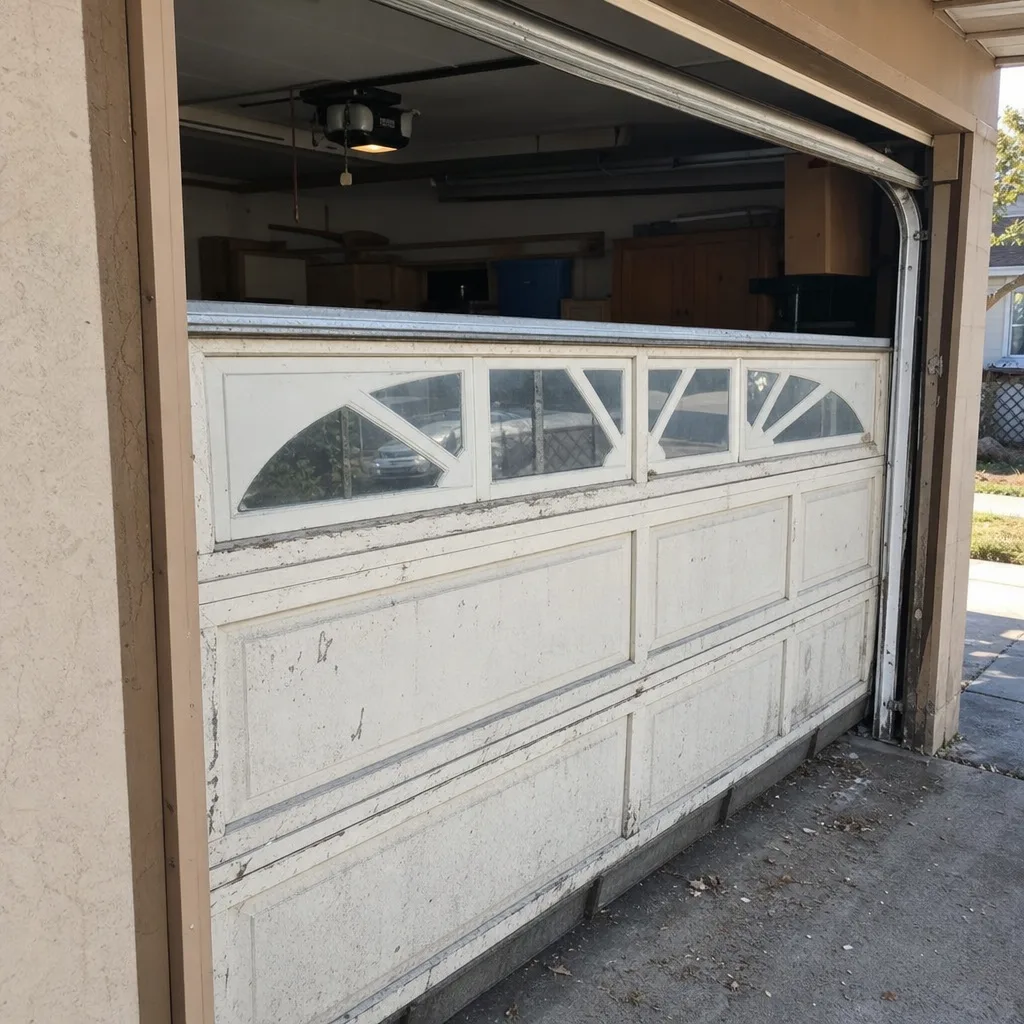
See the difference
 Before
 After
 Before
 After
 Before
 After
When to Call a Professional
Call a technician when the monthly travel test shows more than three inches of drift, when the cable drums show any of the wear indicators described above, when the door fails the obstruction reversal test, or when you hear a grinding noise that lubrication does not resolve. None of these are conditions that resolve on their own. We also recommend a professional inspection after any major impact to the door, such as a car bumper hitting the bottom panel or a heavy object striking the track. Garage Door Service Milpitas offers free estimates in Milpitas for all of these situations. Call (833) 589-9493 and describe what you are seeing. We will tell you whether it needs immediate attention or can wait.
Frequently Asked Questions
Every three months with white lithium grease on the hinges and torsion spring, and a light coat on the opener rail. Milpitas’s dust load makes silicone spray a poor choice, because it stays wet and collects particulate. Lithium grease sets into a film and holds up better between applications.
Yes. Disconnect the opener with the red emergency release cord, lift the door to the halfway point by hand, and let go. If the door stays put, the spring is balanced. If it drifts more than three inches in either direction, the spring is out of tension and needs professional adjustment.
Torsion spring replacement in Milpitas typically runs between $250 and $450 for a standard double-spring system, depending on the spring size and cycle rating. The springs themselves are the largest cost factor, and higher-cycle springs cost more but last significantly longer. Call (833) 589-9493 for an exact quote, and the price is agreed before any work starts.
The most common cause is a force limit that has drifted too low, often after a season of temperature changes or a track that has shifted slightly. The opener senses the extra resistance and interprets it as an obstruction. A professional can recalibrate the force setting and check the door’s mechanical condition in the same visit.
No. Garage door rollers are standardized by size and stem type, not by door brand. A two-inch nylon roller with a sealed bearing will fit any door that was built for two-inch rollers. The same applies to weather seals: the key is matching the seal profile, not the brand name on the panel.
Eight to twelve years is typical for a quality opener from Chamberlain, LiftMaster, or Genie. Openers in Milpitas homes with uninsulated garages or heavy wooden doors tend to fail earlier because the motor works harder in summer heat. If your opener is older than ten years and the door has recently started misbehaving, the opener itself may be the culprit. We offer garage door opener repair before recommending replacement, and we will tell you if a repair will do.
The Bottom Line
The garage door maintenance that prevents breakdowns in Milpitas is not the longest checklist. It is the right checklist, organized by what actually fails. The torsion spring, the cable drums, and the opener force limits account for the majority of surprise failures we see, and all three can be checked in under ten minutes a month without specialized tools or physical contact with dangerous components. Lubrication, rollers, tracks, and seals all matter, but they are secondary. If you do the five-minute monthly check and the quarterly lubrication, you will catch most problems before they strand you or damage the door. For everything else, Garage Door Service Milpitas handles garage door installation, repair, and opener work across eight major brands. Call (833) 589-9493 for a free estimate. We see this equipment every day, and we will tell you straight what it needs.
Written by the team at Garage Door Service Milpitas, serving Milpitas since 2011.