
Last updated November 2, 2026
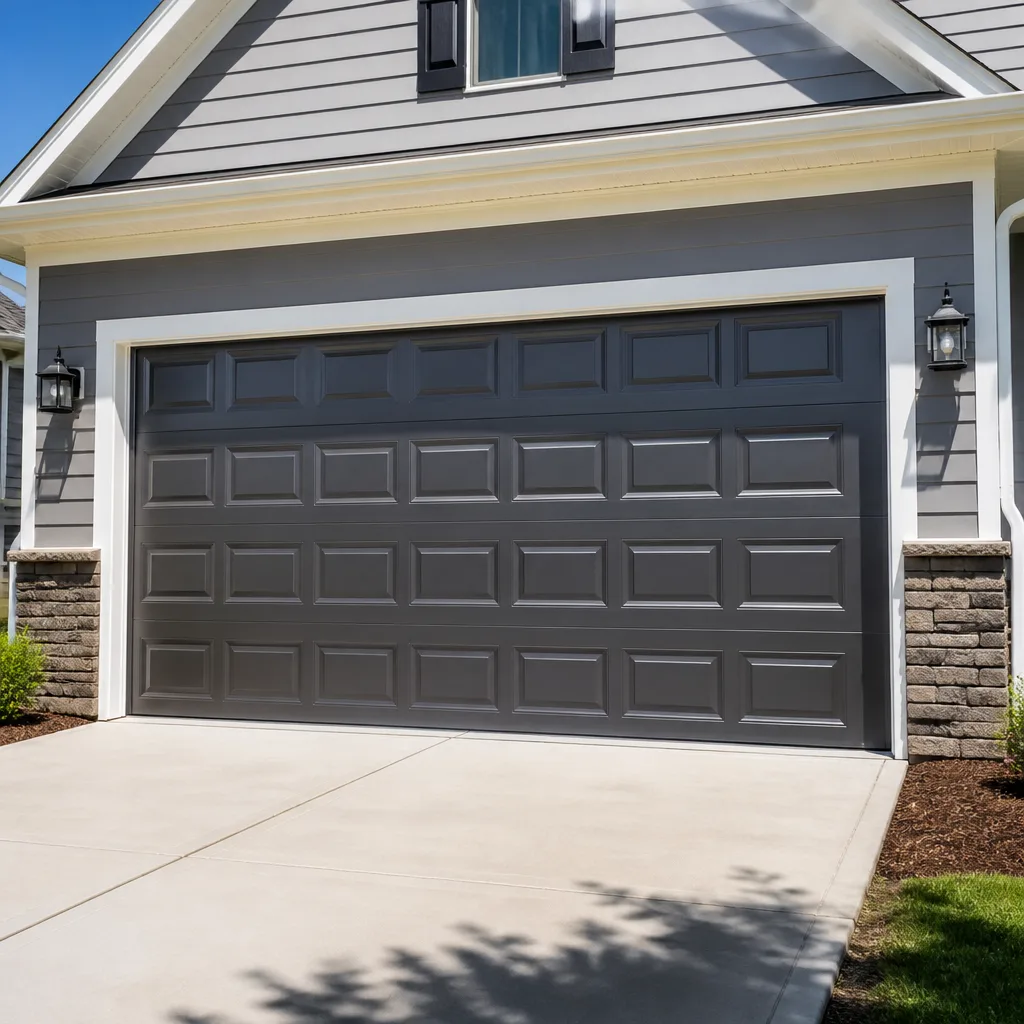 Raised-panel steel
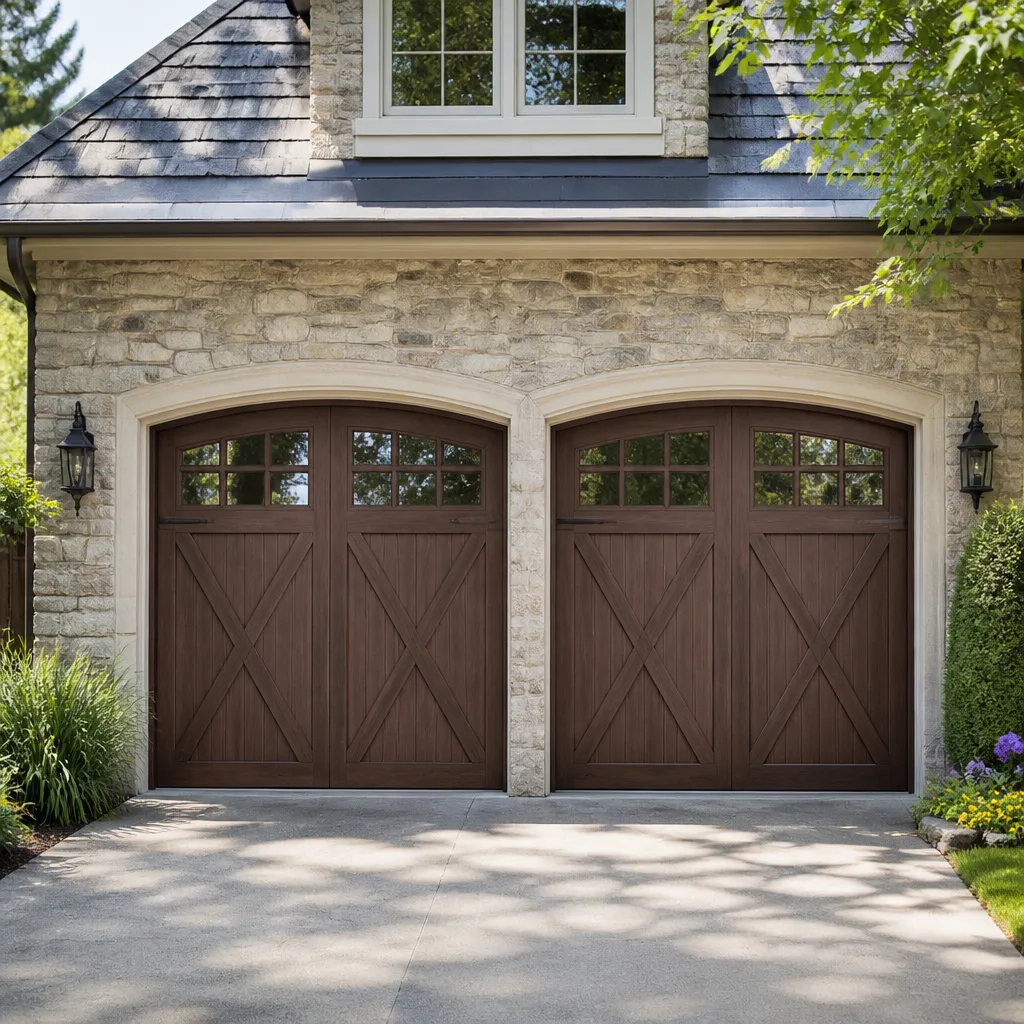 Carriage house
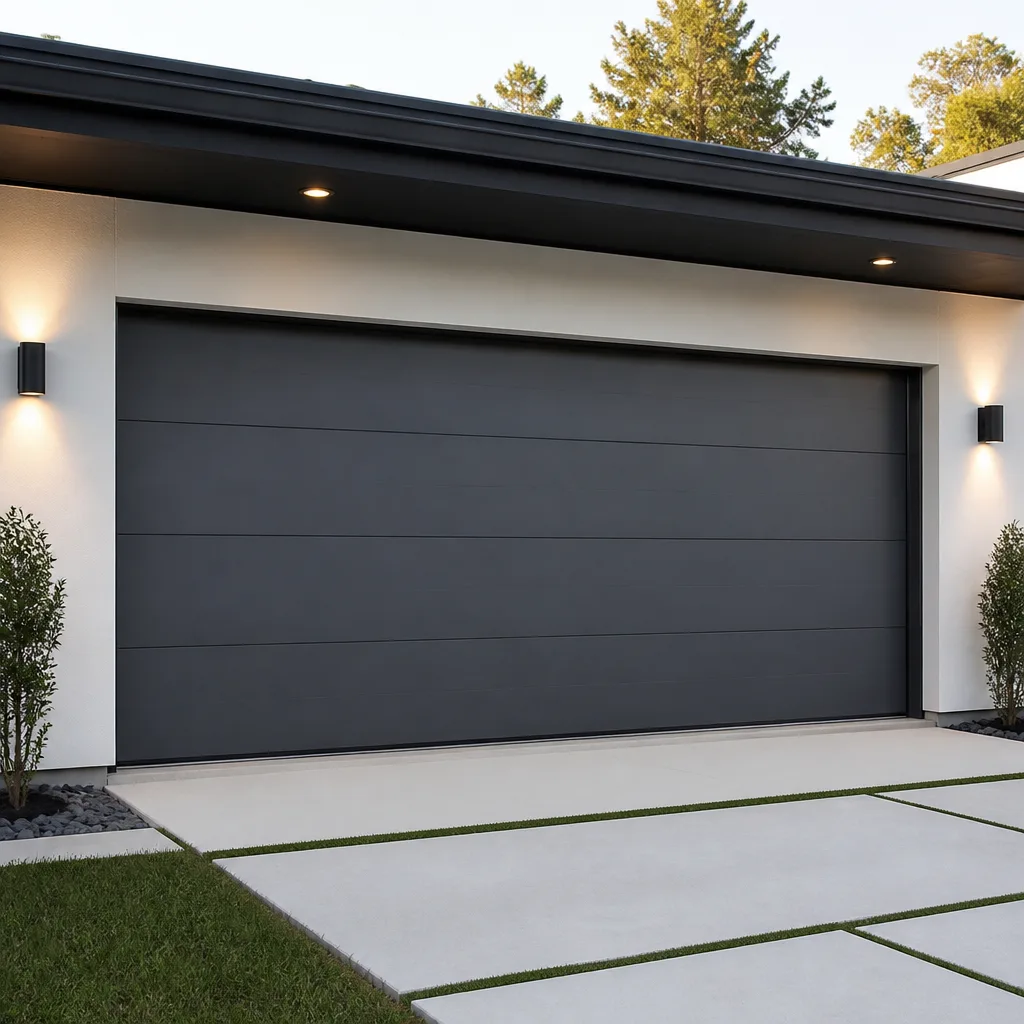 Modern flush
 Full-view glass
 LiftMaster openers
 Chamberlain openers
Full 25-point door and opener safety check with every visit - springs, cables, rollers, tracks, and your LiftMaster or Chamberlain opener included
You get a price before we start. It does not change when the truck arrives.
Get your free estimateDIY vs Professional Garage Door: The Milpitas Homeowner’s Decision Guide
A torsion spring on a standard residential garage door holds enough stored energy to seriously injure someone if it releases incorrectly. That single fact scares a lot of Milpitas homeowners away from touching any part of their garage door system. But it shouldn’t, because the real question isn’t whether garage doors are dangerous. The question is which specific tasks carry that risk and which are genuinely low-stakes. This guide draws those lines task by task, so you know exactly when to reach for a wrench and when to pick up the phone. For more guides & resources on keeping your garage door safe, explore our blog.
Styles & brands we work with
- Raised-panel steel
- Carriage house
- Modern flush
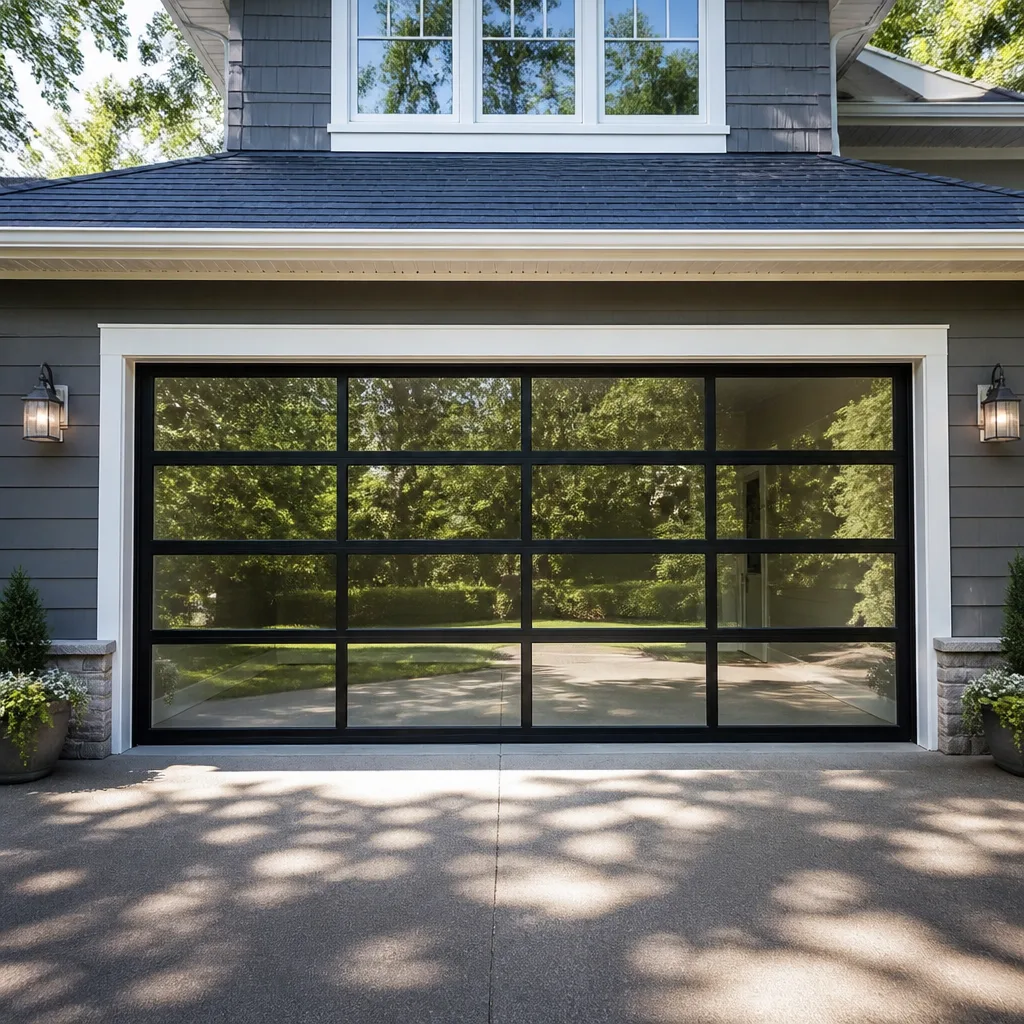
- Full-view glass
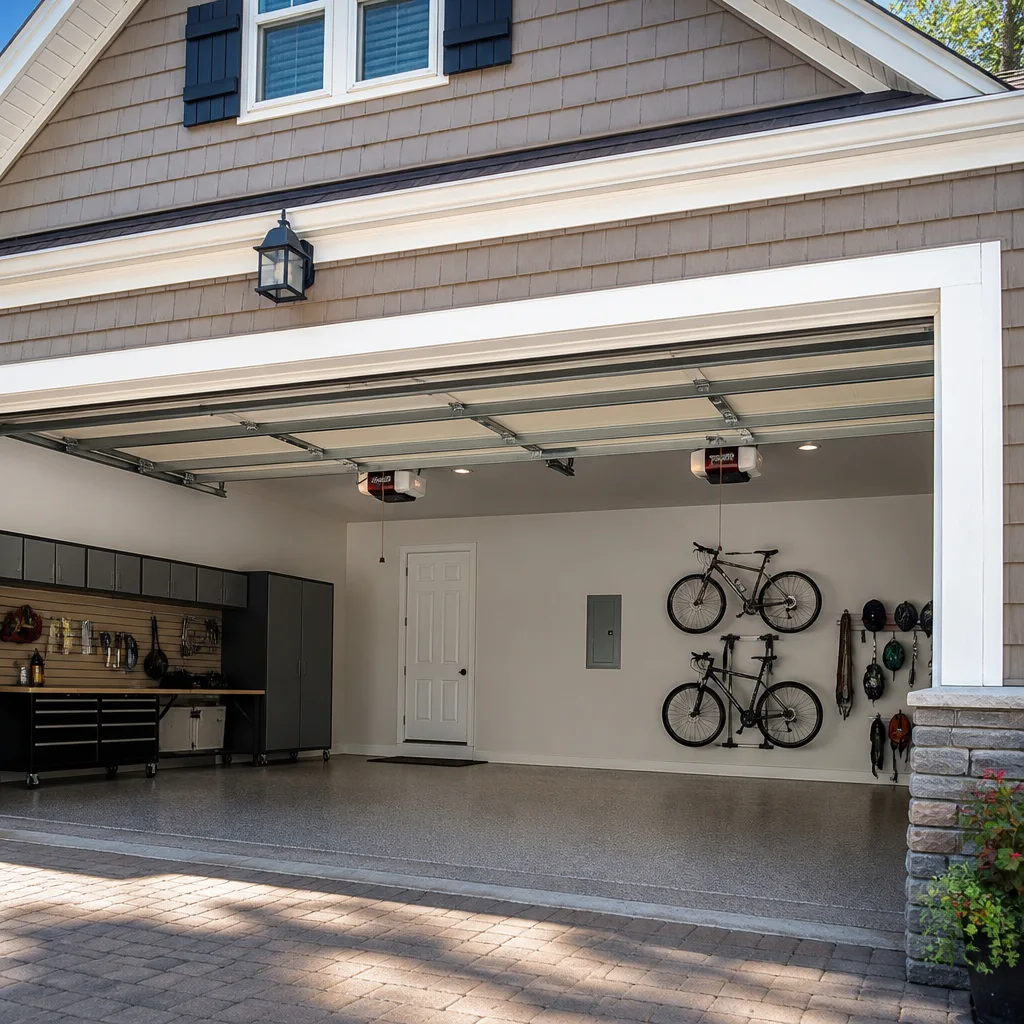
- LiftMaster openers
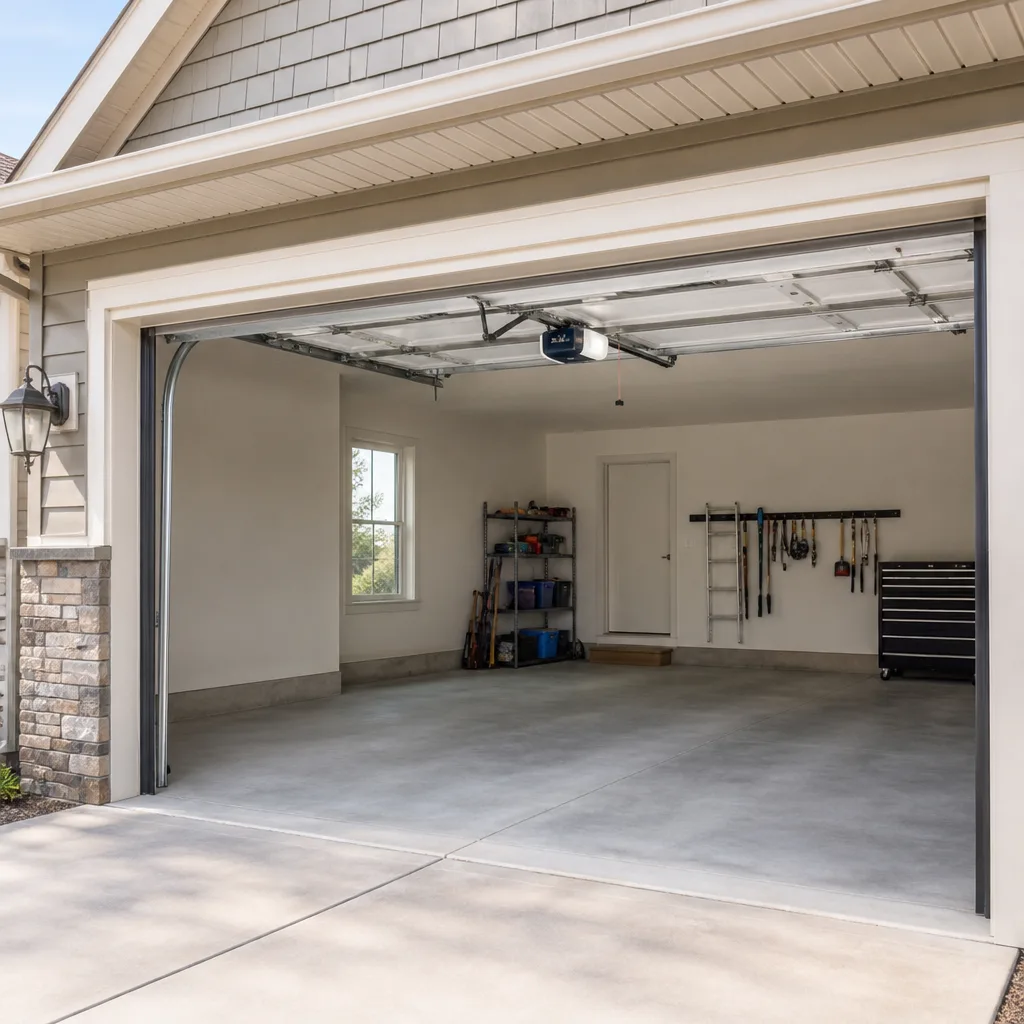
- Chamberlain openers
Quick Answer
Most Milpitas homeowners can safely handle cosmetic fixes (panels, weatherstripping, paint) and basic sensor cleaning or alignment. Torsion spring replacement, cable work, and opener logic board issues should go to a professional, because these specific tasks involve stored kinetic energy, high-tension components, or electrical systems where one mistake can cause injury or cascade into a bigger repair. If the task involves a spring under tension, a cable connected to it, or a logic board, call a pro.
Table of Contents
- The True Risks of Garage Door DIY (By Component)
- The Task-by-Task Classification: Safe, Conditional, Professional-Only
- The Real Tool Cost vs. One Pro Visit in Milpitas
- California Liability Considerations for DIY Repairs
- How to Assess Your Existing Door System Before Deciding
- The Hidden Cost of DIY Errors: What a Misadjusted Spring Actually Does
- Common Mistakes to Avoid
- When to Call a Professional
- Frequently Asked Questions
- The Bottom Line
The True Risks of Garage Door DIY (By Component)
Every garage door has four component groups: the door panels and hardware, the springs (torsion or extension), the cables, and the opener. The risk profile for each is completely different. In Milpitas, where attached garages are standard in neighborhoods like Parktown and Midtown, a mistake on the wrong component doesn’t just mean a broken door. It can mean an injury in a space your family walks through daily.
Door Panels and Hardware: Low Risk
Panels, hinges, rollers, and track bolts are low-tension components. You can usually work on them without special tools beyond a socket set, a level, and a rubber mallet. The most common panel job in Milpitas is replacing a dented lower section, often from a car bumper or a bike handlebar. Most homeowners who can hang a heavy shelf can handle panel replacement on a sectional door. The risk is mostly ergonomic: panels weigh 40 to 70 pounds each, and a 16-foot door can have four or more sections. A second set of hands is the main requirement.
Extension Springs: Moderate Risk with Proper Knowledge
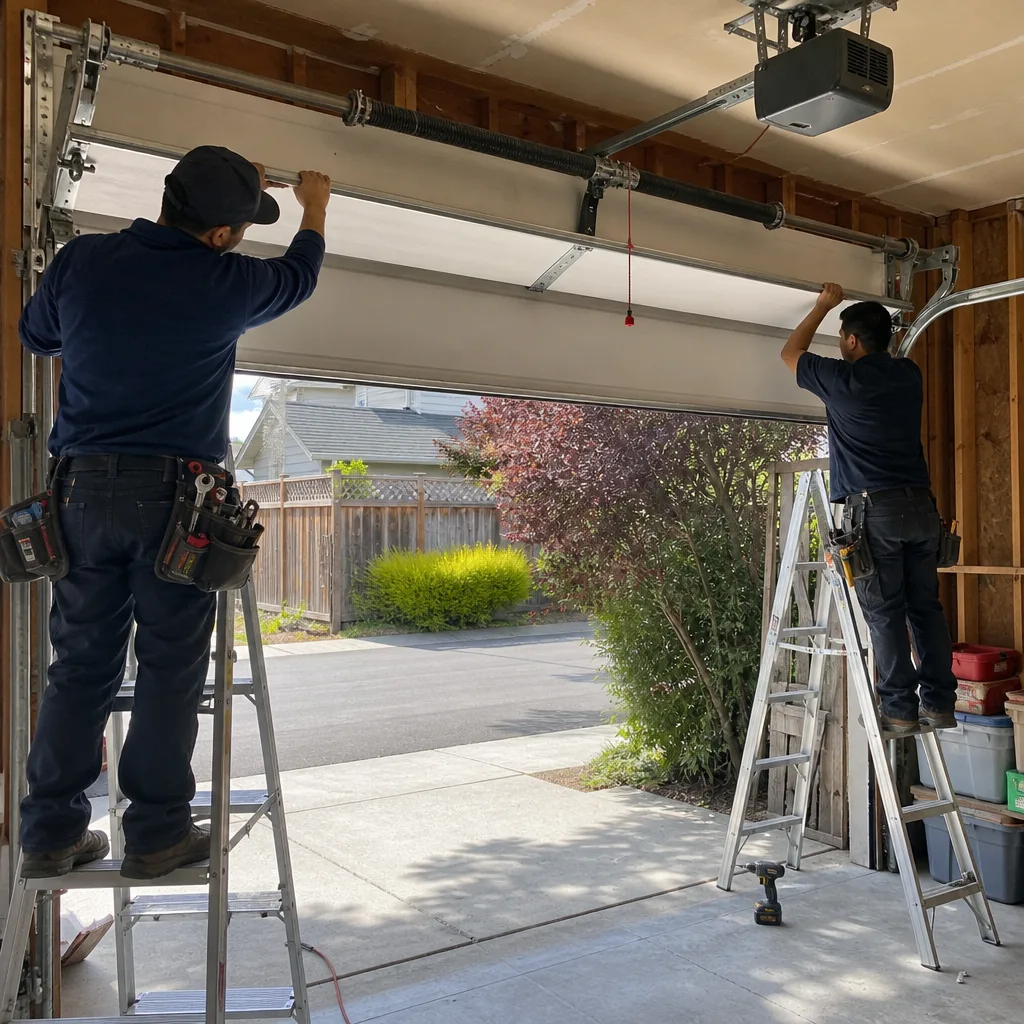
Extension springs stretch along the horizontal tracks. Older Milpitas homes, especially those built before the mid-1990s, commonly have them. When the door is closed, these springs are under full tension. If one breaks without a safety cable threaded through it, it can snap back like a whip. But if your system already has safety cables, and you can confirm the spring is relaxed when the door is fully open, replacing an extension spring is within reach for a careful homeowner who has the right tools and follows the safety protocol: door open, spring detached, vice grips on the track, and a deliberate pace. The stakes are real, but manageable.
Torsion Springs: High Risk, Professional-Only
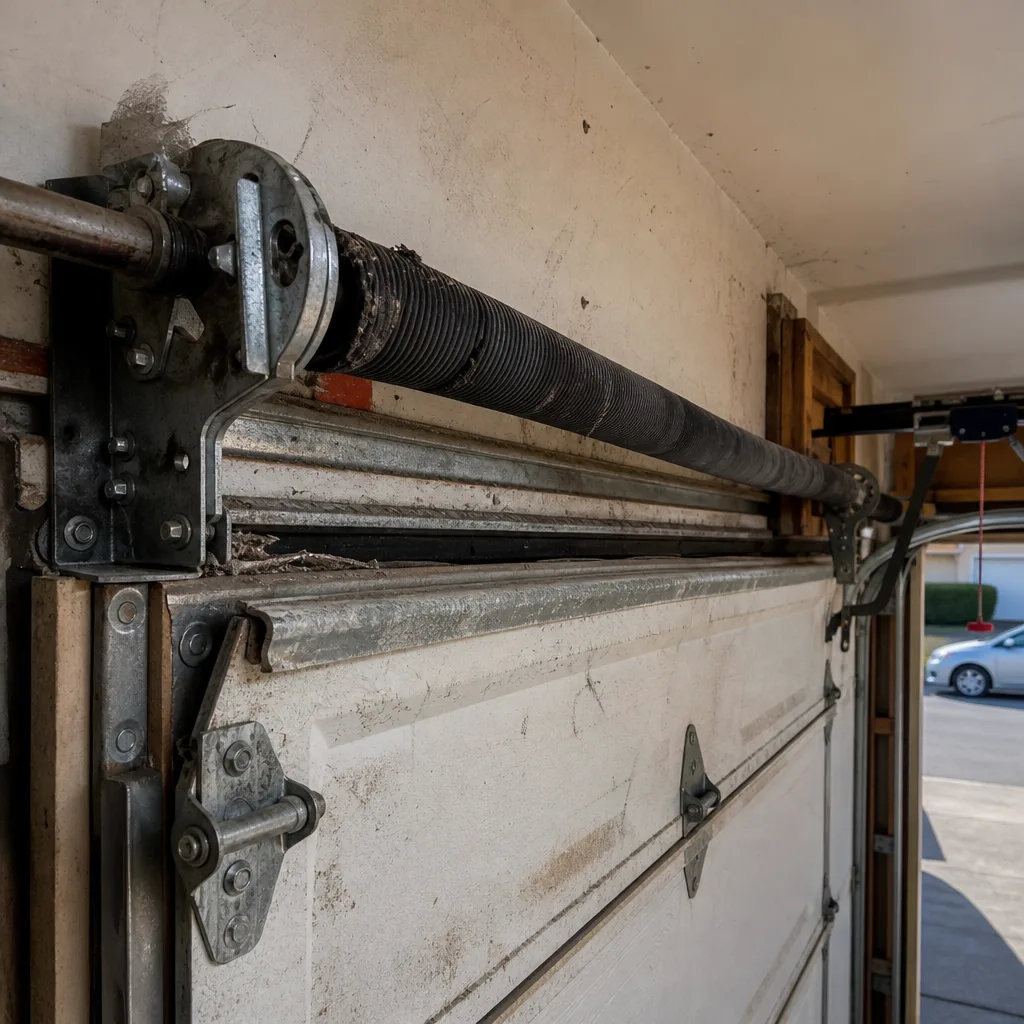
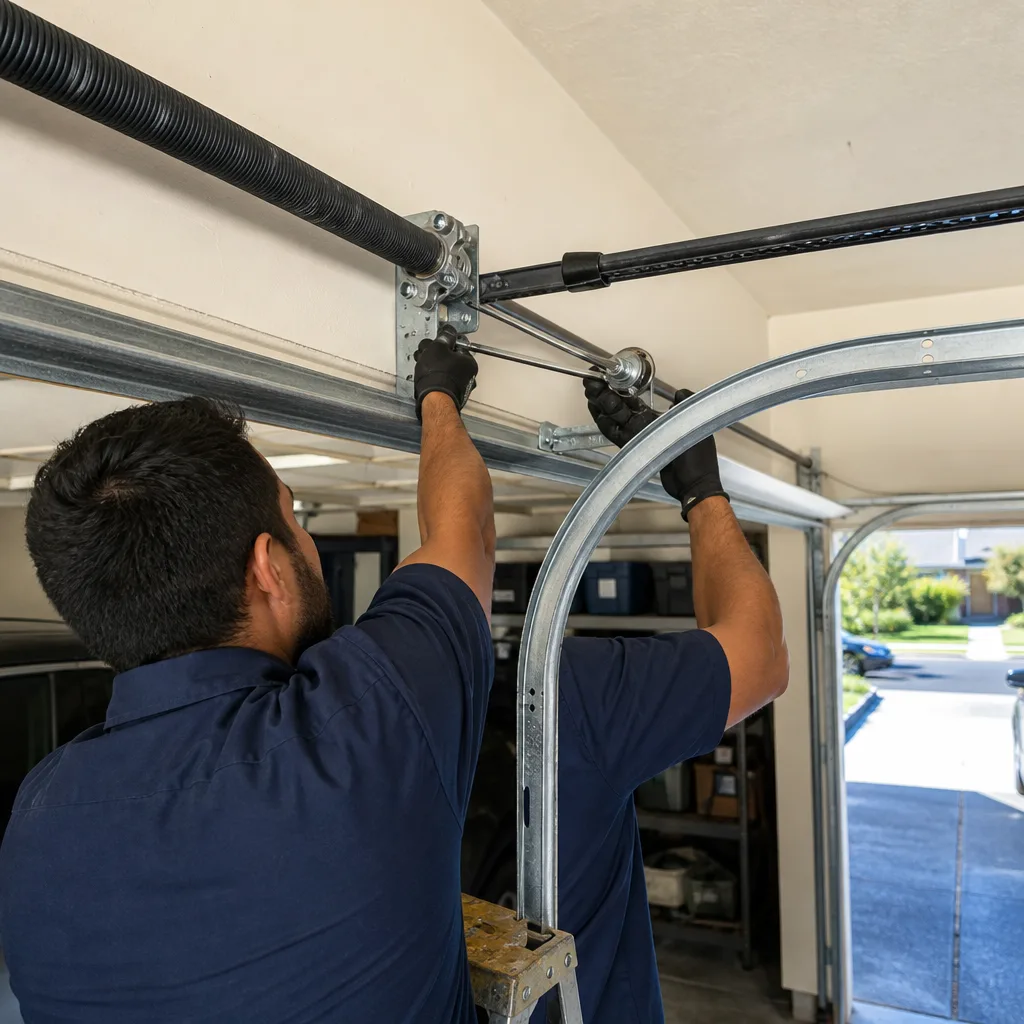
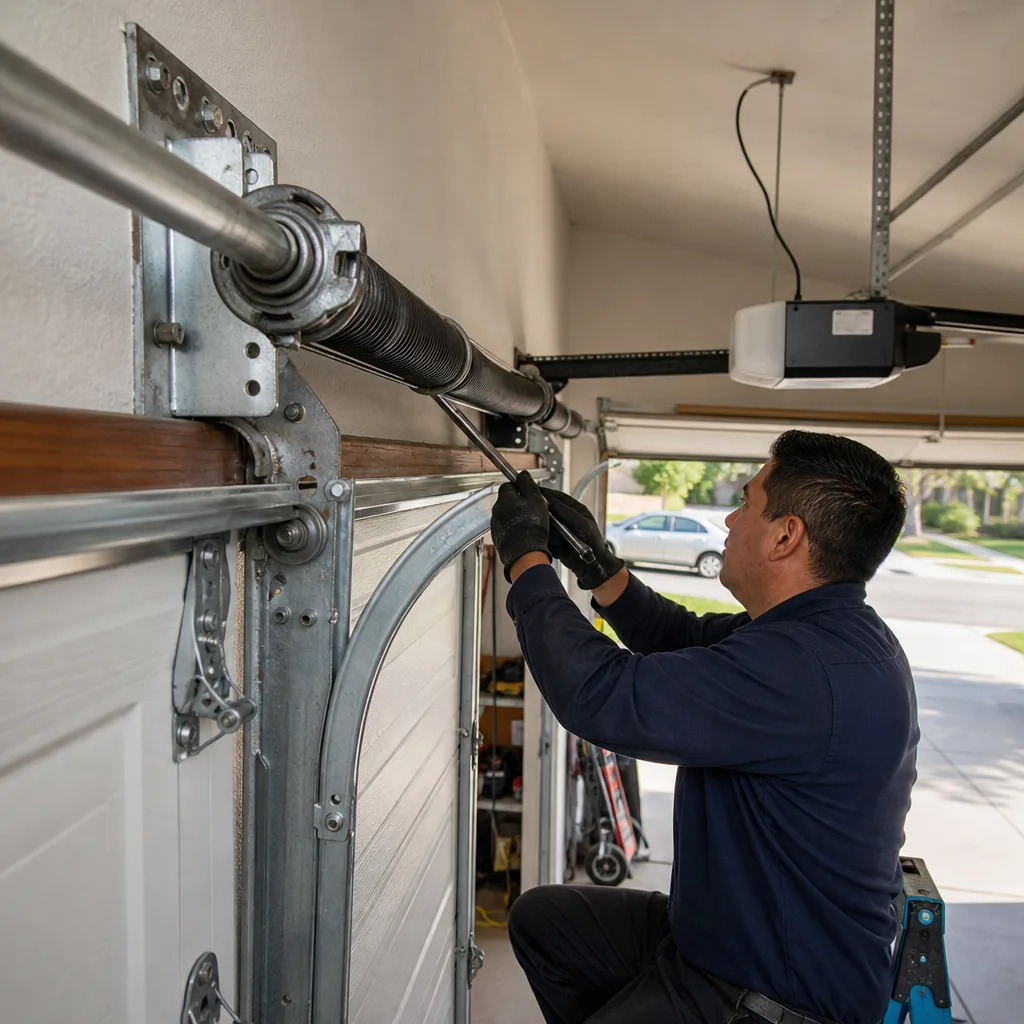
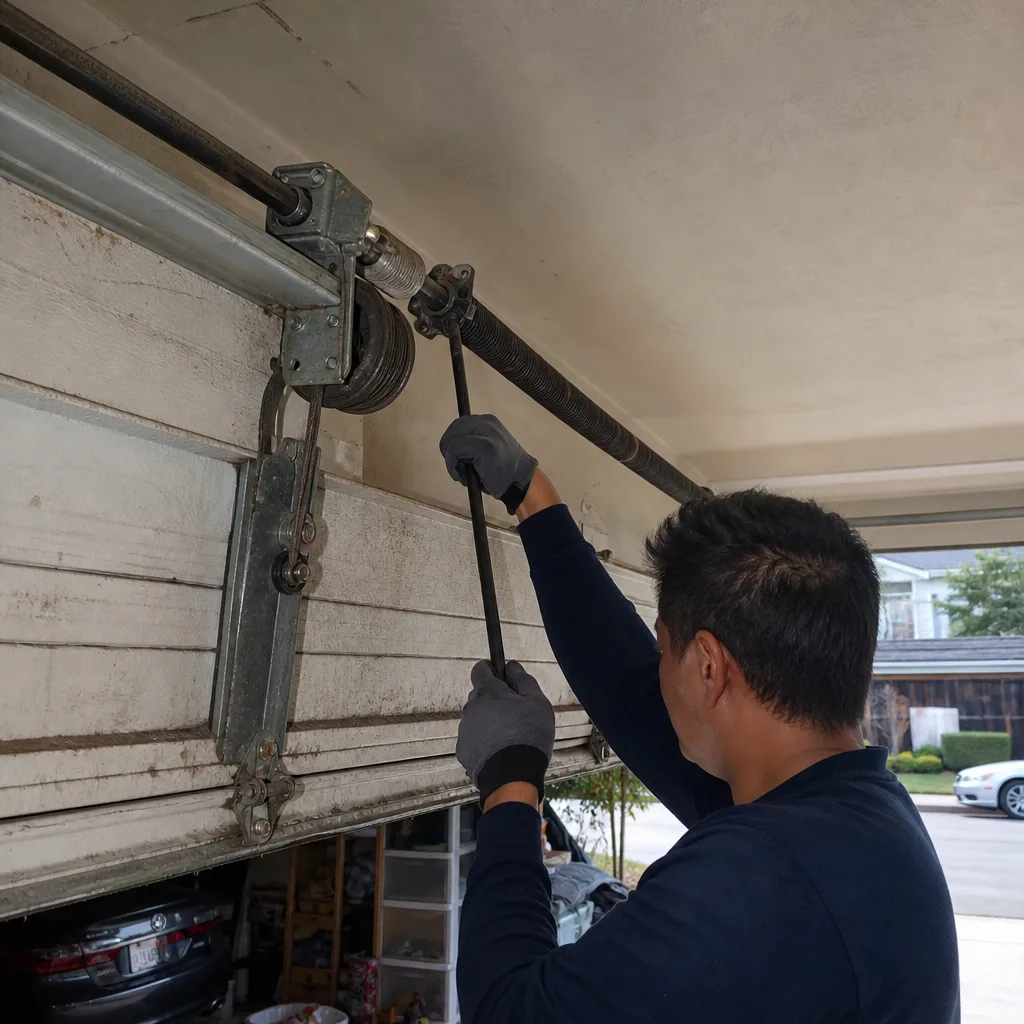
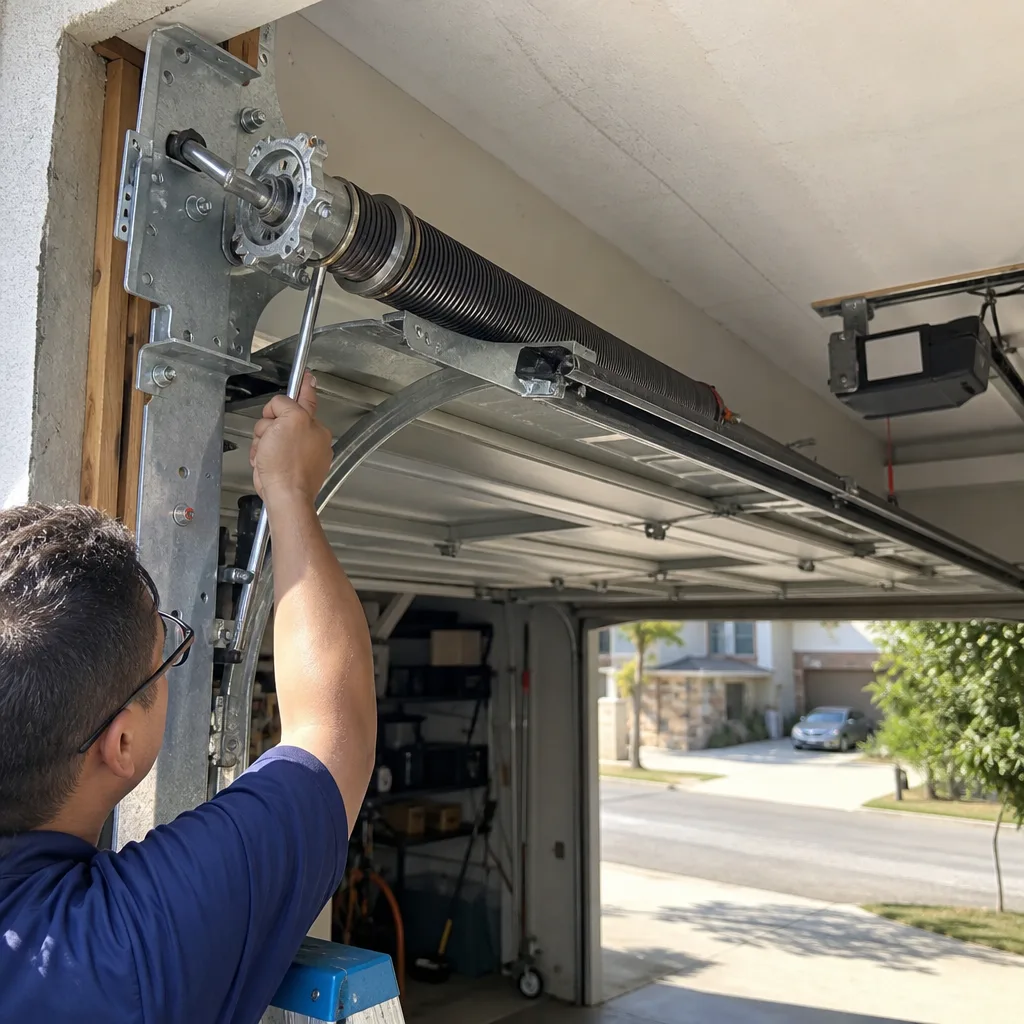
Torsion springs sit on a shaft above the closed door. They don’t stretch; they wind. And winding one means using two steel rods to add rotational tension in quarter-turn increments, often 30 quarter-turns per spring. A slip at any point means the rod becomes a projectile. We have seen the aftermath of DIY torsion spring attempts where the homeowner lost control and the winding rod went through the garage ceiling. This is the single component where we tell every Milpitas homeowner the same thing: the money you save doing it yourself is not worth the risk. Hire this out. Period.
Cables: High Risk When Paired with Torsion Springs
Cables attach to the bottom of the door and route up to the spring shaft. If a torsion spring is under tension, that tension travels through the cables. Replacing a cable on a torsion system means de-tensioning the springs first. That puts you back into the high-risk zone. If your system has extension springs, and the door is locked open in the full-up position, a cable replacement is more straightforward. But the rule of thumb in our shop is: if you have to touch the spring to touch the cable, the cable job became a spring job. Call a professional.
Opener Electronics: Low Risk for Some Tasks, Professional-Only for Others
Cleaning a photo-eye sensor, checking the safety reversing mechanism, reprogramming a remote, or realigning a track sensor: these are all low-risk, high-success DIY tasks. You need a rag, maybe a screwdriver, and your opener’s manual. On the other hand, replacing a logic board, diagnosing a short in the circuit, or rewiring the motor is professional territory. The difference is whether you’re adjusting settings or circuitry. Settings, yes. Circuitry, no.
The Task-by-Task Classification: Safe, Conditional, Professional-Only
Here’s the exact breakdown we give Milpitas homeowners who call us and ask whether something is worth trying on their own. This list isn’t based on what protects a contractor’s revenue. It’s based on injury data, tool requirements, and the likelihood that a mistake creates a second, more expensive problem.
Safe DIY (No Specialized Training Required)
- Photo-eye sensor cleaning and realignment: Wipe the lenses with a dry cloth and visually confirm they’re pointed at each other. If the door reverses for no reason, this fixes it more often than not.
- Remote and keypad reprogramming: Every LiftMaster, Chamberlain, Genie, and Craftsman opener has a learn button. The manual tells you the sequence.
- Lubricating rollers, hinges, and tracks: Use a lithium-based spray on metal-on-metal contact points. Avoid the track itself, which should stay dry. We recommend doing this every six months in Milpitas, where the dry summer air accelerates wear on moving parts.
- Weatherstripping replacement: The rubber strip at the bottom of the door and the seals along the sides are peel-and-replace jobs. You’ll need a utility knife and a measuring tape.
- Tightening loose track bolts and hinge screws: Use a socket set. If a bolt is stripped, drill it out and replace it. This is 15 minutes of work.
- Manual release handle testing: Pull the red cord to disengage the opener, then lift the door by hand to confirm it moves smoothly. This is a diagnostic step, not a repair, and it tells you whether a problem is in the door or the opener.
Conditional DIY (Requires Specific Tools and a Realistic Risk Assessment)
- Extension spring replacement (with existing safety cables): You need a new spring matched to the old one’s weight rating, two C-clamps or vice grips, a socket set, and a helper. The door must be fully open and locked in place before you touch anything. If your spring doesn’t have a safety cable running through it, add one. This is the condition that makes it safe.
- Roller replacement (non-bottom rollers): Hinged rollers pop out of the bracket with a flathead screwdriver once you bend the track slightly. The bottom roller is different: it mounts into a bracket that’s usually connected to the cable. On a torsion system, leave bottom rollers to a pro.
- Track realignment: If the track has shifted (visible gap between rollers and track, or a door that hangs up mid-travel), you can loosen the track bolts, reposition with a level, and re-tighten. This works on minor shifts, not bends. If the track is bent, that’s a replacement job.
- Panel replacement (single panel, not structural): On some Amarr and Wayne Dalton doors, individual panels can be ordered and swapped. You’ll need a helper, a drill, and patience with the hinge alignment. This is more awkward than difficult. But if the damage hit the stile or the panel that holds the bottom bracket, that’s structural. Call a pro.
Professional-Only (High Injury Risk or High Error Cost)
- Torsion spring replacement and winding: Non-negotiable. The tools cost money, the risk is severe, and the technique takes practice to learn safely. We replace torsion springs on Milpitas doors every week, and we still treat every winding with full respect.
- Cable replacement on torsion systems: Because you can’t touch the cable without de-tensioning the spring, this is a spring job plus a cable job. Never attempt this in a home garage.
- Opener logic board replacement or motor diagnosis: Modern openers from Craftsman and Raynor bundle electronics that are not user-serviceable. You can check for obvious wire damage, but board-level diagnosis needs a multimeter and familiarity with the circuit. If you guess wrong, you can fry the motor.
- Any repair involving the bottom bracket on a torsion system: The bottom bracket holds the cable and the lower roller. To replace it, you must relieve cable tension, which means the torsion spring is involved. That’s the hard stop.
- Full door replacement: This isn’t a safety issue, it’s a precision issue. A door that isn’t square on the tracks will wear out rollers, strain the opener, and require rework. Plus, a new door comes with new springs that must be matched to the door’s exact weight. That’s a measured job, not a guess.
The Real Tool Cost vs. One Pro Visit in Milpitas
The DIY math often looks good on paper. But when you factor in the tools you don’t already own, the numbers change. Here’s the honest breakdown for the conditional-DIY tasks we listed above.
Extension spring replacement tools:
- C-clamps or vice grips: $15 to $30 for a pair that won’t slip
- Socket set with deep-well sockets: $40 to $80 for something decent
- Replacement spring (single): $35 to $70, depending on the weight rating
- Safety cable kit: $10 to $18
- Total if you own nothing: $100 to $198
A professional extension spring replacement in Milpitas typically falls in the $150 to $250 range, including the spring and the service call. When the spring cost is already $35 to $70, and the pro is handling the risk, the savings you get from doing it yourself can be under $50. For a component that can snap a finger if the vice grip slips, that math doesn’t work for most people.
Roller replacement tools:
- Flathead screwdriver: $5 to $15
- Pliers: $10 to $25
- Replacement rollers (pack of 10 nylon rollers): $20 to $35
- Total: $35 to $75
Professional roller replacement in Milpitas: $95 to $150, depending on how many rollers and whether the bottom ones are involved. This is a case where DIY savings are real, and the risk is low, as long as you leave the bottom roller on a torsion system alone.
Track realignment tools:
- Level (24-inch or longer): $15 to $40
- Socket set: most homeowners already own one
- Rubber mallet: $10 to $20
- Total: $25 to $60 if you already have a socket set
Professional track adjustment in Milpitas: $75 to $125. This is another case where the DIY hour is genuinely worth it, assuming the track is only shifted, not bent. The danger sign to look for: if you can see a visible kink or fold in the metal track, don’t try to straighten it. You’ll create resistance that drags the door and burns out the opener motor. That’s a $300 component you’ll destroy trying to save $125.
Torsion spring tools, for the record:
- Two winding rods: $15 to $35
- Spring, matched to your door’s exact weight: $60 to $150 per spring
- Torque wrench (optional but recommended): $30 to $80
- Total: $105 to $265
Professional torsion spring replacement in Milpitas: $180 to $340. The tool cost isn’t the reason to hire this out. The reason is that a single mistake with a winding rod is a life-altering injury. No savings justify that risk, ever, and we say that as a company that earns money from replacing these springs.
Garage Door Repair in Milpitas covers the components discussed here and is the best place to start if you’re not sure which bucket your issue falls into.
California Liability Considerations for DIY Repairs
Here’s the part most guides skip: California homeowners insurance has specific language around self-performed repairs on attached structures. Before you start, check our Garage Door Permits, Codes & Inspections in CA: What You Need to Know to see if your project requires a permit. An attached garage is considered part of the dwelling, which means damage from a DIY repair gone wrong can trigger a different kind of claim than damage from a contractor’s mistake.
If you attempt a torsion spring replacement and the spring releases through your garage drywall or through your car windshield, your insurer may ask a series of questions: Was the work performed by a licensed professional? Was a permit required? Did the homeowner have the expertise to perform the work safely? Depending on your policy and the insurer’s assessment, a DIY injury or property damage claim could be denied, delayed, or result in a non-renewal notice.
What does this look like in practice? If a Milpitas homeowner accidentally damages their own garage door during a DIY repair and files a property claim, most insurers will cover the door as an accident. But if the spring damages the garage ceiling, the wall framing, or the homeowner themselves, the liability picture changes. The state’s position on home improvement work, including Contractors State License Board requirements, holds that certain work should be performed by licensed professionals. For garage door work, the key state requirement most homeowners don’t know is that torque-related component work (springs, cables) falls under the broad category of work that carries professional licensing expectations when performed for compensation. That doesn’t prohibit DIY. But it does mean your insurer has a reference point if they decide to push back on a claim.
The practical takeaway for Milpitas homeowners: if the repair involves a spring under tension, the cost of hiring a pro is also buying a layer of liability protection. For guidance on handling sudden failures safely, see our Garage Door Emergency Preparedness Guide for Milpitas Homes. If the pro makes a mistake, their insurance covers it. If you make a mistake, your insurance might or might not. That’s not a reason to avoid all DIY. It’s a reason to be precise about which tasks you take on.
How to Assess Your Existing Door System Before Deciding
Most DIY guides skip a step. Before you decide what’s fixable on your own, you need to know which spring system you have, what brand you’re working with, and whether your door is balanced. Here’s the assessment sequence we use when a Milpitas homeowner asks us whether their problem is worth a DIY attempt.
- Look above the closed door. If you see a horizontal shaft with one or two coiled springs wound around it, you have a torsion system. If you see long springs stretched along the horizontal tracks, you have an extension system. This one visual check determines half of your DIY feasibility.
- Check for safety cables. On an extension system, safety cables run through the center of each spring and anchor to the track. If they’re missing, do not attempt any spring-related work until you’ve added them. Without a safety cable, a broken extension spring can whip into anything in its path.
- Test the balance. Disconnect the opener with the red manual release, then lift the door manually to the halfway point. A properly balanced door stays in place. If it drops or rises on its own, the springs aren’t matched to the door’s weight, and no adjustment you make to the opener will fix that. Balance problems are spring problems, not opener problems.
- Identify the brand. The sticker on the door edge or the opener motor housing tells you what you’re working with. Raynor, Wayne Dalton, and Amarr doors each have different spring configurations and panel attachment methods. Knowing the brand narrows the parts compatibility question before you buy anything.
- Listen for noise. Grinding, popping, or a rattling sound during operation tells you whether the problem is the door (rollers, hinges, spring) or the opener (gear, motor, chain or belt). A grinding noise from the motor housing is often a stripped gear, which is an opener repair, not a door repair.
Once you’ve done this assessment, the task classification list makes a lot more sense. A homeowner with an extension spring system and a broken spring who has safety cables installed is in a different position than a homeowner with a torsion spring system and a broken spring. The same exact problem, two completely different DIY answers.
The Hidden Cost of DIY Errors: What a Misadjusted Spring Actually Does
The most expensive DIY mistake in a garage door system is not a failed spring replacement. It’s a spring that gets adjusted wrong and stays that way for months, because the homeowner doesn’t notice the subtle resistance the opener is fighting. Here’s what actually happens.
An under-tensioned or over-tensioned spring changes the effective weight of the door as far as the opener is concerned. A standard residential opener from LiftMaster or Chamberlain is engineered to lift a door within a specific weight range. When the spring is off by even 10 to 15 percent, the motor works harder on every cycle. Over months, that extra load shows up as accelerated gear wear in the opener. In our experience in Milpitas, a misadjusted spring can accelerate opener gear wear by as much as 40% within six months. That means a $20 part (the opener gear), a $300 component (the opener motor), or a $450 replacement Garage Door Opener Repair in Milpitas that wouldn’t have existed if the spring had been set correctly the first time.
The other hidden cost: a door that’s slightly out of balance doesn’t always announce itself. It might close with a soft thud. It might jerk at one point in its travel. A month later, the rollers start wearing unevenly, then the track develops a groove, then the hinges fatigue. By the time the problem is visible, the repair has grown from a $150 spring adjustment to a $500 multi-component job.
This is the strongest argument, not for avoiding all DIY, but for knowing exactly what a correctly functioning door feels like. If you’ve done a DIY repair and the door doesn’t move as smoothly as it did before, you didn’t finish the job. You created a future job. The same applies to Garage Door Installation in Milpitas done without proper spring matching: the door might open and close on day one, but it’s already wearing itself out.
Common Mistakes to Avoid
- Using the wrong spring for your door weight. Two garage doors that look identical can have 20-pound weight differences. Always check the door’s exact weight or match the spring to the old one’s rating. A mismatched spring makes the opener work harder from day one.
- Reusing old cables with new springs. Cables wear and fray invisibly inside their sheathing, especially in Milpitas’s dry summer conditions. If you’re replacing a spring, replace the cables too. The parts are cheap; the failure isn’t.
- Lubricating the track itself. The wheels ride on the track; the track should stay dry. A greased track collects dust and creates drag. Lubricate the hinges, rollers, and bearings, and leave the track surface clean.
- Skipping the balance test before replacing parts. If the door isn’t balanced, replacing rollers or tightening hinges won’t fix the underlying stress. Balance first, then everything else.
- Assuming all openers are the same. A Chamberlain opener programs differently than a Genie, and a Craftsman unit may use a different frequency. Always check your manual before swapping remotes or reprogramming.
- Underestimating the weight of a panel. A single 16-foot sectional panel can weigh 60 pounds or more. People hurt their backs, not their springs, on panel jobs. Use a helper or a panel lift.
- Attempting torsion spring work based on a video tutorial. Watching a professional wind a spring does not convey the feel of the torque or the danger of the release. This is the one task where video learning creates false confidence.
When to Call a Professional
Call a professional when the repair involves a torsion spring, a cable connected to a torsion spring, a bottom bracket, or an opener logic board. These four components account for nearly every serious DIY-related garage door injury and most of the expensive DIY-related follow-up repairs we see. If you hear a loud bang and the door won’t open, that’s a broken spring, and it’s time to make a call. If the opener hums but doesn’t move, that’s either a stripped gear or a bad capacitor, both of which need diagnostics. If the door jerks, binds, or makes a grinding sound, stop using it until it’s inspected. Garage Door Service Milpitas offers free estimates in Milpitas – call (833) 589-9493. We work on eight brands – LiftMaster, Chamberlain, Genie, Clopay, Amarr, Wayne Dalton, Craftsman, and Raynor – so the diagnosis starts with what’s already on your ceiling, not what we’d like to sell you.
Frequently Asked Questions
Professional garage door repair in Milpitas typically ranges from $75 to $350, depending on the component. A track adjustment runs $75 to $125, a roller replacement runs $95 to $150, and a torsion spring replacement runs $180 to $340. These are all quoted and agreed to before work starts; call (833) 589-9493 for an exact quote.
Extension springs can be replaced safely by a careful homeowner if the door is locked in the open position and safety cables are installed. Torsion springs should never be replaced by a homeowner, period. The energy stored in a wound torsion spring is enough to cause severe injury if the winding rod slips.
A professional shop that works across multiple brands can service LiftMaster, Chamberlain, Genie, Clopay, Amarr, Wayne Dalton, Craftsman, and Raynor systems. The important thing is finding a shop that doesn’t push you toward replacing your existing door just because they don’t carry parts for your brand. Eight brands, one call is the standard to look for.
An unevenly opening door usually means a broken spring, a frayed cable, or a shifted track. You can diagnose the cause by disconnecting the opener and lifting the door manually. If it’s hard to lift or drops on one side, that’s a spring or cable issue, not a DIY adjustment. Call a pro before the uneven operation damages the rollers and track.
Most individual repairs, including spring replacement and roller replacement, are done in a single visit. The parts for the eight common brands are typically stocked on the truck, which means the repair is completed the same day in most cases. The price is quoted and agreed to before any work starts.
Yes. Milpitas’s dry, warm summers and cool, damp winters create a cycle of expansion and contraction that ages weatherstripping and dries out metal bearings faster than coastal climates do. Rollers and hinges in Milpitas benefit from lubrication twice a year, and weatherstripping typically needs replacement every three to five years, which is more frequent than in San Francisco or San Jose.
The Bottom Line
DIY garage door work isn’t an all-or-nothing decision. It’s a component-by-component decision, and the line is predictable: panels, rollers, sensors, lubricants, and weatherstripping are fair game for a careful homeowner. Torsion springs, cables connected to them, and opener circuitry are not. The smartest approach in Milpitas is to do the safe tasks yourself, be honest about the conditional ones, and hire a pro for the high-risk work without hesitation. The money you save on a spring job isn’t worth the rupture risk, and a $300 opener you avoid replacing because you didn’t do a sloppy spring adjustment is pure savings. If you aren’t sure which bucket your repair falls into, call (833) 589-9493. We’ll tell you straight whether it’s worth doing yourself, and the estimate is free.
Written by the team at Garage Door Service Milpitas, serving Milpitas since 2011. Our Garage Door Service Milpitas home page covers our full range of repair, opener, and installation work across all eight brands.
See the difference
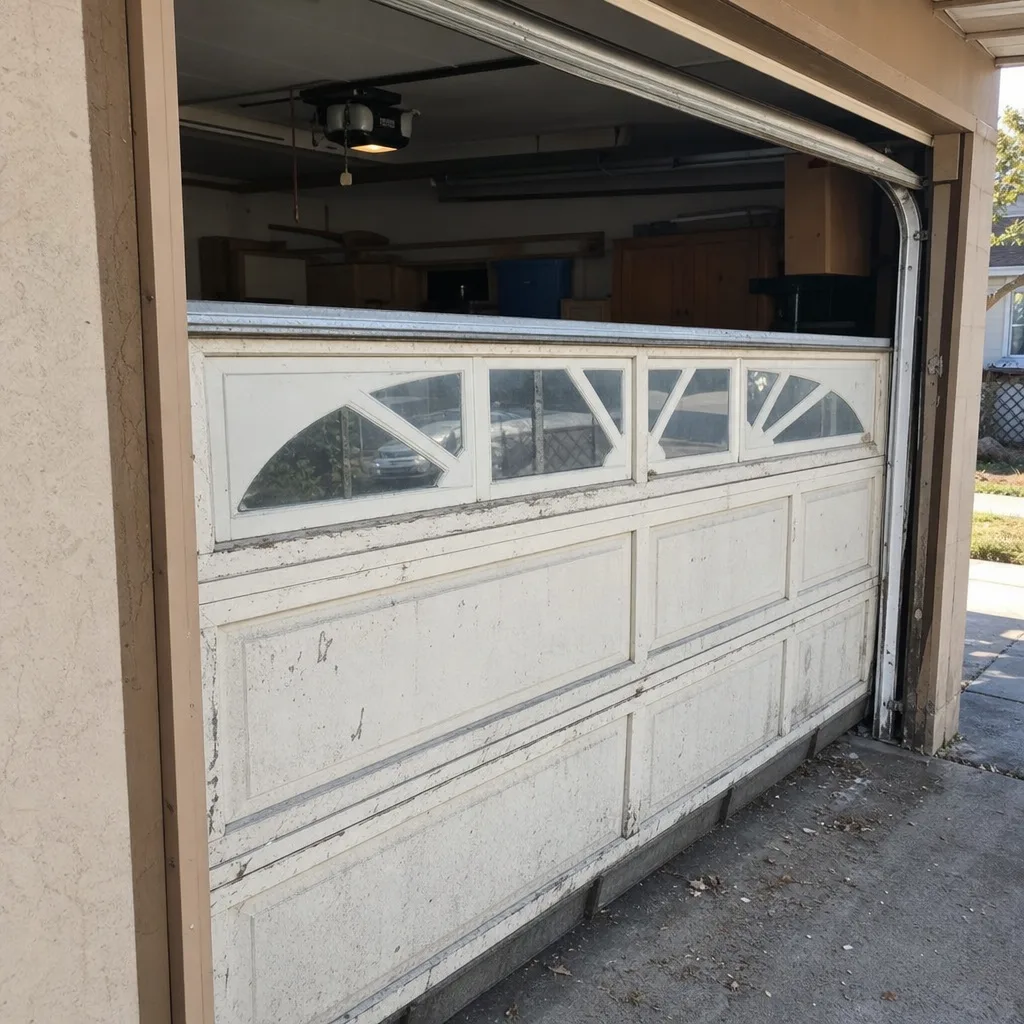
 Before
 After
 Before
 After
 Before
 After